Create a Basic Label File in Text Labels
- Select Text Labels.
- Select your printer.
Note: If your printer is connect by USB, USB### will display after the printer type.
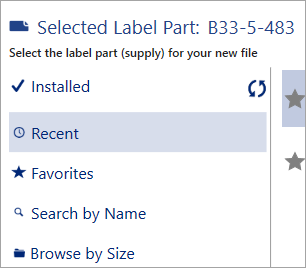
- Select your label part.
Note: Use installed if you have a connected Smart Printer.
- Choose Blank Label from the menu, click Create.
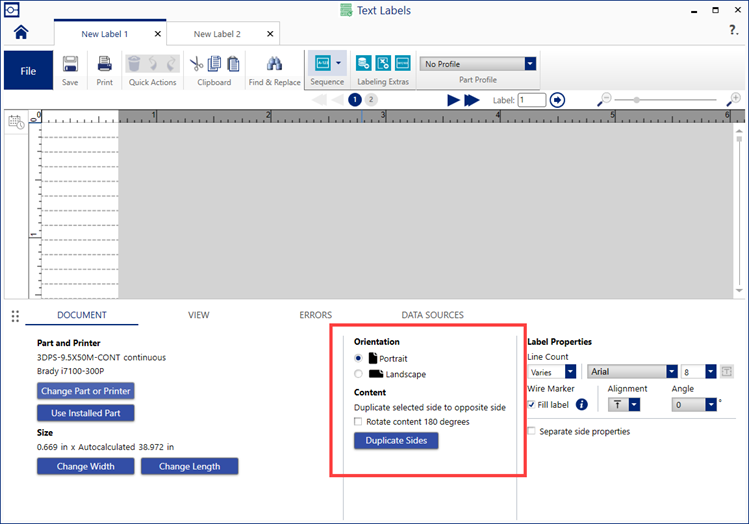
- Adjust Label Properties including the line count, Wire Marker mode, font, size, and alignment. Refer to Text Labels - Configuring Text Properties for more information.
- Line Count: If the line count is set to a specific number, this will apply to all labels. If you need the line count to differ between each label, select Varies.
- To add more lines to a label with the Varies setting, press Enter each time to add another line. If you need to delete a line, press Backspace until the line is deleted.
- Wire Marker Fill Label: This repeats the text on each line as many times as possible. This depends on the font, size of font and size of the labels.
- The Orientation section may appear depending on the type of label. This will not appear for all label types. Adjust the Orientation or Content.

- Click onto the label. The selected label will be surrounded with blue dashes and the top line of text will have a solid blue box.
- Enter text.
Advanced Import, Advanced Sequence, Excel Import, Flip Flop and Sequence are available under Labeling Extras.
- Adjust text including the font, size, alignment, and other text properties.
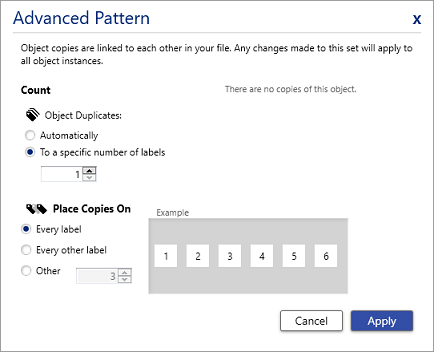
 The default Show Repeat Pattern option is "Show only on this label" for each piece of information. If you want the date or line of text to appear on every label, select Show on every label and select Apply.
Advanced pattern has different options for each object.
- Click Save or Print.
Note: Label files are saved to C:\Users\Public\Documents\Brady Corp\Brady Workstation by default.
Related information


