Before configuring the Wi-Fi connection on an enterprise network, be sure the printer is set to the current date and time. The printer may not be able to establish the connection if the date and time is not current: i7500 - Adjust Printer Settings.
- Make sure the printer is turned on.
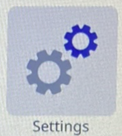
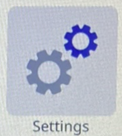
- Tap Settings.
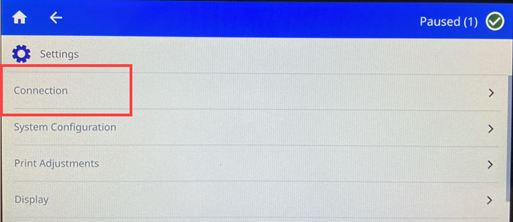
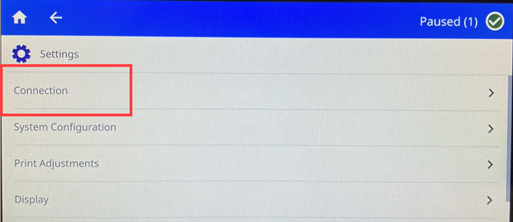
- Tap Connection.
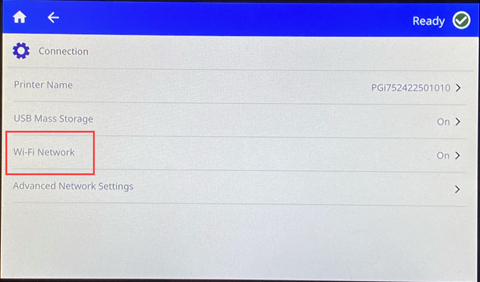
- Tap Wi-Fi Network.
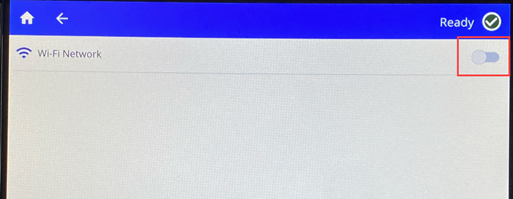
- Tap the switch to enable Wi-Fi. If the switch is gray, it is off. If the switch is blue, it is on. The printer searches for Wi-Fi networks and displays a list of networks found.
- Touch and drag to scroll the list.
- Tap the network that you want to use.
- If the network is not locked, simply tap it and the printer connects to it.
- If the network is locked, as indicated by a lock symbol, tap the network and a key pad opens. Enter the password and tap the Enter icon.
- If the network you need is not in the list, it may not be discoverable. Scroll to the bottom of the list and tap Other. Choose either Personal Network or Enterprise Network. The system displays settings appropriate to your selection. You may need information from your IT department to complete the settings
Manually Enter Wi-Fi Settings
These instructions are for when the Wi-Fi network is hidden.
- Turn the printer on.
- Tap Settings.
- Tap Connection.
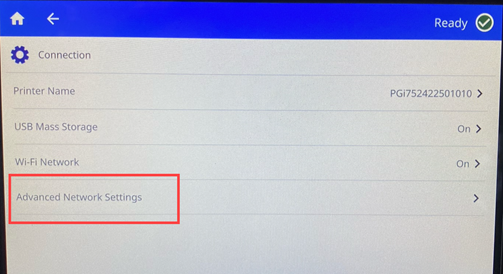
- Tap Advanced Network Settings.
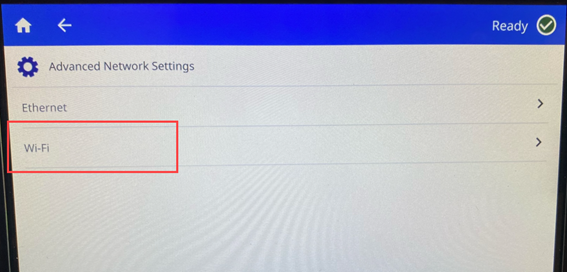
- Select Wi-Fi from the list.
- Tap IP Settings and then tap one of the following:
- DHCP: DHCP addressing is dynamic and the system uses a DNS server to obtain the printer IP address for you.
- Static: Select static addressing to manually enter the printer’s IP address.
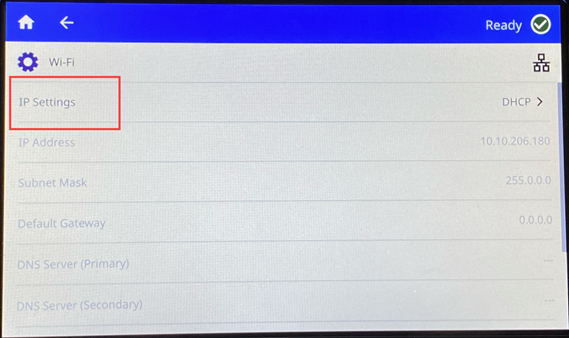
- Tap the back button to return to the Wi-Fi screen.
- Fill in the remaining available settings with help from your network administrator.
- Tap home.
Related information


