If using a Windows driver, it is best to configure the Ethernet connection before installing the driver. If the driver is already installed before configuring the Ethernet connection, you may need to edit the port settings for the printer in Windows to update the IP address.
- Press Settings.
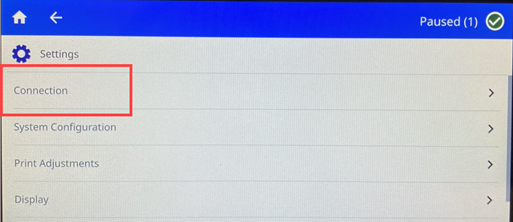
- Press Connection.
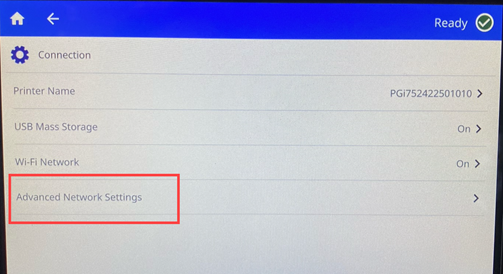
- Press Advanced Network Settings.
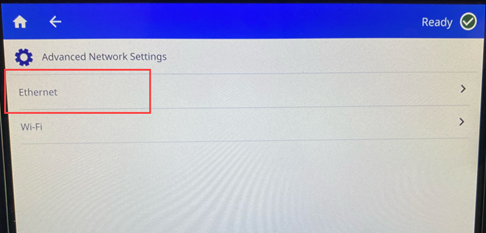
- Press Ethernet.
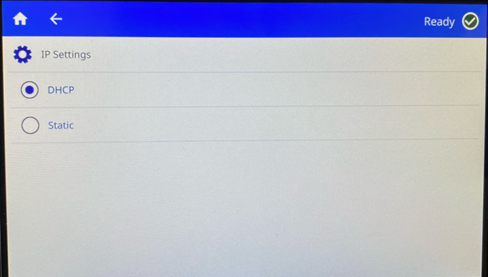
- Press IP Settings.
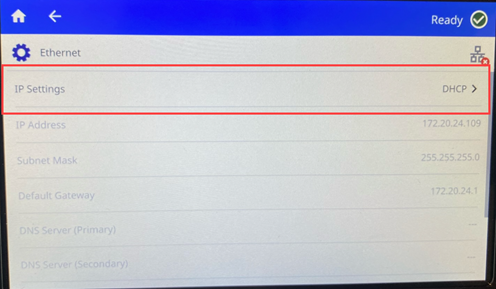
- Choose either DHCP or Static.
-
- DHCP: DHCP addressing is dynamic and the system uses a DNS server in the printer IP address for you. No additional fields need to be entered.
- Static: For static addressing, you must supply the printer’s IP address. First, tap the back button. Press the back arrow to return to the Ethernet screen, then fill in the following information. You may need to get assistance from your network administrator.
- Enter the IP Address.
- Enter the Subnet Mask, if applicable.
- Enter the IP address of the default gateway.
- Enter the IP address of the primary DNS server.
- Enter the IP address of the secondary DNS server.
Important: If no DNS server is being used, enter 0.0.0.0 for both the primary and secondary DNS servers.
- Tap the back button to return to the Advanced Network Settings screen in order for the fields entered to take effect.
Related information

