Body | The sensor calibration utility can be found under Settings > Setup > Labels > Calibrate Label Sensor: Manually Change the Media Sensor Used on the i5100. This setting may also be in Setup > Extras depending on your firmware version.
This process "re-exposes" the sensors to the light and dark conditions of a passing label. These instructions must be followed exactly or sensor values will be out of range. For Brady labels, sensor values should fall within this range: Lowest (1-10) - Mid (10-20) / Mid (10-20) - Highest (120-160)Step 1 - Remove Labels and RibbonThe printer should have no label or ribbon material loaded. This allows the sensor to get a base brightness value without anything blocking it.
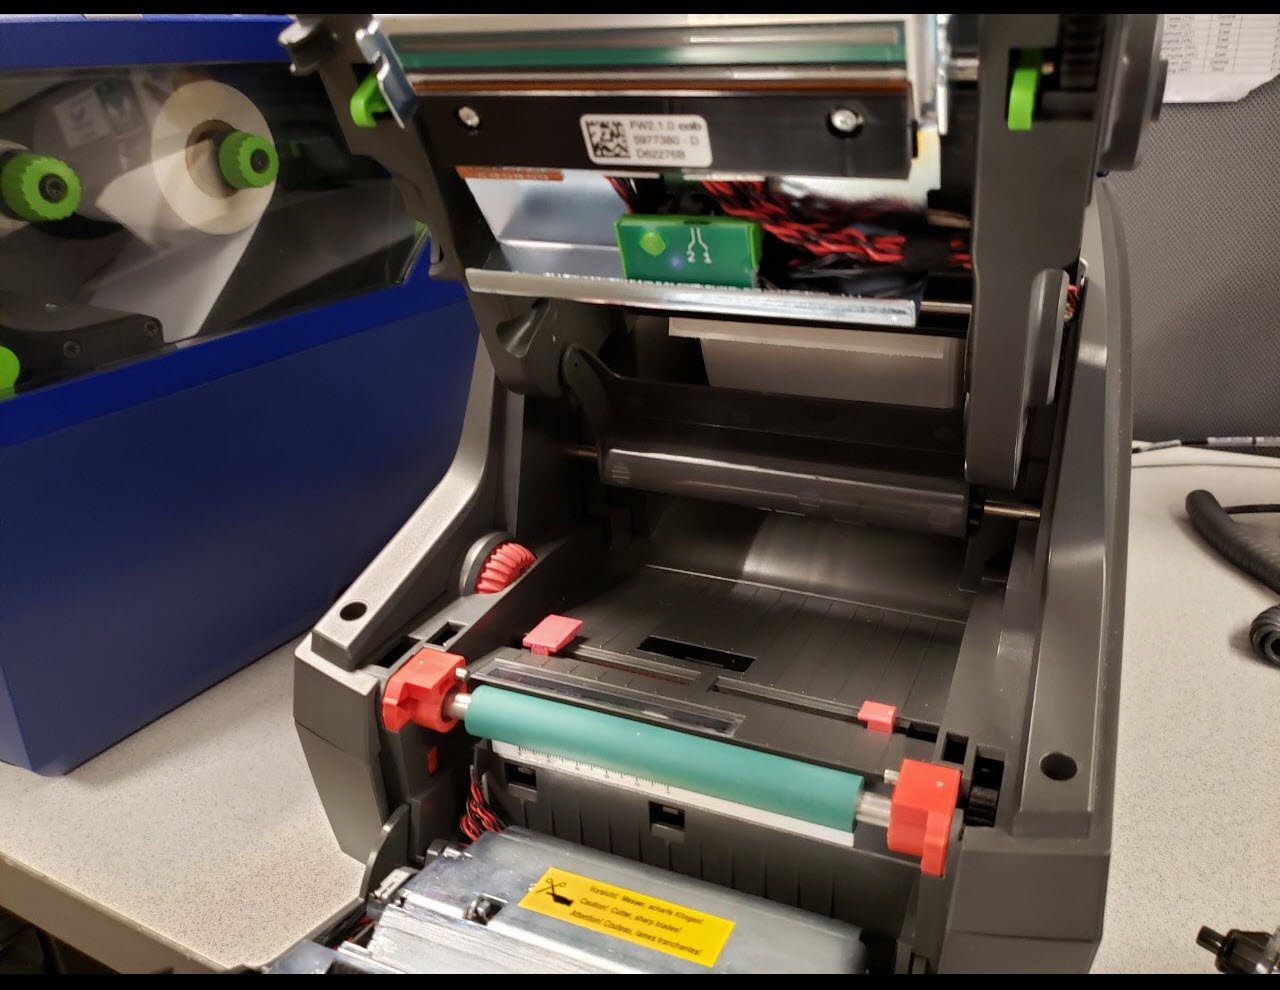
No labels or ribbon installed
Close the print head and LCD screen on the printer and press Continue.Step 2 - Insert LinerTo make this step easy, please prepare a leading edge of 4 -6 inches of blank label liner, just simply peel the labels off of the label liner and load the blank liner into the printer just like any other label material. 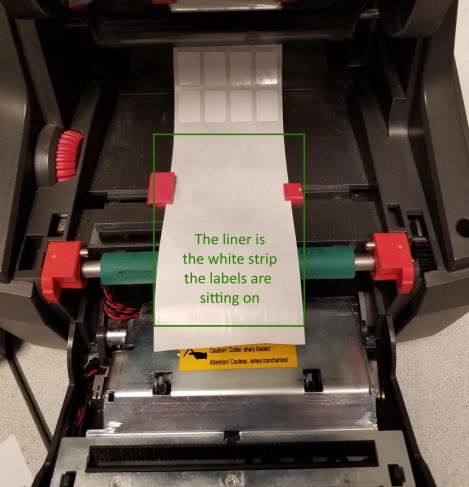 This step sets a sensor brightness value for the sensor to shine through the label liner on its own. This step sets a sensor brightness value for the sensor to shine through the label liner on its own.
The most important part of this step is to ensure the blank label liner is positioned over the gap sensor, which is the small black rectangle directly behind the red material guides.
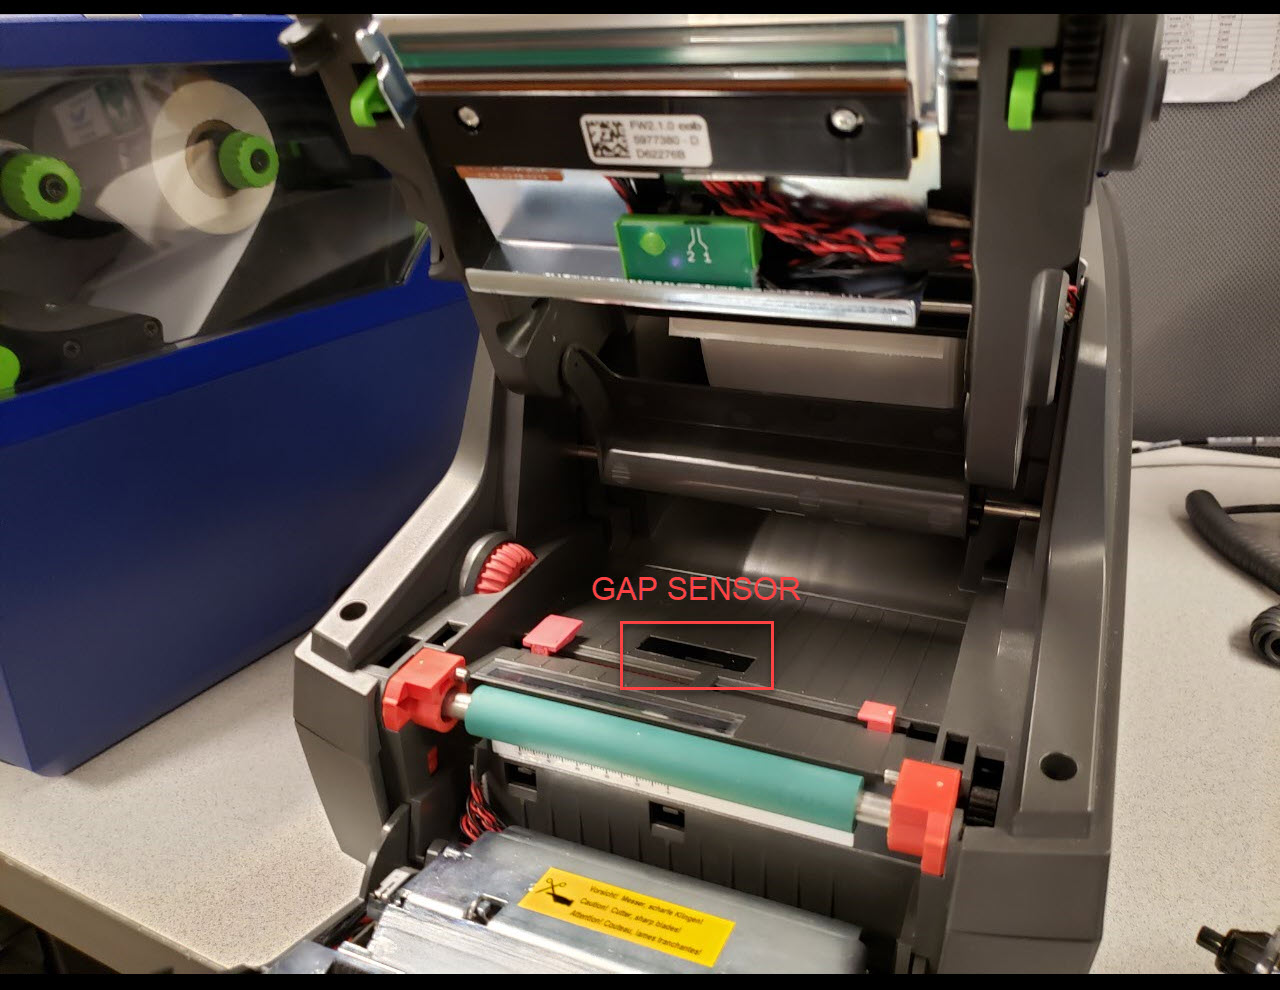
Gap Sensor location
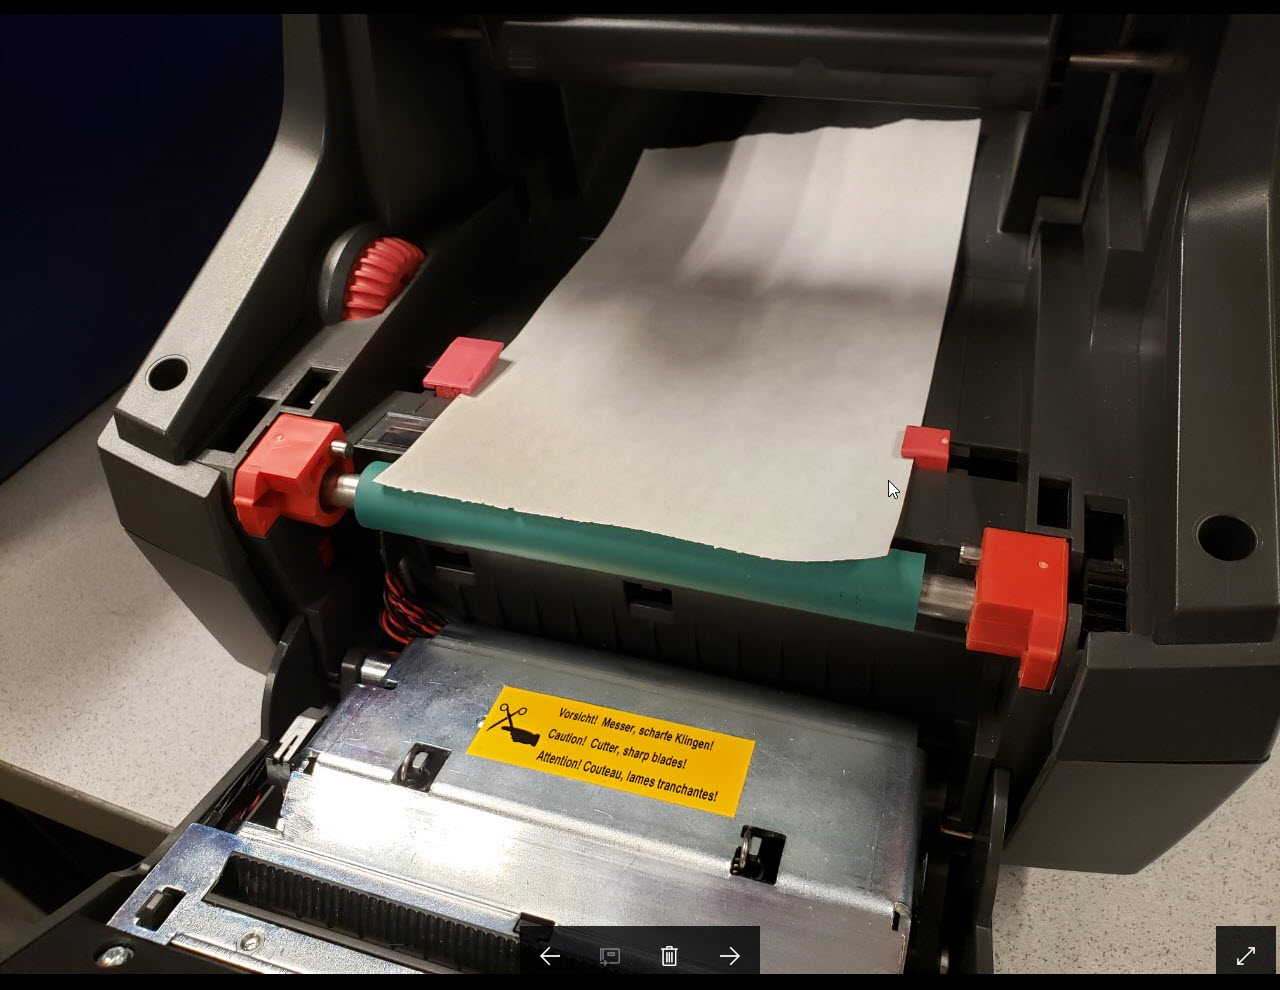
Liner inserted, ribbon removed
Close the print head and LCD screen on the printer and press Continue.Step 3 - Remove Liner, Insert RibbonThis step gets the brightness value that is required for the sensor to shine through the ribbon.
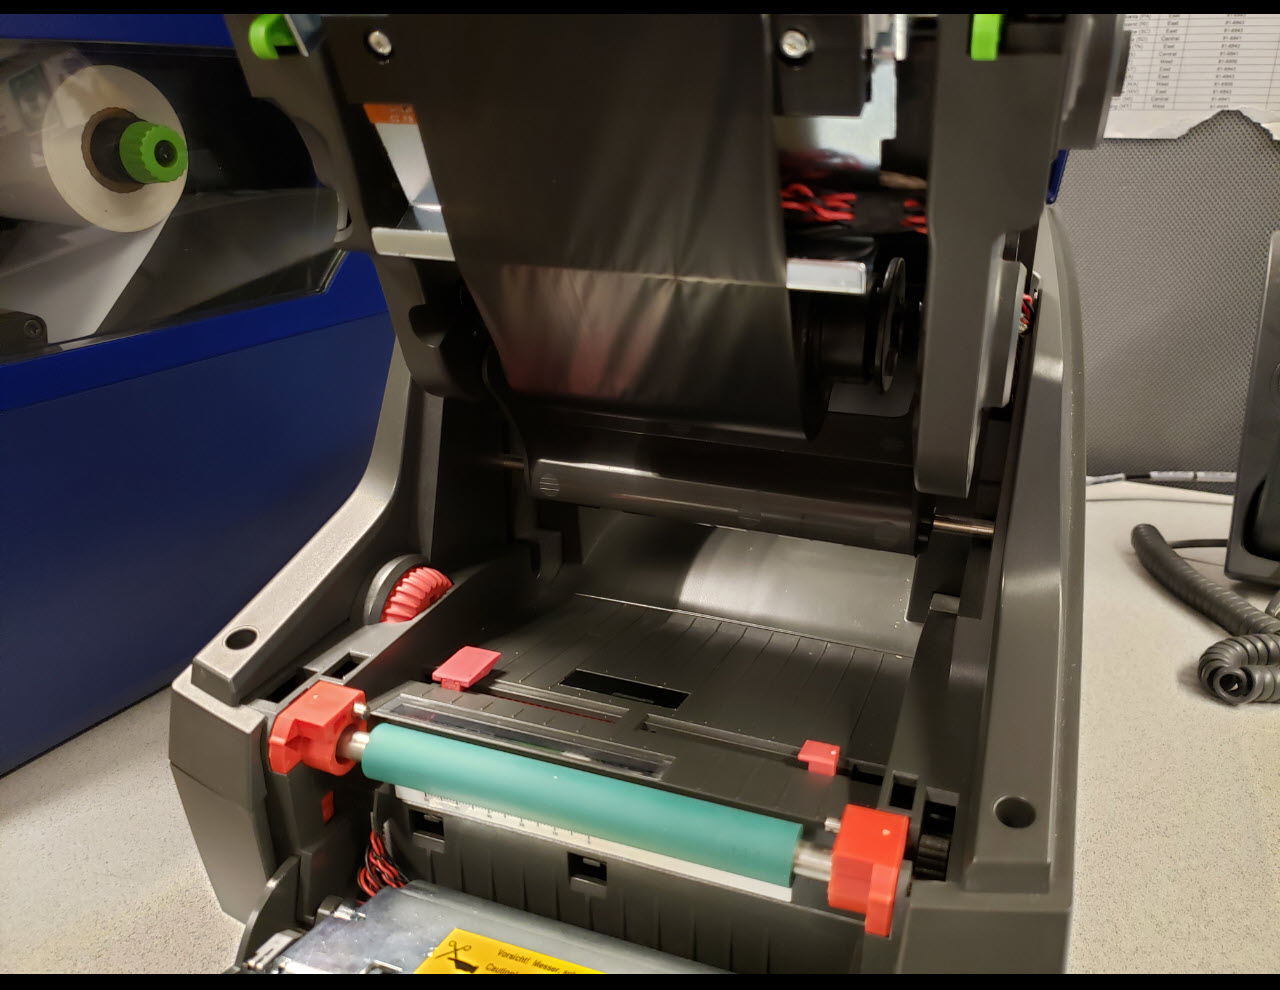 Ribbon installed, liner removed Ribbon installed, liner removed
Close the print head and LCD screen on the printer and press Continue.Step 4 - Insert Liner and RibbonThis is the final value that detects how bright the sensor needs to be to see through both the liner and ribbon.
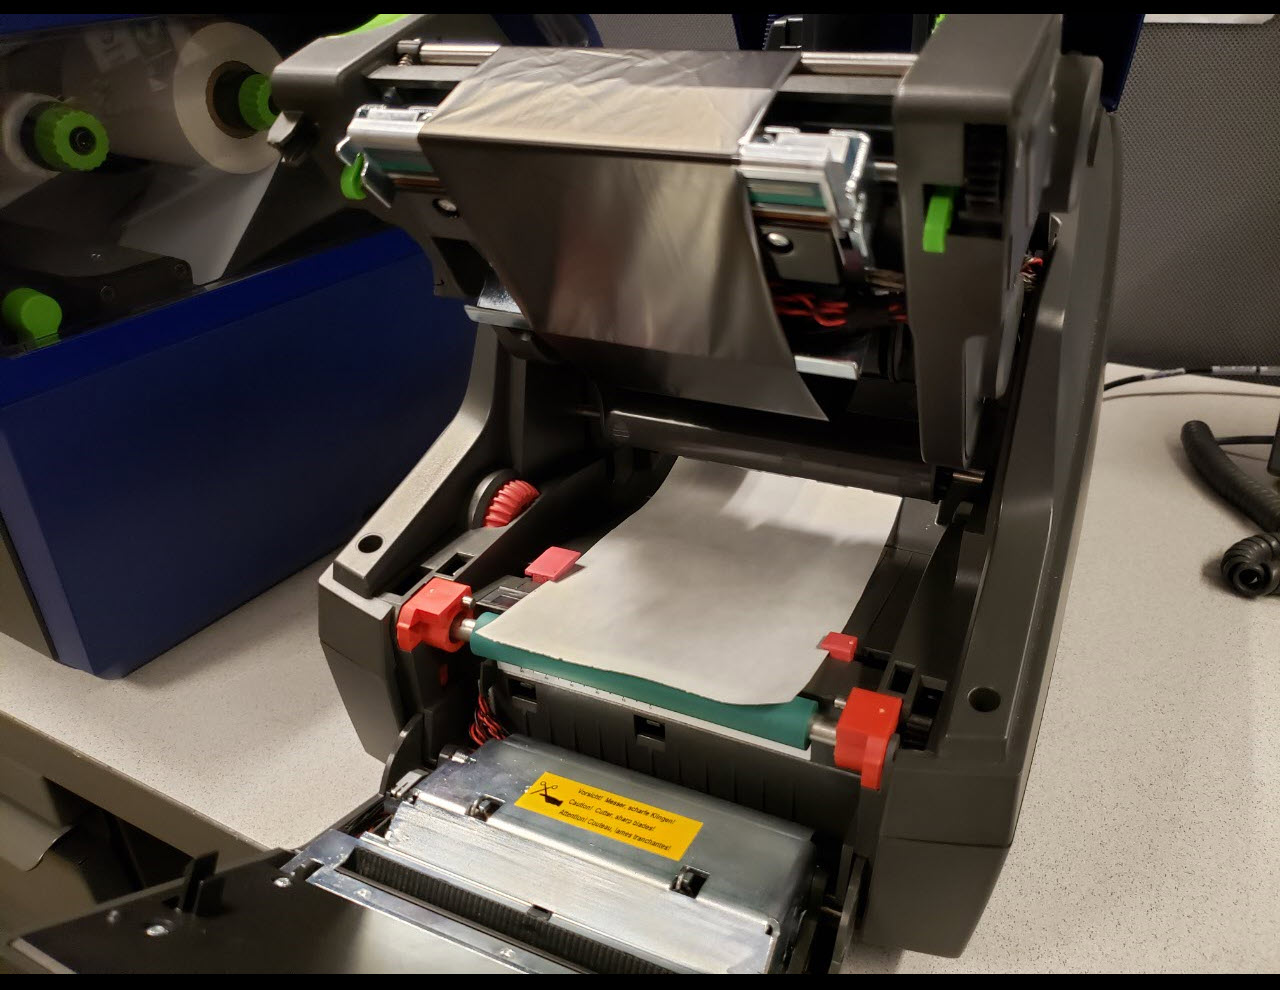
Ribbon installed, Liner installed
Close the print head and LCD screen on the printer and press Continue.The sensor should now be calibrated and will show you brightness values. Reference this article to confirm sensor values: i5100 - Sensor Calibration Problems, Out of Paper message.Related information
|
|
|---|


