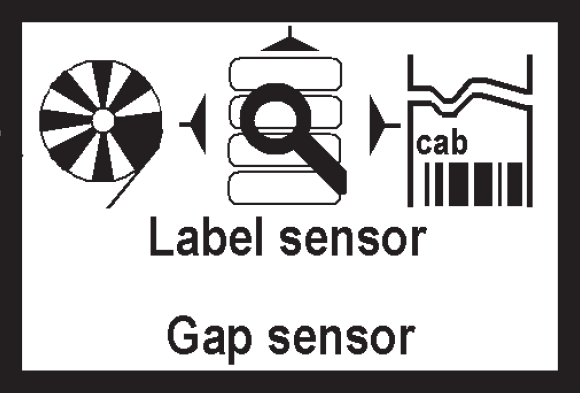
Body | Manually Set the IP Printer Media SensorIn certain situations it may be necessary to manually configure sensor settings on the printer display or in the driver.
Note: Starting with firmware version 3.35, the sensor is automatically set by the RFID chip on the roll. This will override any manual settings in the printer or driver settings. These steps will not apply if you have firmware version 3.35 or newer and your media has an RFID chip. Removing the media's RFID chip will allow these user configurations to persist. This will disable media remaining functionality, sending media information to the software, and confirming ribbon/media compatibility.
First, Determine the appropriate media sensor for your labels: How to Configure Correct Sensor Settings on IP Series PrintersChange Sensor Settings from the Display1. Select the Menu button
2. Select Settings
3. Select Print Param
4. Navigate to Label Sensor and hit enter
5. Use arrows to toggle to the appropriate label sensor setting for the installed media
 Driver SettingsWhen using Brady software, the driver should always be set to 4" so that the software can communicate page sizing and sensor settings. If using 3rd party software, the driver may need to be manually adjusted. See this article for more information on this topic: Driver Page Size Settings for Brady Software vs 3rd Party Software Driver SettingsWhen using Brady software, the driver should always be set to 4" so that the software can communicate page sizing and sensor settings. If using 3rd party software, the driver may need to be manually adjusted. See this article for more information on this topic: Driver Page Size Settings for Brady Software vs 3rd Party Software
To change the sensor used in the driver: Navigate to Start Menu > Control Panel > Devices and Printers > Right click the IP series driver > Select Preferences > Advanced > Page Size Properties > Change to USER > set the sensor type using the dropdown.See Also
|
|
|---|


