Choosing the Correct Sensor on the IP Series Printer
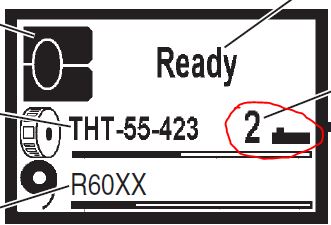
The IP series printer contains two stationary gap sensors and an adjustable notch sensor for maintaining calibration with different types of media. These sensors will need to be manually adjusted depending on your media type. If the material has an RFID tag, the sensor setting will be shown on the printer’s display.
If your media does not have an RFID tag, the printer will revert to Standard mode. Use this guide to determine the correct sensor for your media, some guess and check may be required.
Jump to Section
Sensor Settings for Gapped Labels
Sensor Settings for Notched Labels
Sensor Settings for Permasleeves
Sensor Settings for How to Setup the IP Series to Use Continuous Label Materials
Note: if the printer is in standard mode then material part number and sensor settings will not display on the LCD screen. In this case use the image references below to determine correct settings, then configure the printer manually. For more information about standard mode, see: IP 300/600 - The printer shows an “S” on the upper left of the screen and is not showing the label part number
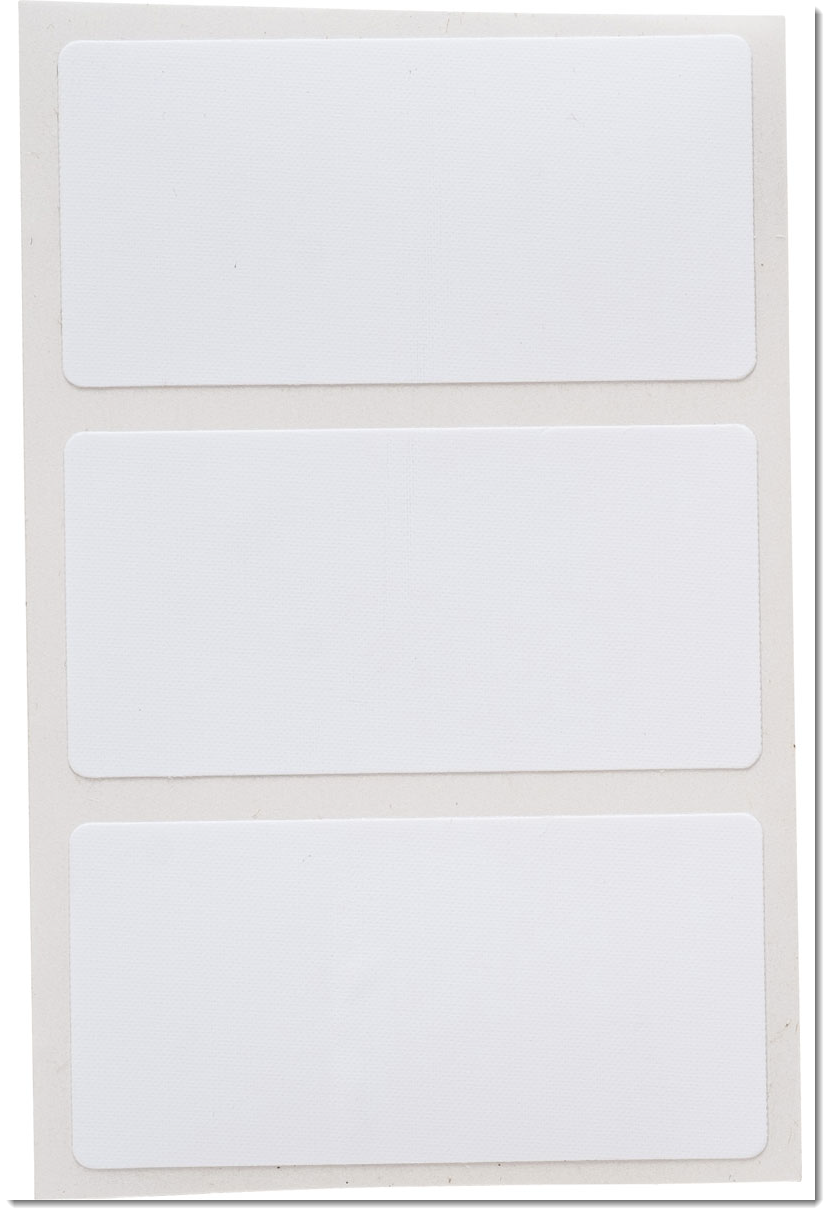
Gapped labels
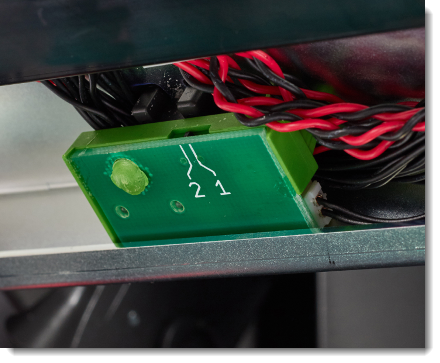
The printer will use the fixed gap sensor # 2 for maintaining calibration with most die-cut material.
Example of gapped media.
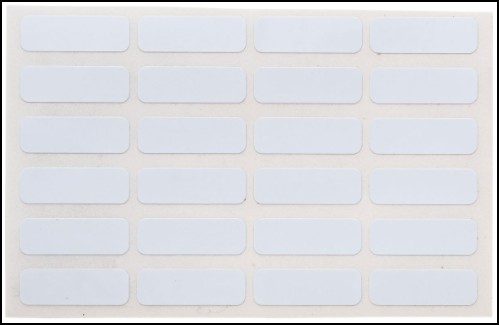
In the example below, the label has multiple columns which will require changing the dipswitch. This will account for the center gap and rounded edges of the label, which will otherwise cause loss of calibration and print drift.
The printer will use the gap sensor on position 2 for maintaining calibration with most die-cut material.
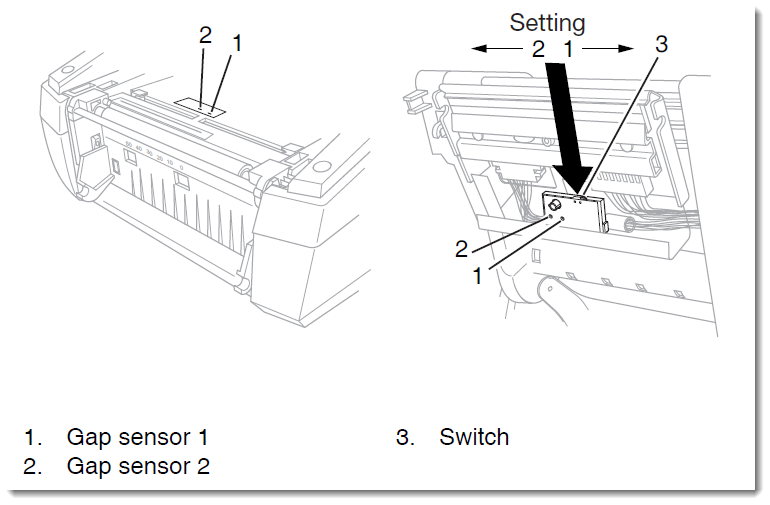
If the printer is in Standard (S) mode, manually set the sensor within the printer menu:
1. Press Menu Button.
2. Right arrow 2 times to Setup.
3. Down arrow, Right arrow 2 times to Print Param.
4. Down arrow, Right arrow 4 times to Label Sensor.
5. Press Middle Enter button (should see arrows to the right and left), Arrow to the right to Change to Gapped.
6. Press middle Enter Button. Press and hold middle button to return to ready screen
Once you have adjusted sensors appropriately for your media, press the “feed” button (right arrow on the navigator pad) several times. The printer should begin to feed 1 label at a time.
Notched labels
Smaller labels may use notches cut into the left-hand side of the liner.
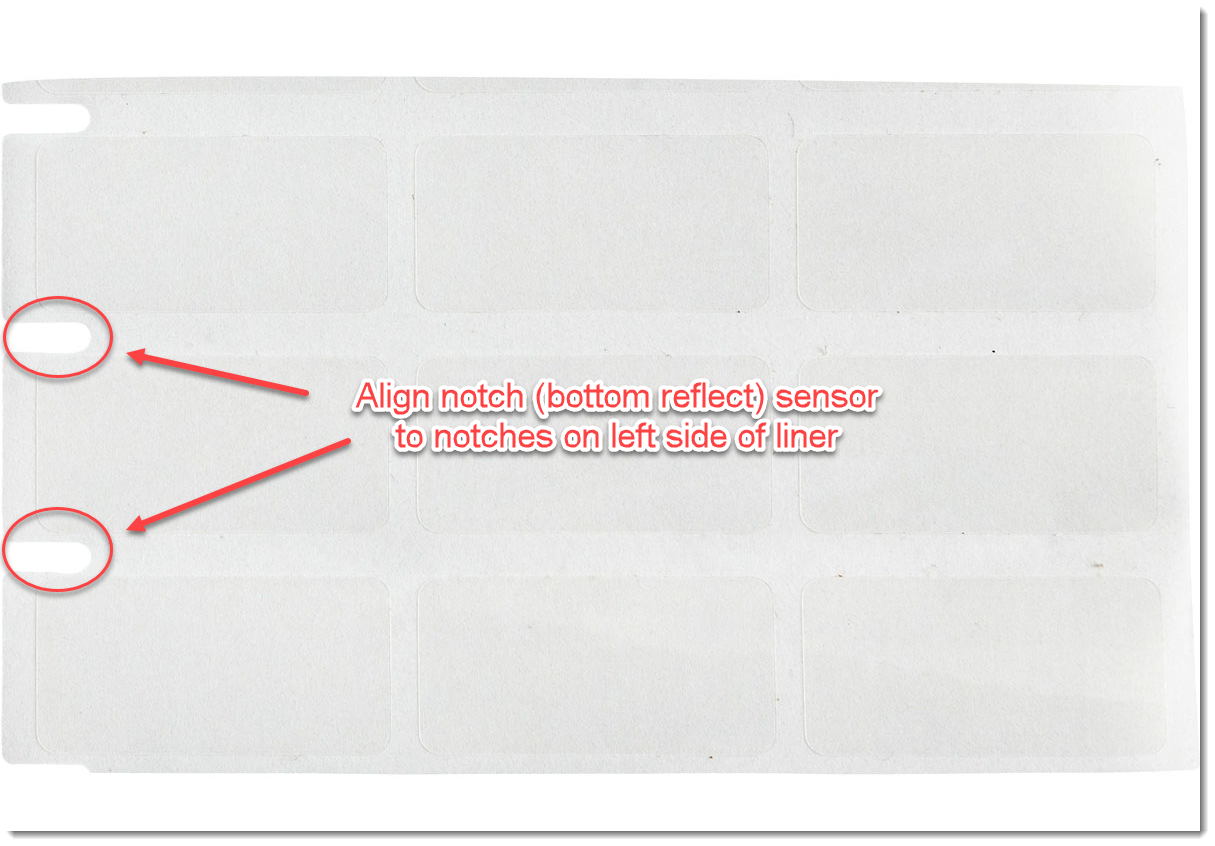
The notch (also called “bottom reflect”) sensor is manually adjusted using the green slider below the platen roller. If the label roll has an RFID tag, the appropriate notch sensor position will be shown on the printer’s display. If there is no value shown, you can use the clear window to visually adjust the sensor.
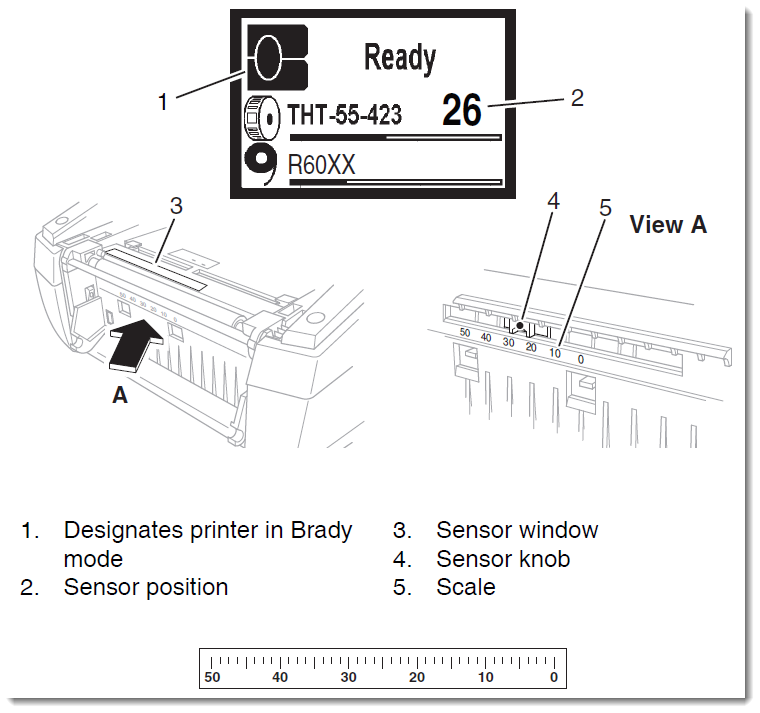
Once you have adjusted sensors appropriately for your media, press the “feed” button (right arrow on the navigator pad) several times. The printer should begin to feed 1 label at a time.
If the printer is in Standard (S) mode, manually set the sensor within the printer menu:
1. Press Menu Button.
2. Right arrow 2 times to Setup.
3. Down arrow, Right arrow 2 times to Print Param.
4. Down arrow, Right arrow 4 times to Label Sensor.
5. Press Middle Enter button (should see arrows to the right and left), Arrow to the right to Change to Bottom Reflect.
6. Press middle Enter Button. Press and hold middle button to return to ready screen
Permasleeves
Permasleeve labels have a square hole in the liner. These square holes pass over the notch sensor to maintain calibration with the media. The notch sensor should be positioned to the holes on the left side of the liner.
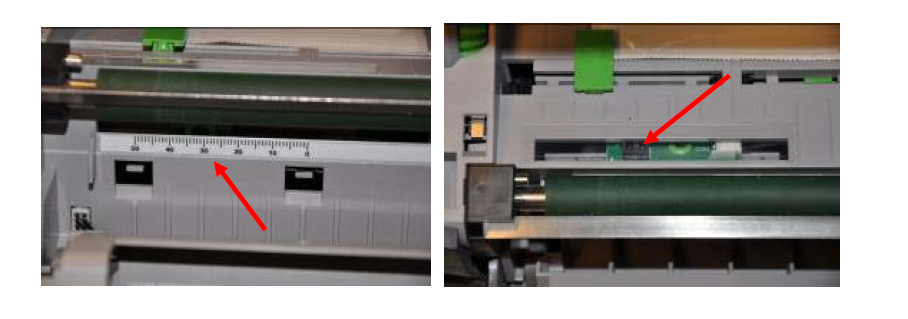 Slide the bottom reflect sensor so that it is positioned to see through the square windows on the left side of the printer liner.
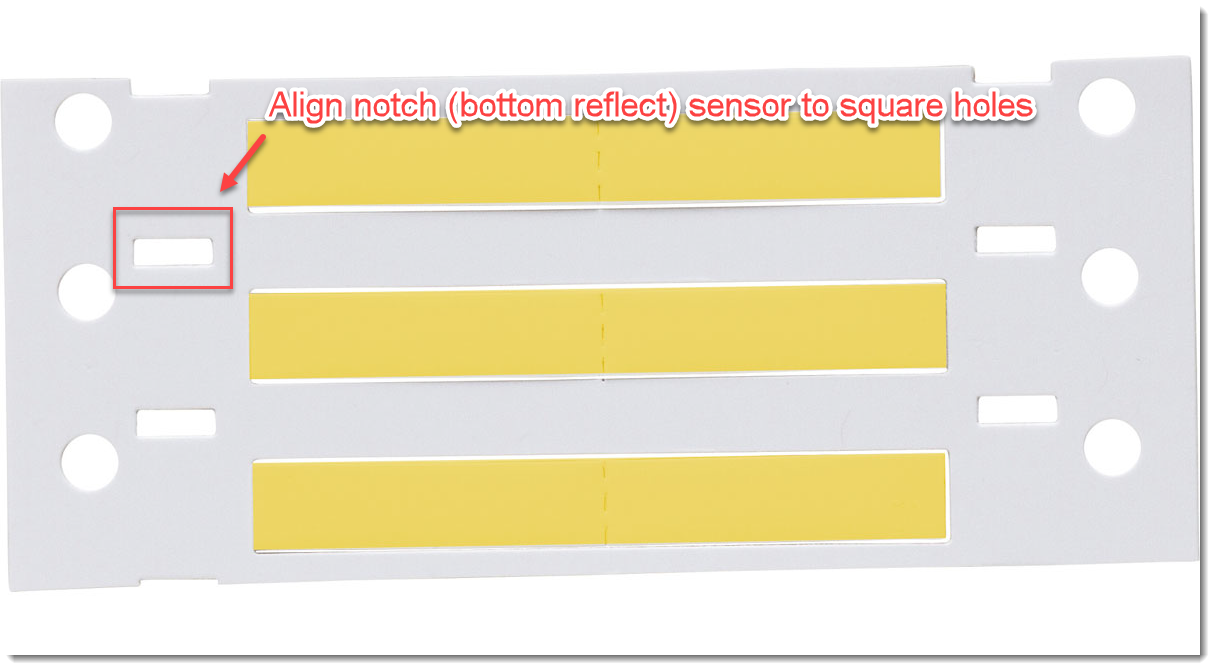
If the printer is in Standard (S) mode, manually set the sensor within the printer menu:
1. Press Menu Button.
2. Right arrow 2 times to Setup.
3. Down arrow, Right arrow 2 times to Print Param.
4. Down arrow, Right arrow 4 times to Label Sensor.
5. Press Middle Enter button (should see arrows to the right and left), Arrow to the right to Change to Bottom Reflect.
6. Press middle Enter Button. Press and hold middle button to return to ready screen
Once you have adjusted sensors appropriately for your media, press the “feed” button (right arrow on the navigator pad) several times. The printer should begin to feed 1 label at a time.
Continuous Media
Continuous labels do not use sensors, the page size is determined by user defined settings in the software. Choosing the continuous option essentially disables the label sensor. See this article for steps to configure the IP series printers for continuous labels: How to Setup the IP Series to Use Continuous Label Materials
Additional Configuration
Tear Off Mode - Tear-off mode may be required depending on the dimensions of the installed media.


