Networking the J4000Network settings for the J4000 printer are configured in the driver installation wizard. A Static IP can be set in the driver over USB. If the printer loses its DHCP address, the driver wizard can be re-run to discover the new address and update the networking port for the J4000 driver. Follow the first three steps to network by DHCP and Static IP:
- Download and launch the J4000 Driver.
- Choose the network option.
- The driver installation will now scan for the printer on your network. Make sure the ethernet cable is connected to the printer and the printer is powered on, the USB cable is not connected to the printer, and that your PC is on the same subnet as the printer.
Continue to follow the steps below to network by DHCP or Static IP.Network DHCP
- If the above criteria is met, the driver wizard should automatically find the printer and detect it's DHCP address.
Scenario I: If the driver and PrintHub have not been installed, you will see the Install button.
If the printer was not previously installed or the driver package was removed, the Install button will appear on the right.
Scenario II: If the driver and PrintHub were previously installed, the printer's hostname will display on the right. If this case applies then simply update the J4000 driver with the IP address shown on the right: How to Add a Network Port to a Windows Driver.
If the printer was previously installed on your PC, the hostname will appear on the right.
- If Scenario I applies, click the Install button. Choose the DHCP address option. Then click Next.
- Provide a name for the printer and select Set Description, then select Install. If you are unable to set a description ("printer is busy error"), select Install to move past this screen.
- Complete the driver installation wizard. For more information, see How to Install the J4000 Printer Driver and PrintHub.
- To review network settings, launch PrintHub, select the Printer Settings tab and select Network Information.
- Selecting the Network Information button enters the IP address into a browser. This page displays the printer Serial Number, MAC Address, Hostname, and DHCP address.
- Select Static IP via USB.
- Connect the USB cable to the printer.
- Select Install.
- Enter the Static IP Address and select Set Printer to Static IP.
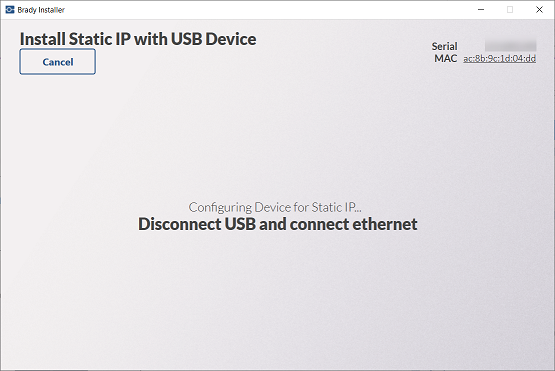
- Remove the USB cord from the computer and connect the Ethernet cord.

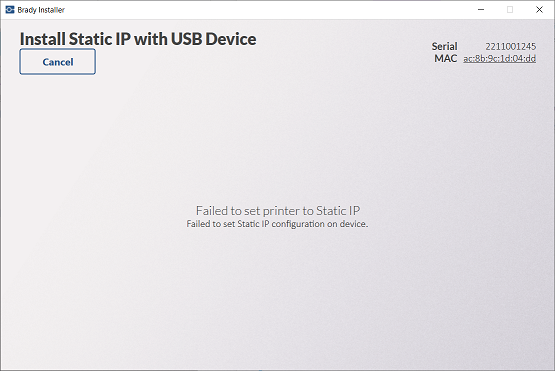
Note: If the Failed to set printer to Static IP error displays, select Cancel and review the Static IP address previously entered. The printer could not be connected with the Ethernet.

- Select Install.
- Successfully installed J4000 message appears. If the printer was not previously registered, select Register Printer. If the printer was previously registered, select the X to close out the window.
Next Steps
Additional information


