Create an Advanced Sequence
- Open Brady Workstation and select the application.
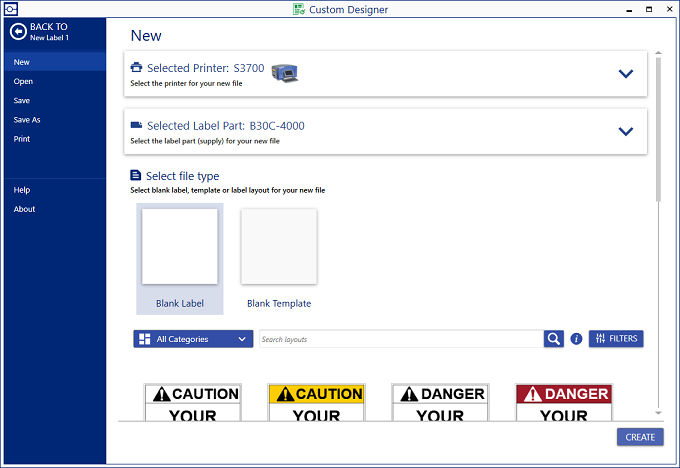
- Select your Printer and Label Part.

- Select Create.
- Select Sequence under Labeling Extras.
- Select Sequence.
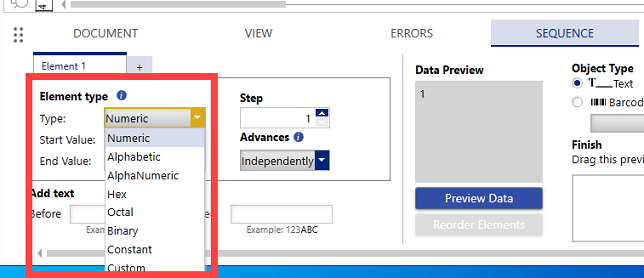
- The Sequence section appears at the bottom of the Brady Workstation screen. Enter in the criteria for your first element in the sequence.
Available Types:
Note: Alphanumeric sequences increment both numerically and alphabetically. Every sequence iteration will increment 0-9 and then A-Z. If Alphanumeric is selected and no letter is entered in start or last value, the sequence will still include letters. If the information should not change, enter this information in Before or After under Properties.
- To add another element in the Sequence, select + Add Element. Add as many elements as needed.
- Select Advances: Independently or After Element #.
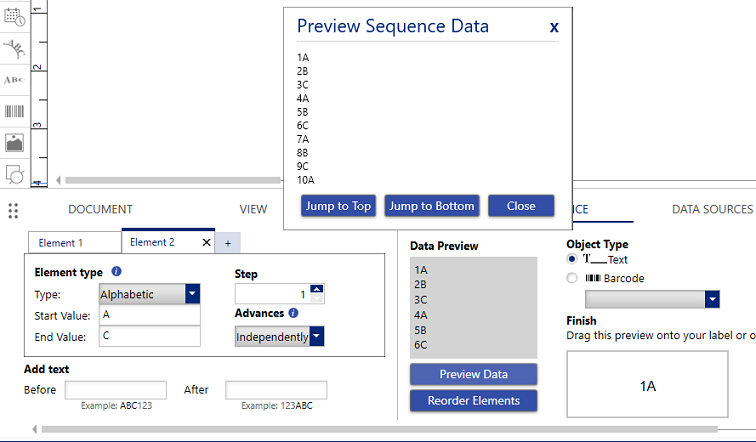
If independently is selected for all elements, the data increments at the same time as shown in the image below.

If "After Element #" is selected under Advances, the first element (1-10 in this example) increments with the first value of the second element (A in this example). The first element (1-10) will then increment to the next value (B) in the second element and continues until all values are present. See the image below. - The Object Type can be Text or Barcode. Select the appropriate radio button. If you select Barcode, select the corresponding Barcode type in the dropdown.
- Enter information in Before or After that should not change. This value will stay constant throughout the sequence.
- To edit the label pattern or save the scheme, select the three lines on the right side.
- Select Change Label Pattern. Adjust the settings to change the count, placement or label order and select Save Settings.
- Select Scheme Properties to save the Sequence.
- Once you enter all the information, click in the box under Finish and drag it onto the label.
Related information


