
Use the M5 Torx screwdriver to install the Cutter. Purchase the Cutter on BradyID.
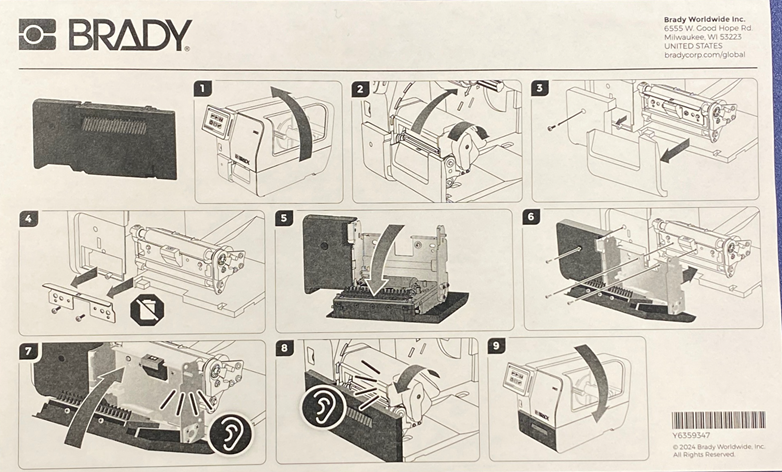
- Remove power and supplies from the printer.
- Disengage the printhead locking lever to lift the printhead.
- Remove the (1) screw from the accessory port cover and the (2) screws holding the tear plate.
IMPORTANT! Keep the tear plate in a safe location for future use.
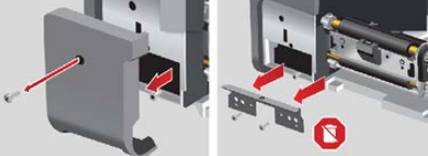
- Remove the Tear Plate.
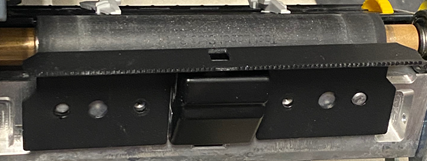
Tear plate removed
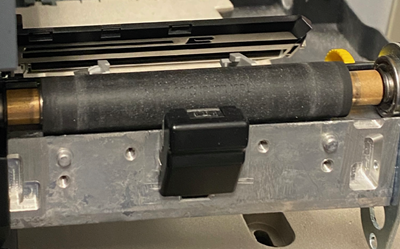
- Lower the front of the auto cutter.
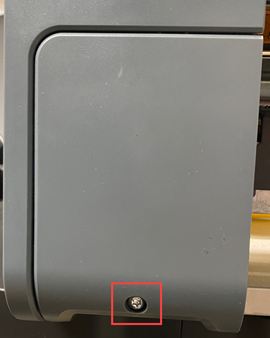
- Insert and secure the accessory port cover on the left.
- Screw in the accessory port cover screw on the left.
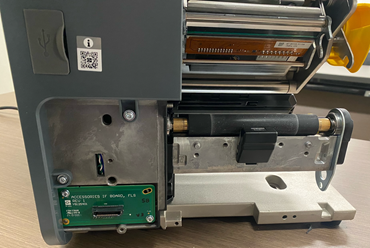
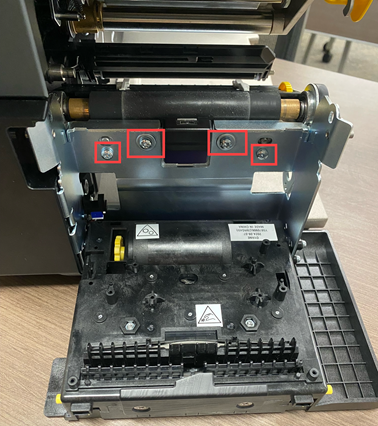
- Align the holes in the bracket to the holes on the printer and secure with the (4) screws.
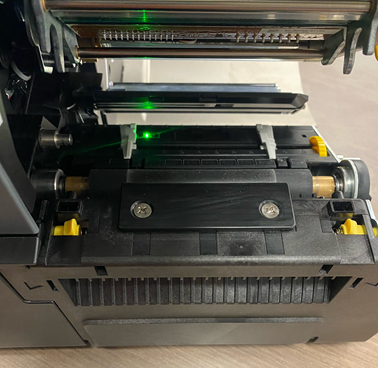
- Close the auto cutter.
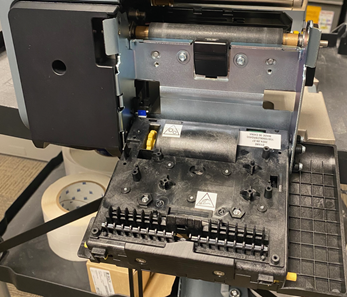
- Install the ribbon. There is a strip of labels (THT-17-423) that is sent with the auto cutter. This must be used for the initial install of the cutter.
If these labels were not in the box, contact Global Brady Technical Support Contact Information to request a strip of the THT-17-423 material.
- Close the printhead locking lever.
- Close the cover and plug in the power cord.
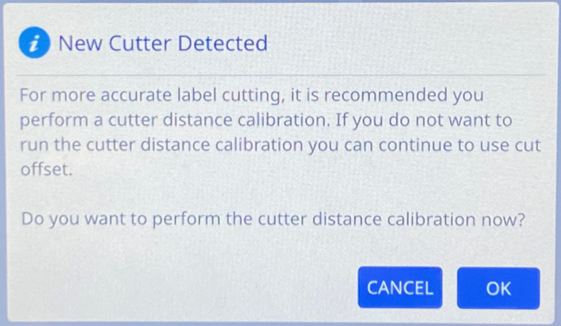
- Press OK on the LCD screen to perform the cutter distance calibration.
- Load the die-cut labels that were included in the box with the cutter. Close the printhead and press Next.

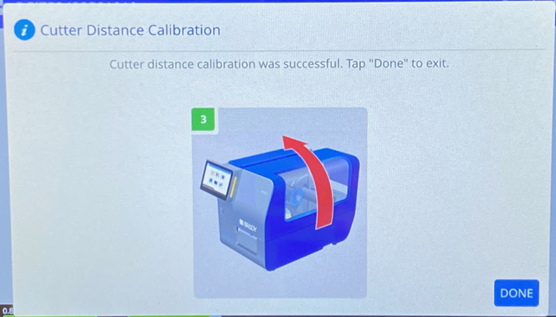
- Press Done if the calibration is successful.
If the calibration is not successful, review the message on the screen. The labels may not be loaded correctly.
Cutter adjustments can be made in Brady Workstation, in the driver or on the printer standalone: i7500 - Cutter Settings.

