The Auto Cutter must be installed in order to change any of these settings: i7500 - Install the Auto Cutter.
The Auto-Cutter Print Mode settings can be set in Brady Workstation, on the printer or in the driver. Cut offset position can be set on the printer. The Print Mode settings will not be overridden in Brady Workstation and must also be set on the printer.
Brady Workstation
- Create the label in Brady Workstation.
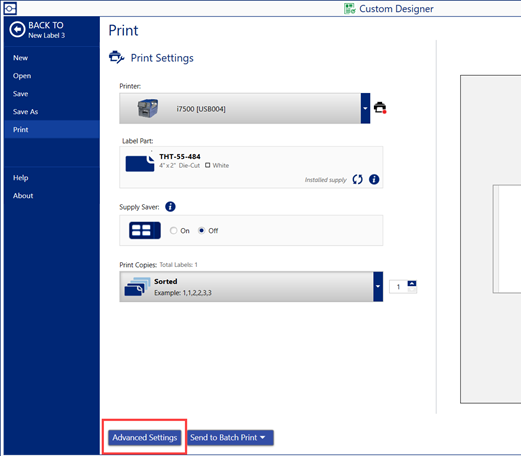
- Click Print. The i7500 printer must be connected to the computer in order to proceed further.
- Click Advanced Settings.
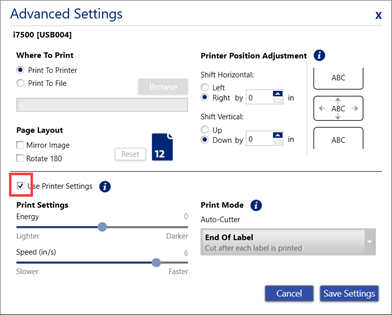
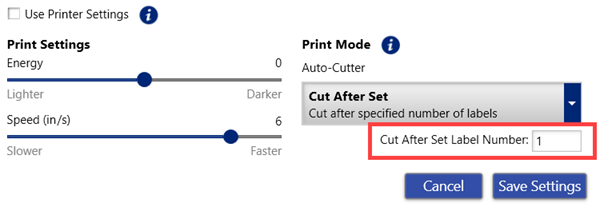
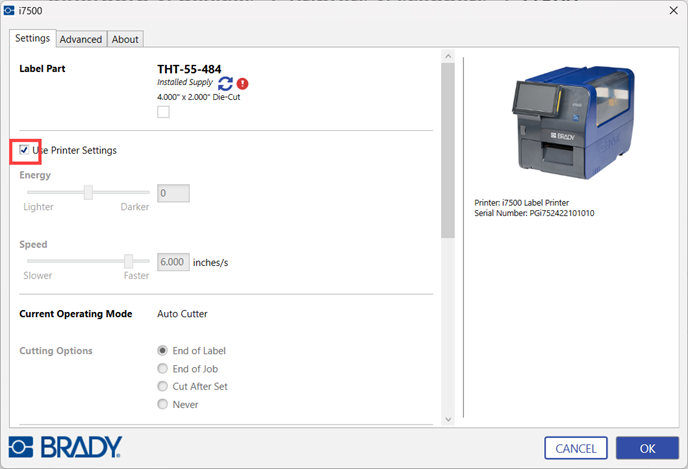
- Click the checkbox to uncheck Use Printer Settings.
- Click the dropdown for Print Mode Auto-Cutter and select the option: End of Job, End of Label, Cut After Set and Never.
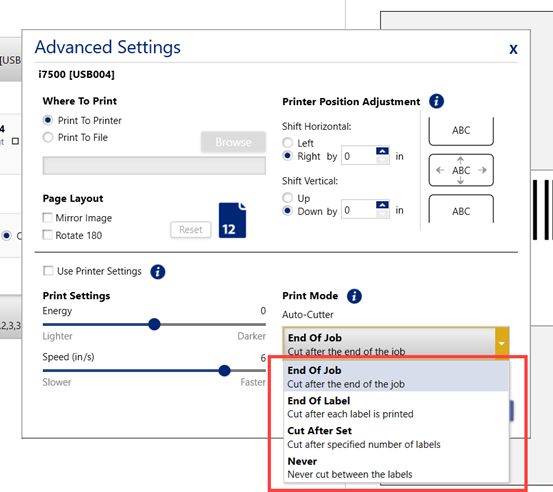
If Cut After Set is selected, an additional textbox appears to enter the number when the label is cut.
Printer Settings
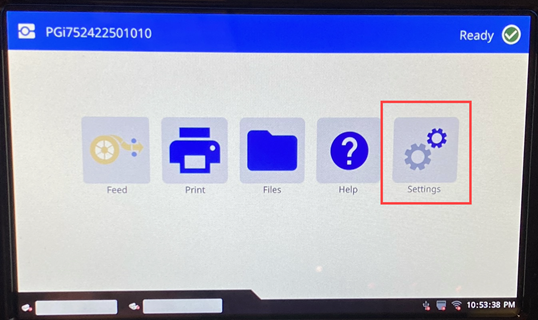
- Tap Settings.
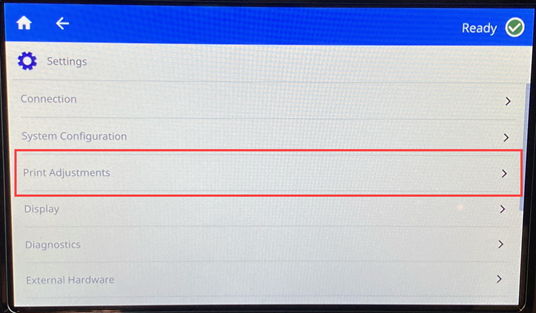
- Tap Print Adjustments.
- Tap Print Mode.
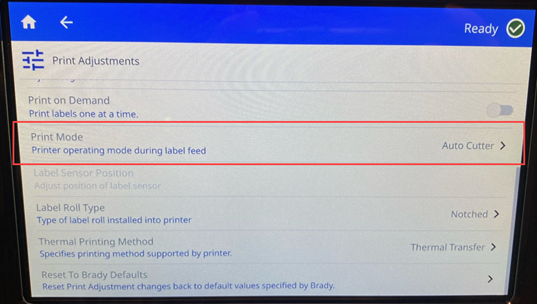
- The Current Operating Mode is set to Auto Cutter when the cutter is installed.
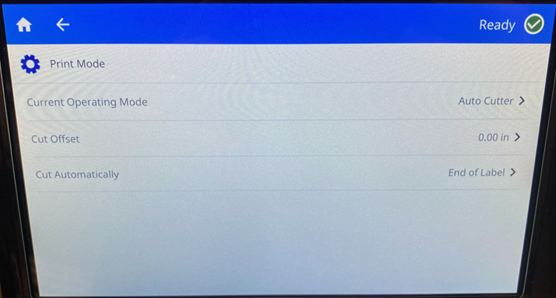
- Tap Cut Offset to change the cut position relative to the rear label edge.
- Press the up or down arrow to move the cut offset.
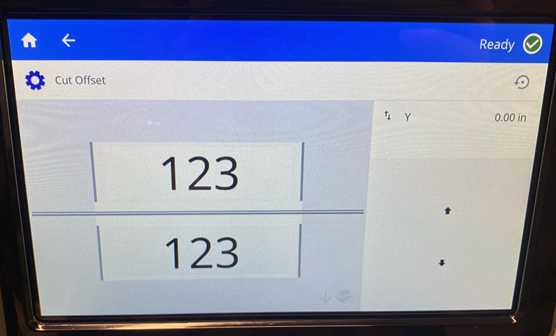
- Press the back arrow.
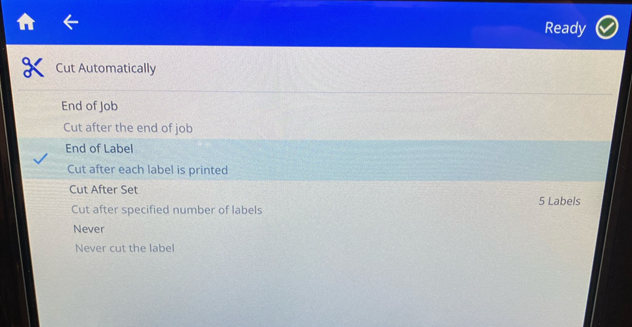
- Press Cut Automatically to change when the cutter cuts the label.
- Tap the setting to change Cut Automatically: End of Job, End of Label, Cut After Set and Never.
Note: Cutting options set in Brady Workstation or a ZPL script override this setting.
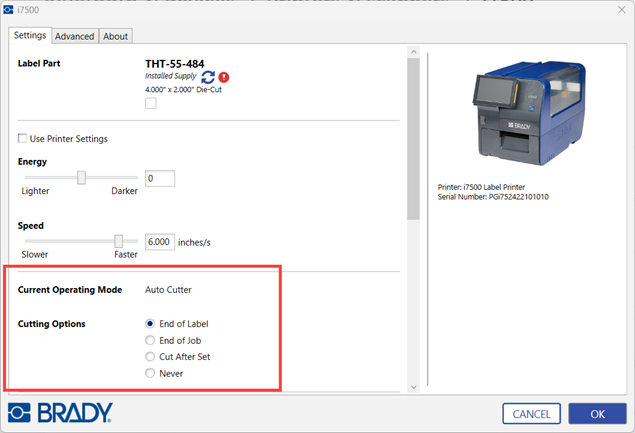
Driver Settings
- Open Printers & Scanners on the computer.
- Click to open the i7500.
- Click Printing preferences.
- Uncheck Use Printer Settings.
Cutting Options is grayed out until Use Printer Settings is unchecked.
- Click the radio button for the corresponding Cutting Option: End of Label, End of Job, Cut After Set or Never.
If Cut After Set is selected, enter the number when the label is cut.