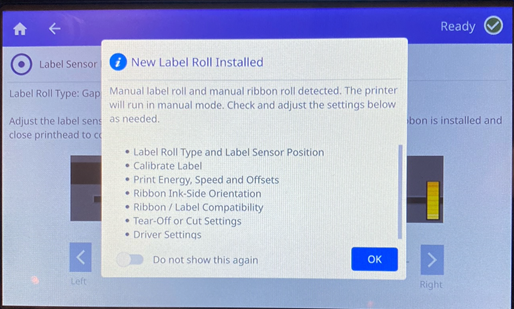
When in Smart Mode, the printer will detect the type of roll that is installed when the printhead is closed and will automatically move the sensor to the correct position for the installed roll.
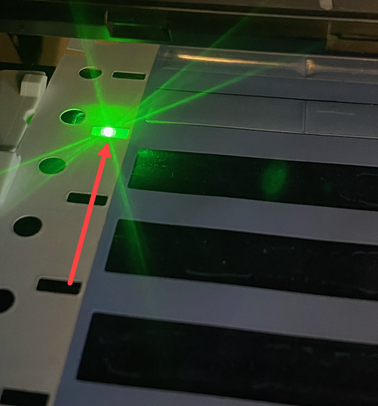
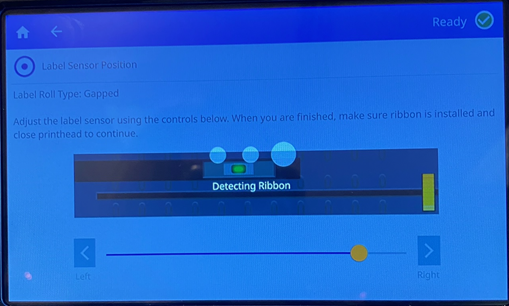
When in Manual Mode, adjust the sensor by visually aligning the optical sensor in the gap when using continuous or notched labels. Move the optical sensor using the slider and arrow buttons on the screen. Press, hold and slide the yellow slider to make large movements, or tap the arrows for minor movements.
Refer to i7500 - Set the Label Roll Type for more information on the different printer modes (Continuous, Gapped or Notched).
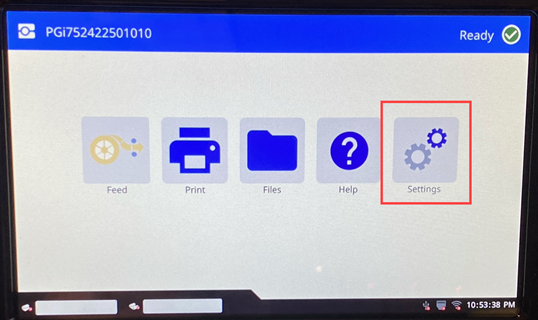
- Tap Settings.
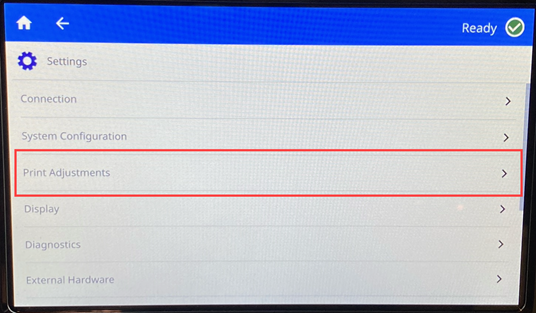
- Tap Print Adjustments.
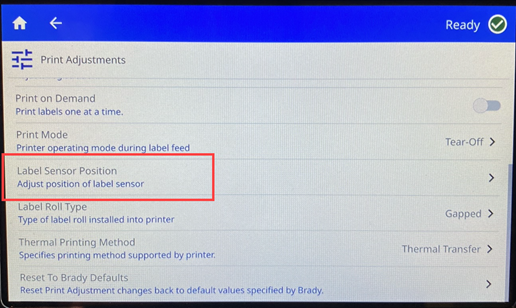
- Tap Label Sensor Position.
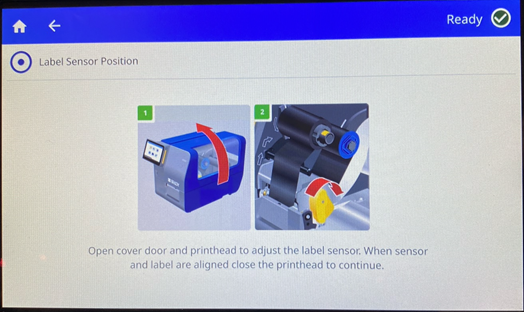
- Follow the prompts on the screen to open the printer cover and printhead.
- Adjust the sensor by dragging the circle or using the arrows.
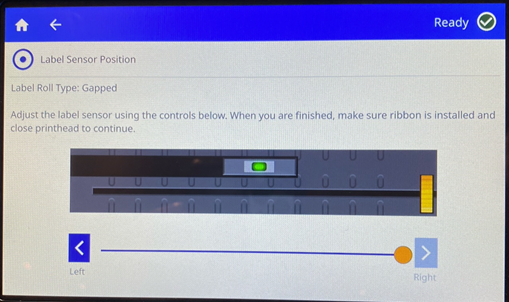
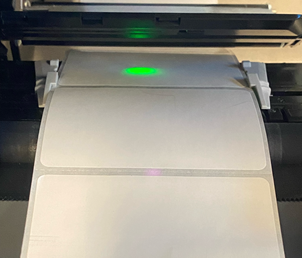
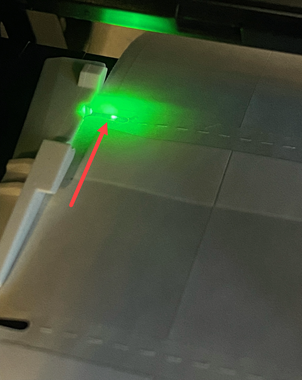
The sensor must be in the middle of a gapped label, in the middle of the notch on a notch label or the rectangle for permasleeve material.
- Load the ribbon and close the printhead.
- Adjust other sensors and settings as needed.