Download the J7300 DriverThe driver is necessary when you are using 3rd party applications or Data Automation within Brady Workstation. If you want to use the Brady Print Utility directly on your computer instead of through Brady Workstation, install the driver. Brady Print Utility will automatically install with the driver.
Important: DO NOT connect the printer to the computer until the steps instruct you to do so.
If you are going to network the printer, configure the Ethernet connection before installing the driver.
- Download the latest driver from BradyID.
- Right-click the folder and select Extract All.
- Select the folder location and select Extract.
- Double-click the extracted folder.
- Right-click J7300_Driver_Installer and select Run as Administration.
- Click Let's Get Started.
- Click Next.
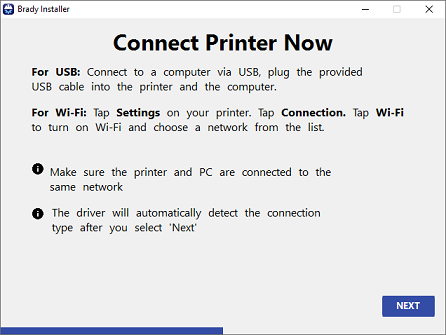
- You can connect the J7300 via USB or Wi-Fi.
Connect the printer via USB.
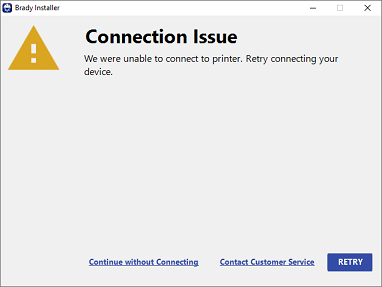
Important: Wait a few seconds for the computer to detect the USB connection. If you do not wait a few seconds or you receive the Connection Issue message, click RETRY.
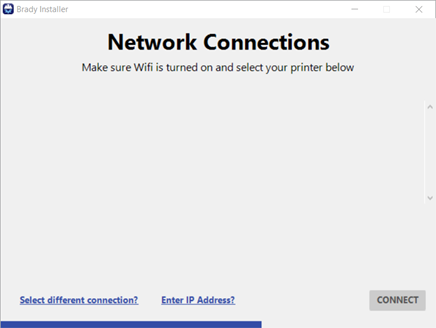
 Network ConnectionSelect Settings > Connection > Wi-Fi on the printer. Make sure the printer is connected to the same network as the computer.
- Once the installation is complete, select Next on the next few screens.
- Click to check the box for I agree to the terms of this agreement. Click Brady may contact me.
- Click Close.
If you assign the J7300 a different name using the Printers app or Network IP address in Brady Workstation, it will not show up when the driver is installed. If you want the name to appear different, update the name in Windows Printer settings or via Print Management. Brady Print Utility Brady Print Utility automatically installs with the driver.
Search for "Brady Print Utility" on your computer to open the software.  Related information


