Body | BBP33 Driver InstallationBefore You Install:
Steps to Install
- Download the latest driver from BradyID.
- Right click and choose "Extract All"
- Right click the executable and choose "Run as administrator"
- Follow instructions in driver wizard to complete installation. Select Next after selecting your language.
- Select Install.
- Select your printer model.
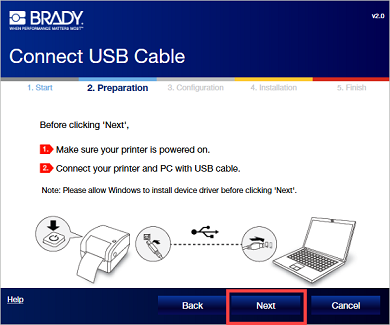
- Connect USB Cable.
Note: Do not select Next right away. Allow a minute or two for Windows to install the device driver before selecting Next.
- Wait while the system checks for the printer status and select Next once it is complete.
- Select the Configuration Type and select Next. If you select Wired Network connection, proceed to step 10. If you select USB cable only, proceed to step 15.
Wired Network Connection
- Enter the printer name.
- Select your Network configuration.
- Connect the Ethernet cable to your printer and connect the computer to the same network.
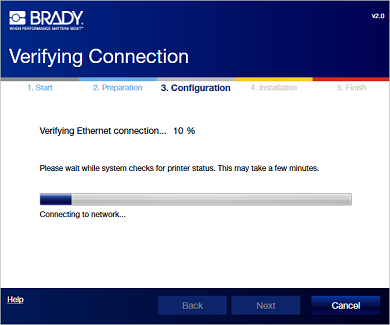
- Wait for the system to verify the Ethernet connection and select Next.
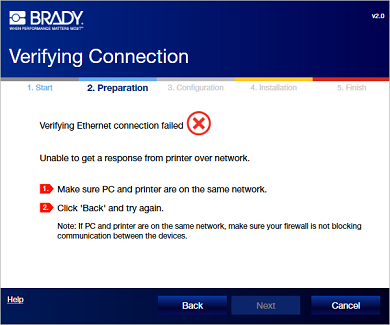
Note: If you receive a failed message, verify the printer is connected to the same network as the computer, select Back and try again.
- Select Finish.
Using USB Cable Only
- Wait for the Brady Network Card Configuration Utility to install and select Next.
- Select Finish.
Related information
|
|
|---|
