BNC Networking
Brady printers featuring an external Brady Network Card (BNC) require configuration via the Brady Network Card Configuration Utility. The utility installed as part of the printer driver installation.
Requirements
- These steps apply to the BBP33, BBP31, BBP35/37, BBP85, BMP61 and BMP51/53 printer models
- The printer must be simultaneously connected via USB to the PC and networked with a network cable
- Consult your network administrator before adding a device to your network
Configure BNC Networking in the Driver Installation Wizard
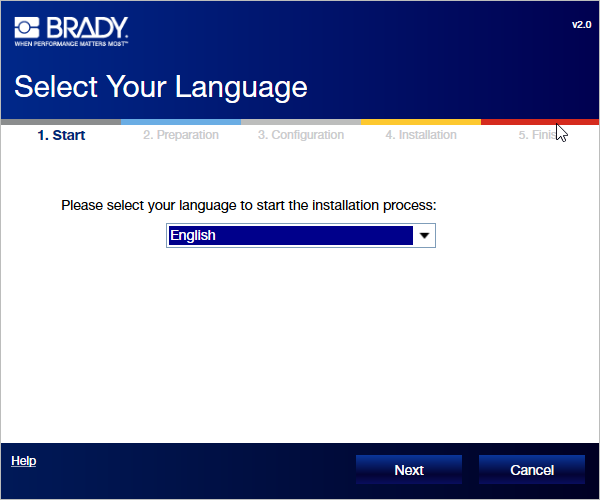
- Select your language and click Next.
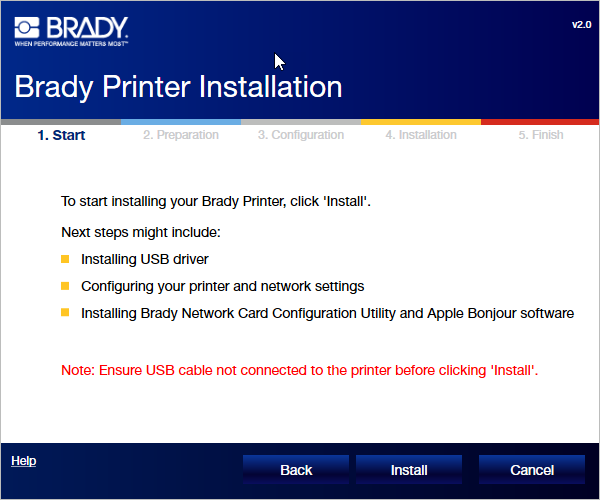
- Click Install.
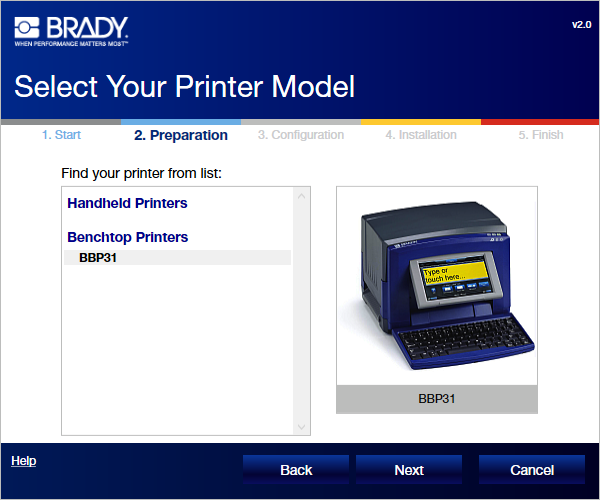
- Select your printer model and click Next.
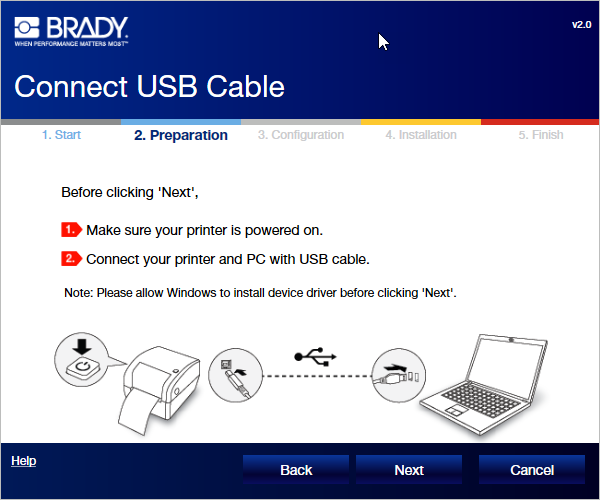
- Connect the USB cable and click Next.
- Wait for the printer status check to complete. Click Next.
- Select connection type. Click Next.

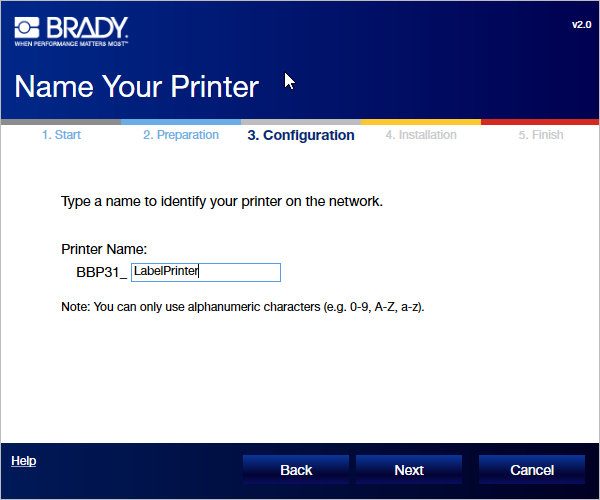
- Name your printer. Click Next.
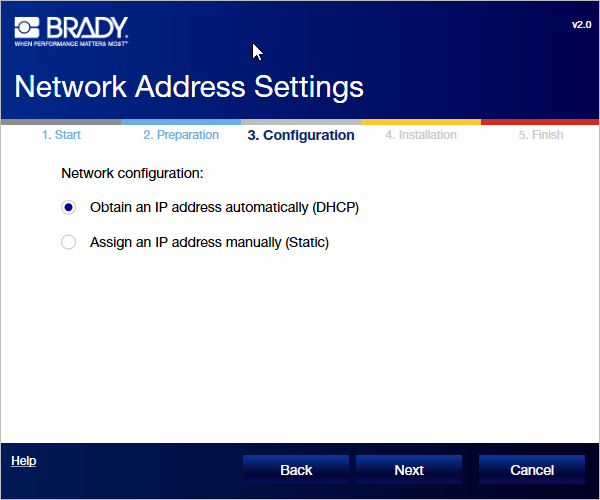
- Choose to network via DHCP or provide a static IP. Click Next.
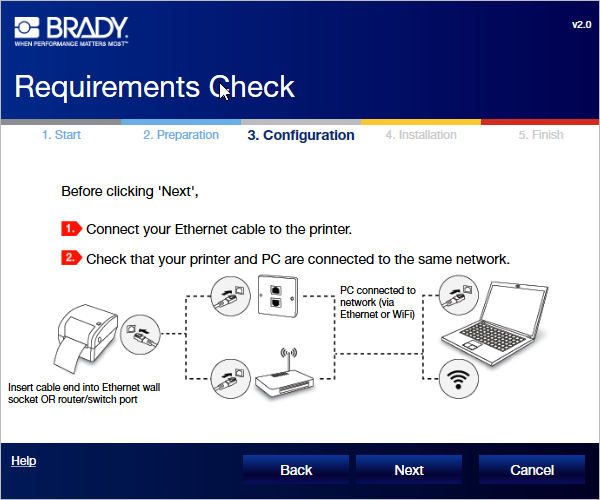
- Connect the printer to your Network. Click Next.
- Wait for verification to complete. Click Next.

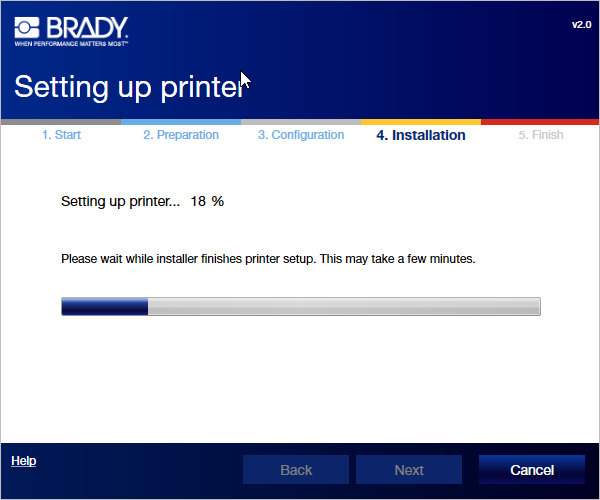
- Wait for printer setup to complete. Click Next.
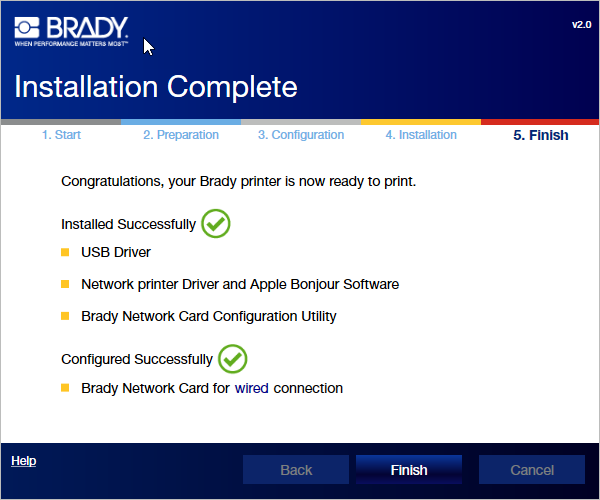
- Click Finish.