Installing the A6500 Driver
- Download the driver from BradyID.
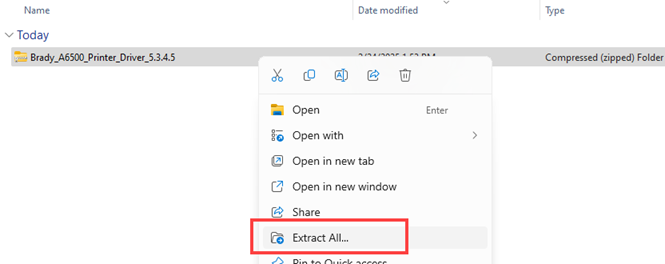
- Right-click and choose Extract All.
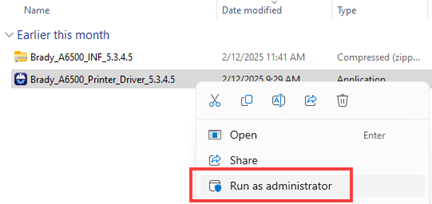
- Open the extracted folder. Right-click the file and select Run as Administrator.
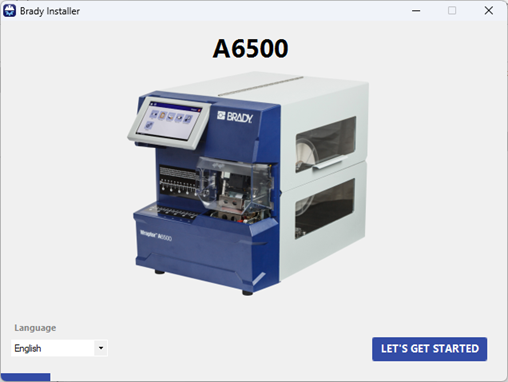
- Click Let's get started.
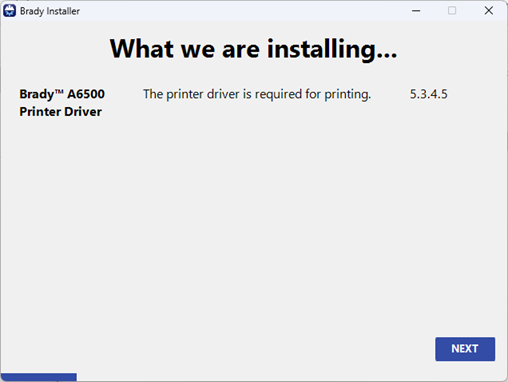
- Click Next.
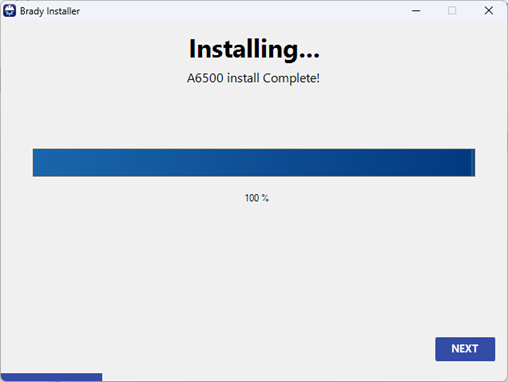
- Wait for the install to complete. Click Next.
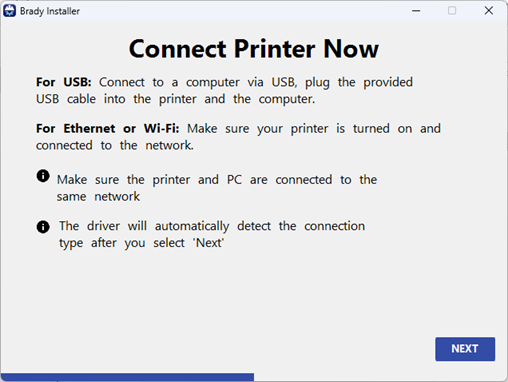
- The A6500 can be connected via USB or Ethernet or Wi-Fi.
If connecting via USB, connect the printer now.
If connecting via Ethernet or Wi-Fi, verify the printer is connected to the same network as the computer.
Click Next.
- If connecting via USB, proceed to step 10.
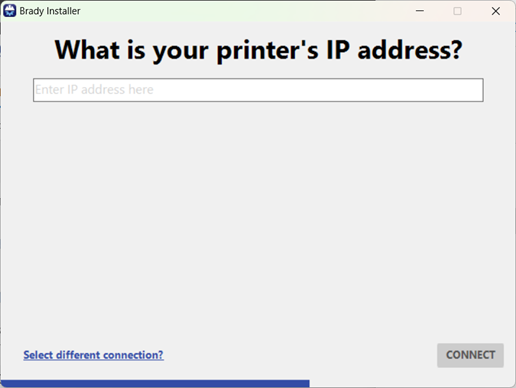
If connecting via Network, click Enter IP Address to enter the network information.
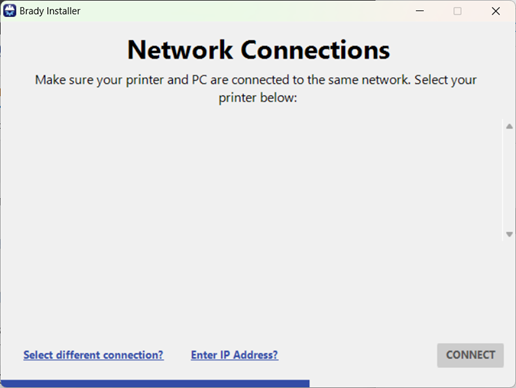
- Enter the IP address and click Connect.
How to Network the A6500 Printer (Static and DHCP)
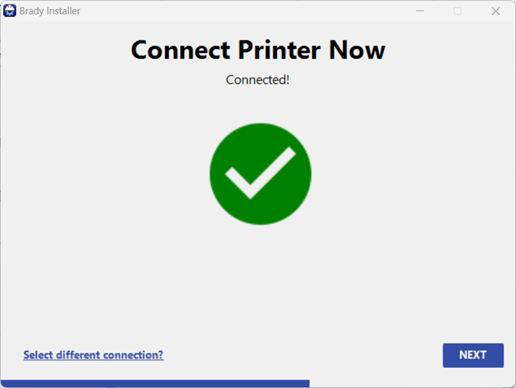
- If the connection was successful, the green checkmark displays. Click Next.
If the connection was not successful, try again. The USB cord may not have been connected long enough before clicking to the next screen or the Ethernet connection was not correct: Brady Printer Drivers - Checking Printer Status Failed.
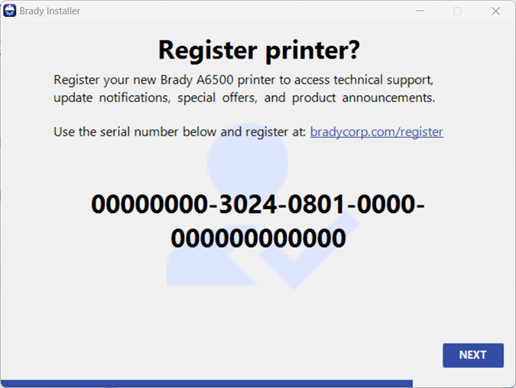
- Click the link to register the printer. Click Next to proceed to the next screen.
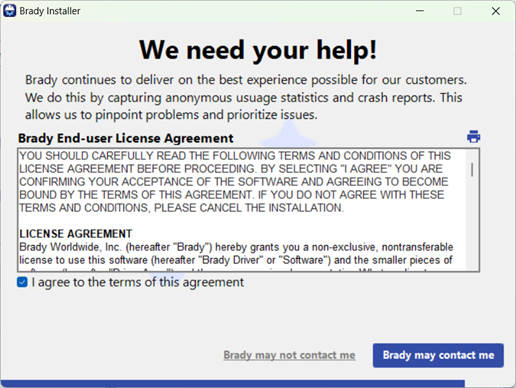
- Click the checkbox to check "I agree to the terms of this agreement." Click Brady may contact me.
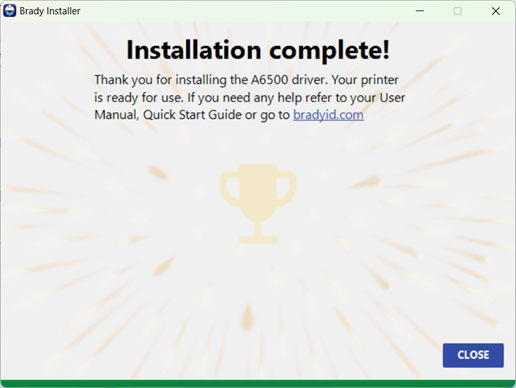
- Click Close to complete the Driver install.