How to Cut Out Objects and Text on the BBP37 and S3700
XY Cutting Considerations
Cut Out Text on the Printer
- Using the screen on the printer, touch the printer screen where it displays “Type or touch here.”
- Select Text.
- Enter your text.
- In the bottom right, select the left arrow once for more options.
- Select Cut Text.
- Print the label.
Cut Out Text using Brady Workstation
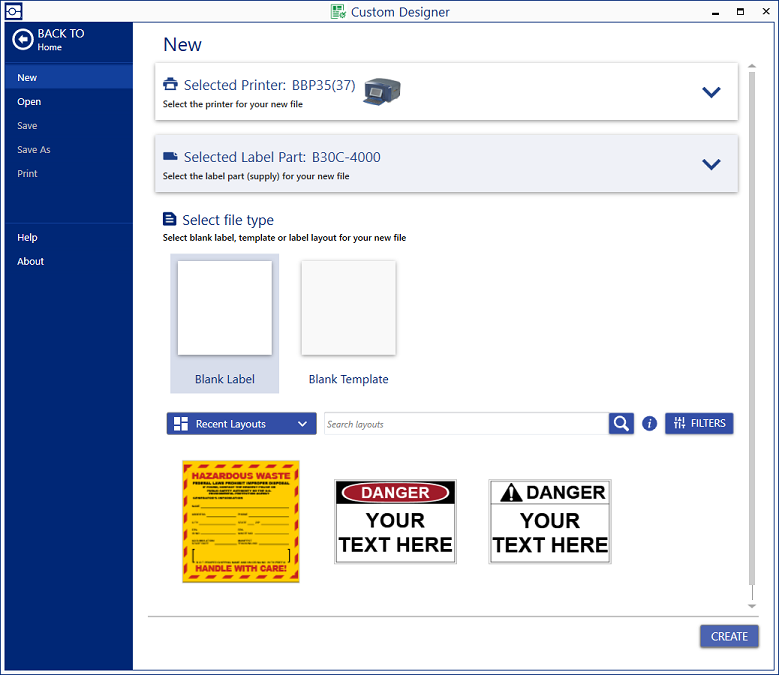
- Open Brady Workstation and select Custom Designer or Custom Designer Lite.
- Select your printer, label part, and file type.
Cut out Text
- Create a Textbox
 and enter text.
- With the textbox selected, select Cut out in Printing & Cutting.

Cut Out Shapes
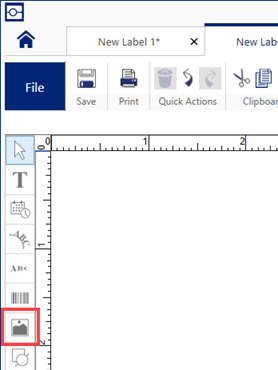
- Select the graphic icon and click and drag a box onto the label.
- Select a graphic from Brady Workstation or import a graphic onto the label.
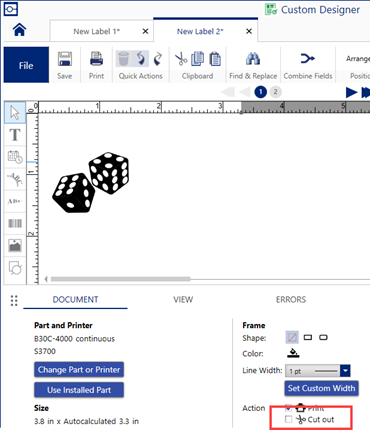
- There are multiple ways to cut out an object:
-
- Click the document tab and select Cut out.
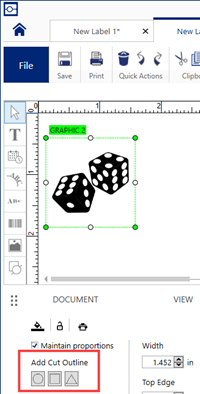
- Click the graphic and select a shape under Add Cut Outline: Circle, Square or Triangle.
-
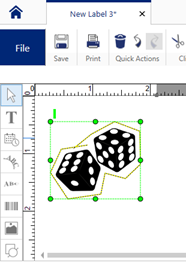
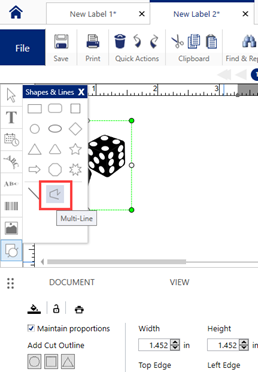
- To create a free form shape, click the shape icon.
-
-
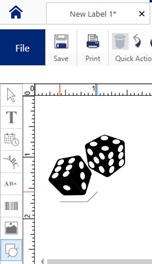
- Click and move the mouse around the shape. Each click will end the line where the mouse is currently.
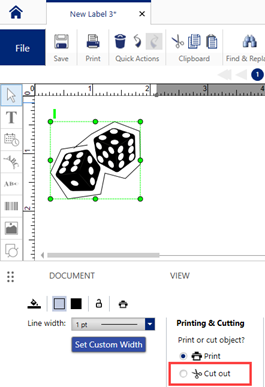
- Once the lines are drawn around the shape, click the checkbox for Cut out.
-
-
- A yellow dotted line appears which is the cut out shape.