Body | Create Custom Parts in LabelMark 6LabelMark 6 allows you to create labels with custom specifications. Contact Brady Technical Support with your custom part Y# if you are unsure of your custom part specifications.
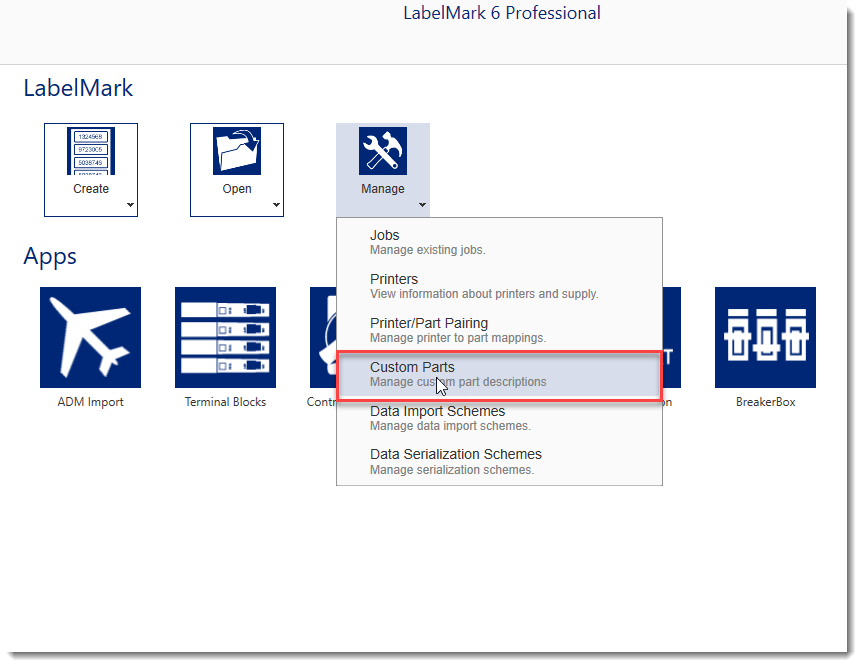
1. Click Manage and select Custom Parts
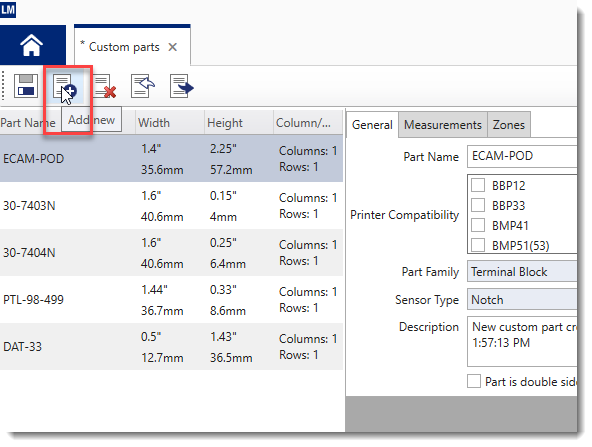
2. Select Add New
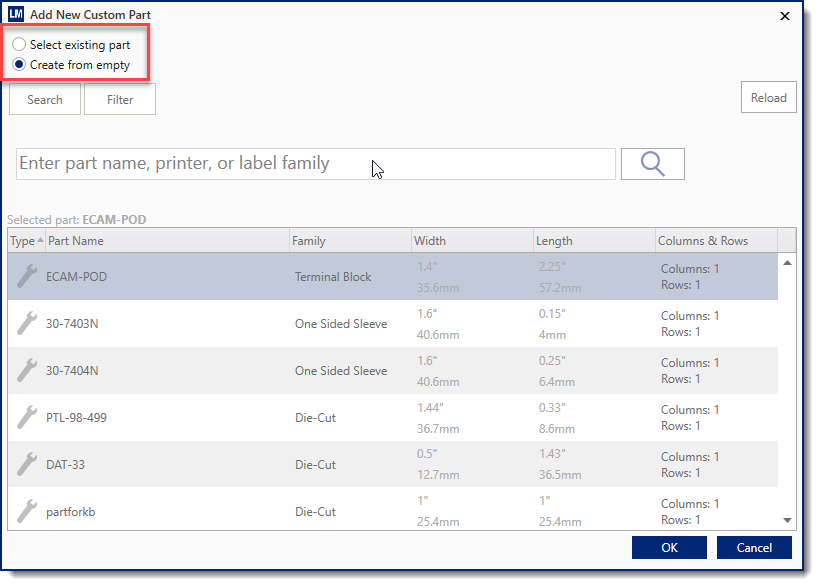
3. Select from Existing or Create from Empty
- Note: To confirm if an existing part is similar to your custom part, search for label parts by dimension
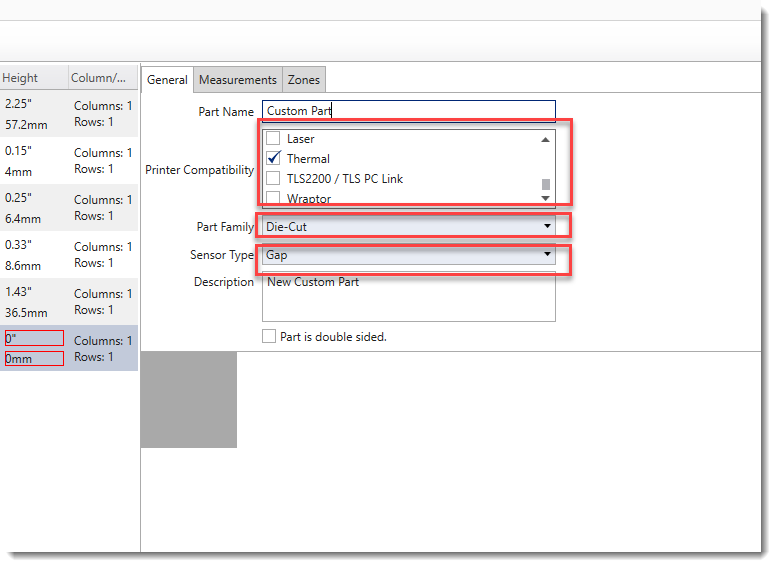
4. General - Choose printer compatibility, part family, and sensor type
- Note: Choose Thermal if your THT printer is not listed
5. Measurements - Enter the measurements of your custom part. Your custom part may use some or all of the available measurement options
- Left Margin - left-side margin of the label
- Top Margin - top-side margin of the label
- Columns - duplicates labels horizontally
- Rows - duplicates labels vertically
- Vertical Gap - gap between rows
- Horizontal Gap - gap between columns
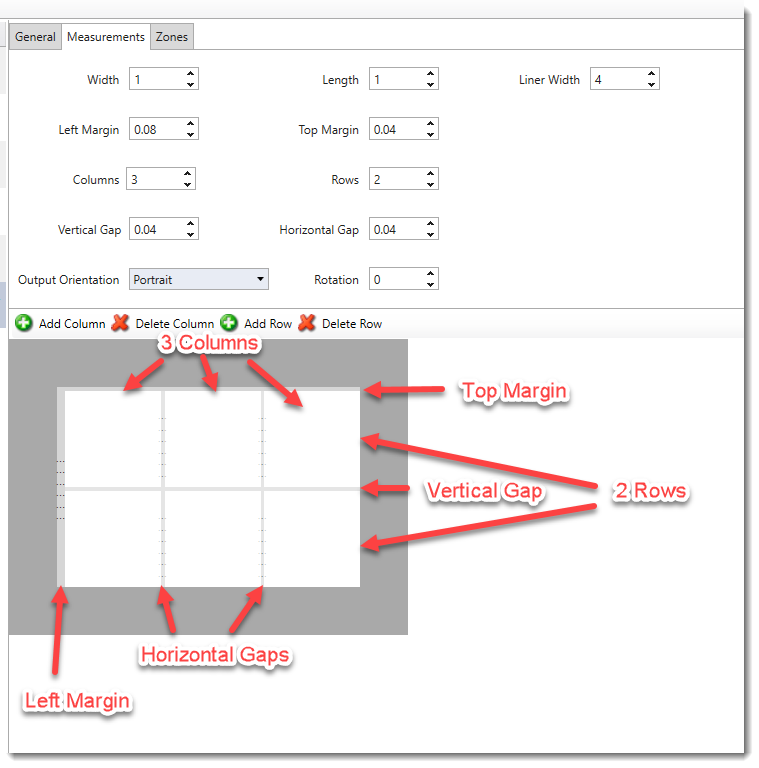
Note: The liner backing extends beyond the dimensions of the labels, so the liner width will always be slightly greater than the overall width of the label
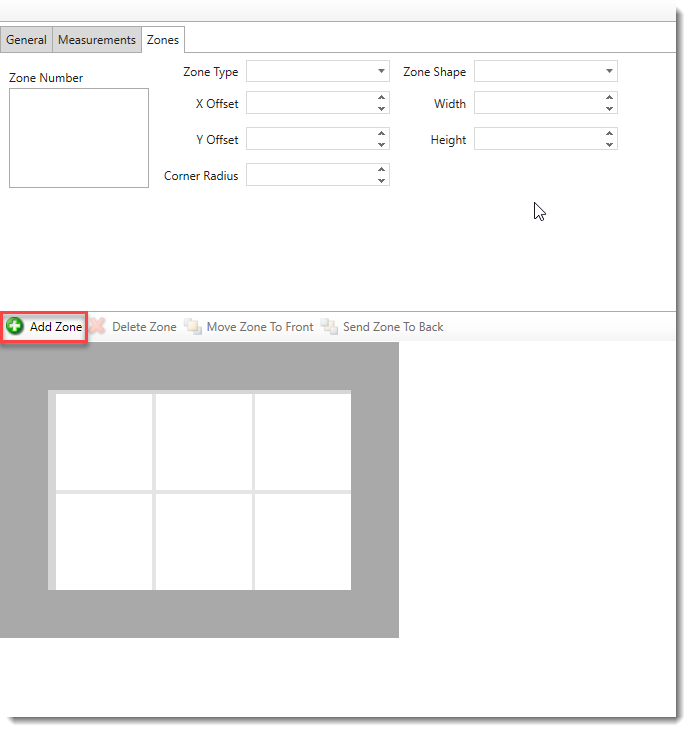
6. Zones - Zones designate printable and non printable areas of the label. This is commonly used to specify the clear wrapping portion of self-laminating media. Click Add Zone to add a zone.
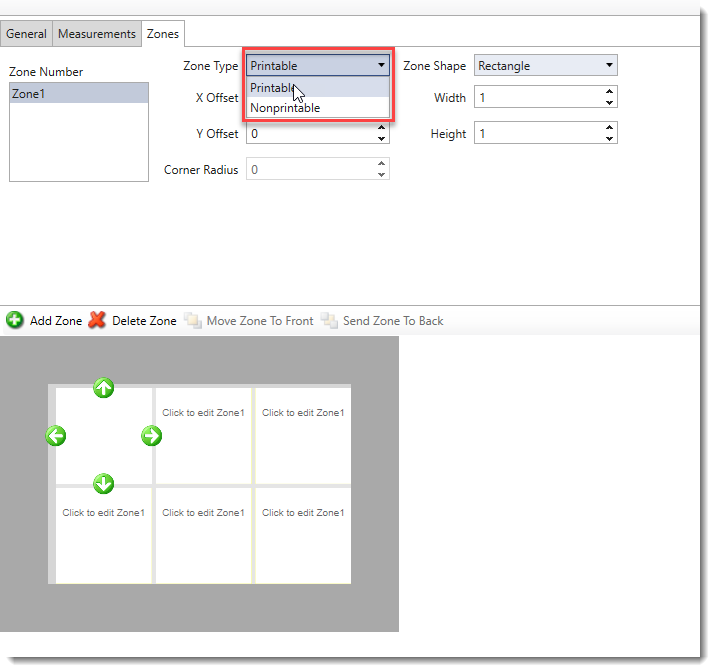
7. Specify printable or non printable
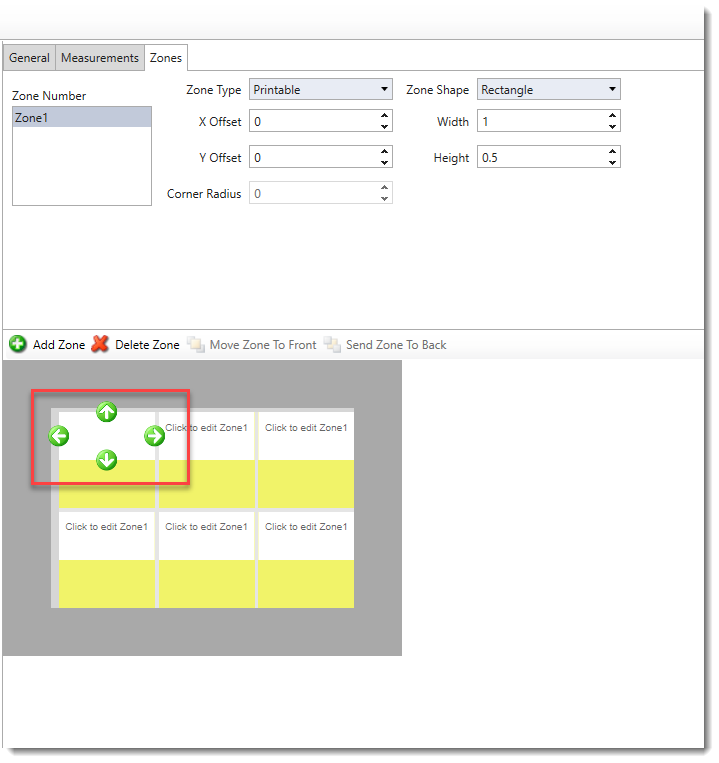
8. Drag the green arrows to resize the zone, the yellow portion is the non-printable area
9. Click Save once finished configuration label specifications

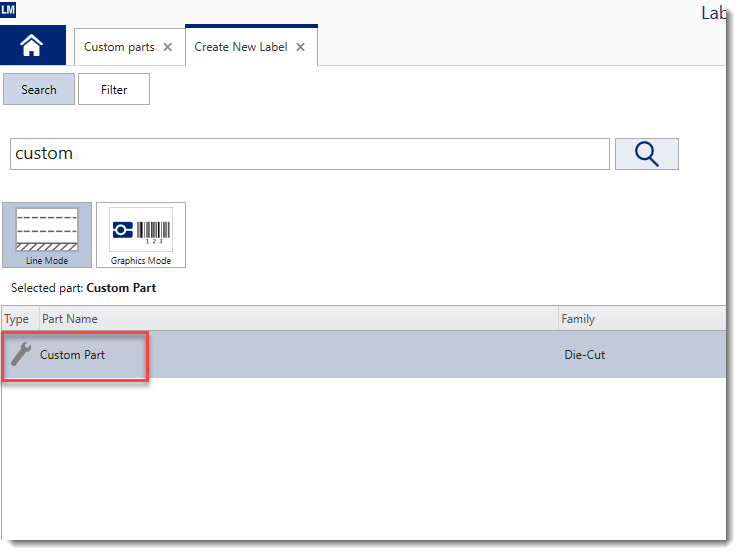
10. You can locate your part in the part search. Custom parts are designated by a wrench icon
 See alsoHow to Export & Import Custom Parts into LabelMark 6 See alsoHow to Export & Import Custom Parts into LabelMark 6 |
|
|---|
