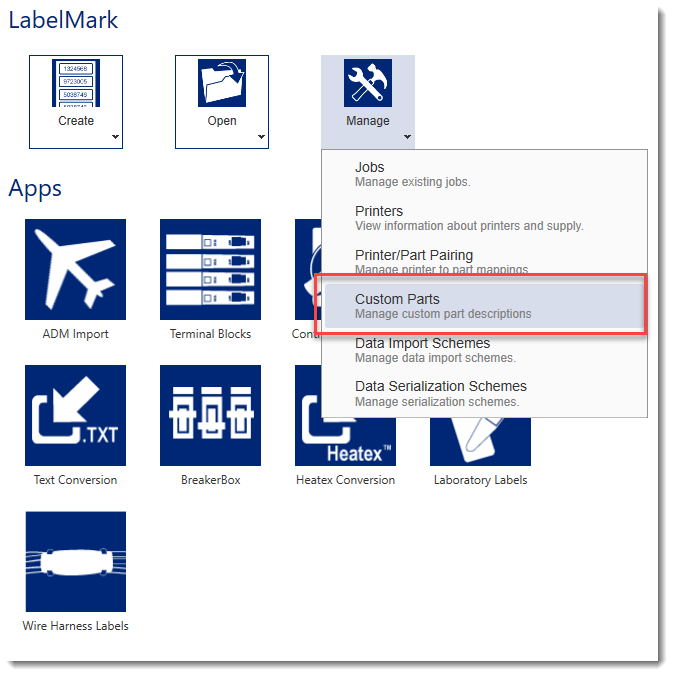
Body | Export and Import Custom Label PartsCustom Labels can be created to add page setups for custom labels or non-Brady labels. This is done in Labelmark 6 from Home screen, click on Manage then Custom Parts.
You can share individual custom parts with other users by Exporting it from your PC, which saves it as an xml file you send to the other person, and the other person then can Import that custom part.
Export a Custom Part File in LabelMark 6
1. Go to Manage and select Custom Parts
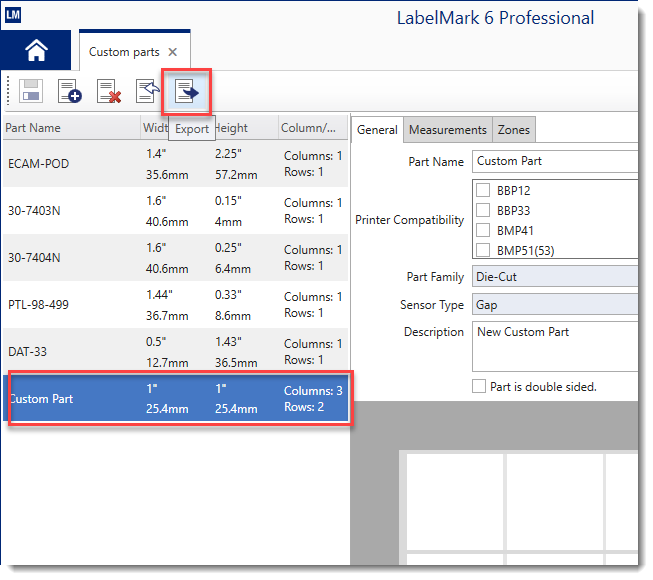
2. Select the Custom Part you want to Export, press the Export button (sheet of paper with blue right arrow icon)
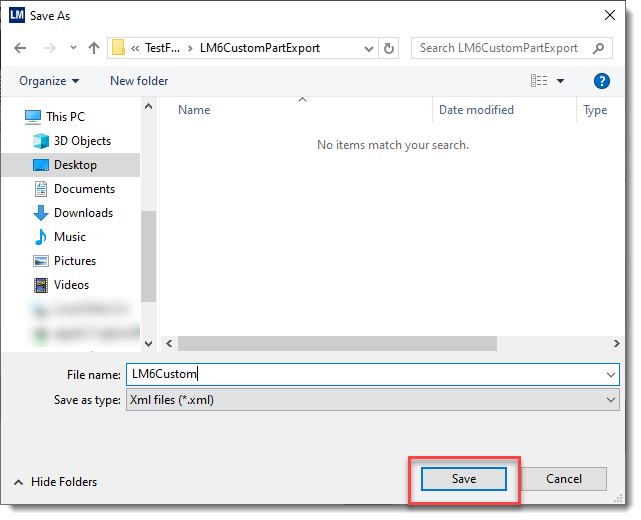
3. Save the file
4. Transfer the file to your preferred method of sending (ie USB drive, Network Drive, Email, CD, etc)
Import a Custom Part File in LabelMark 6
1. Click Manage and select Custom Parts
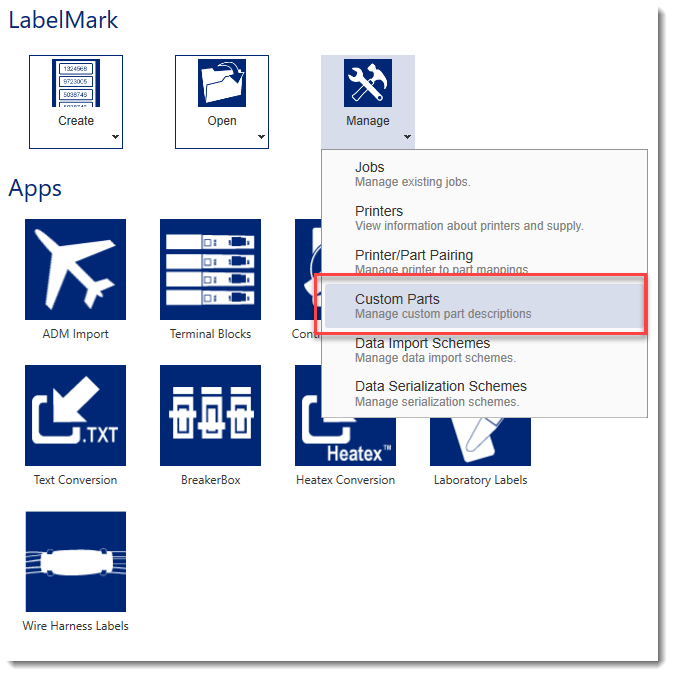
2. Press the Import button
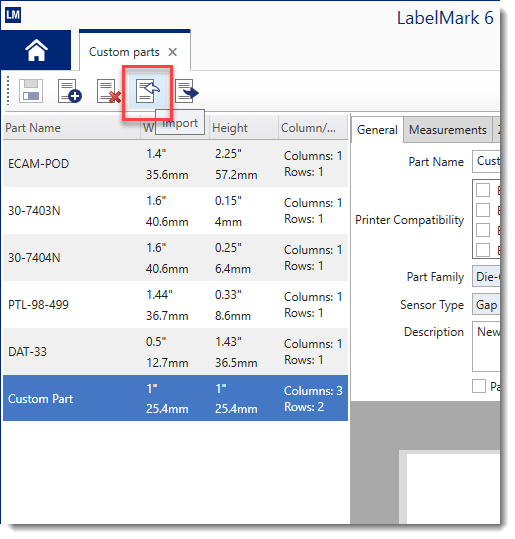
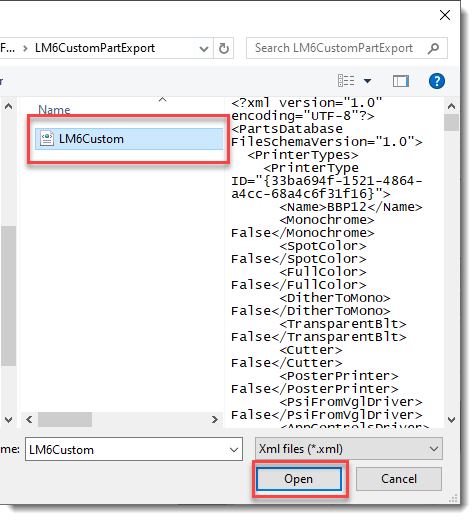
3. Navigate to and choose the file you want to import, click Open
Transferring Multiple Custom Parts in a Single File
If you have multiple custom parts and want to share all of them with a colleague or customer, you can send them your BradyLMPartsCustom.xml file from c:\ProgramData\Brady\Labelmark6 on your PC. The other person would need to copy your file to the same folder on their PC.
Note: This will overwrite existing custom labels on the target PC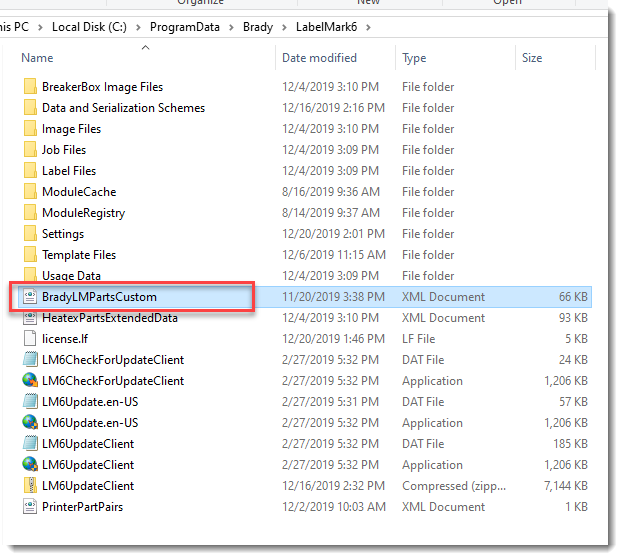 |
|
|---|


