The formatted Excel template can be obtained within the GHS application. See this article for instructions to fill out this form: How to Setup an Excel File for Importing Data Into the GHS App
- Note: Excel is the only program that is supported for importing data into the chemical data list.
Accessing the Formatted Excel Template
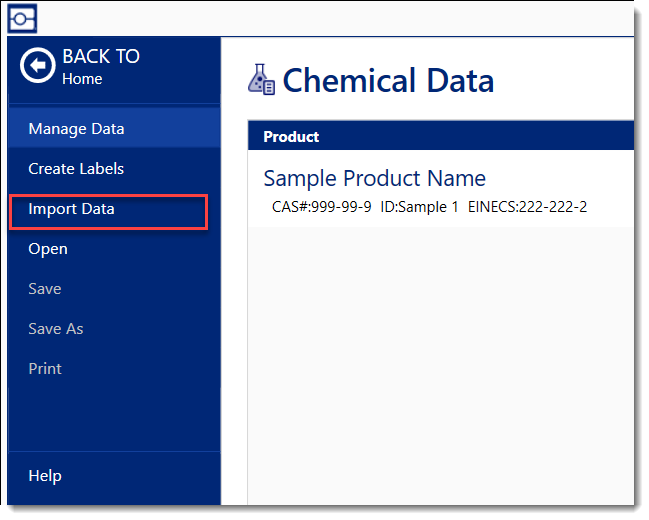
1. Click Import Data in the blue menu column. (If a label is open, click the File button to return to the menu.)
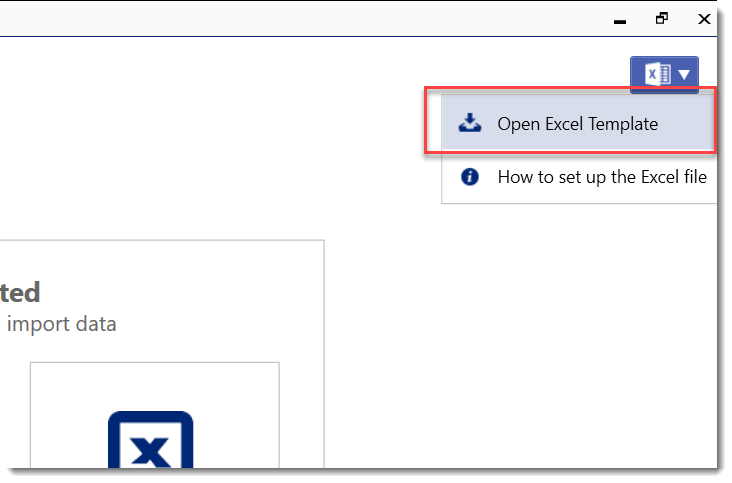
2. Click the Excel button and select Open Excel Template.
3. Save the Excel file and give it a unique name so that you can locate it if you need to re-import in the future.
4. Enter data in the spreadsheet. The rules for data entry in the Excel spreadsheet are very particular. Review these instructions before entering data into this spread sheet: How to Setup an Excel File for Importing Data Into the GHS App
Importing Data to GHS from Excel
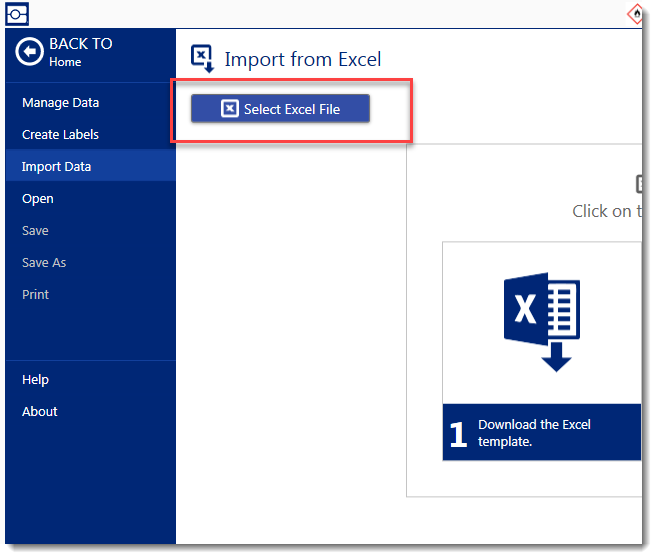
1. On the Import Data page, click the Select Excel File button.
2. Navigate to the file and click Open. The Import from Excel page opens. This page contains a preview of all the data from the spreadsheet. Examine the list of products for import to make sure it is correct.
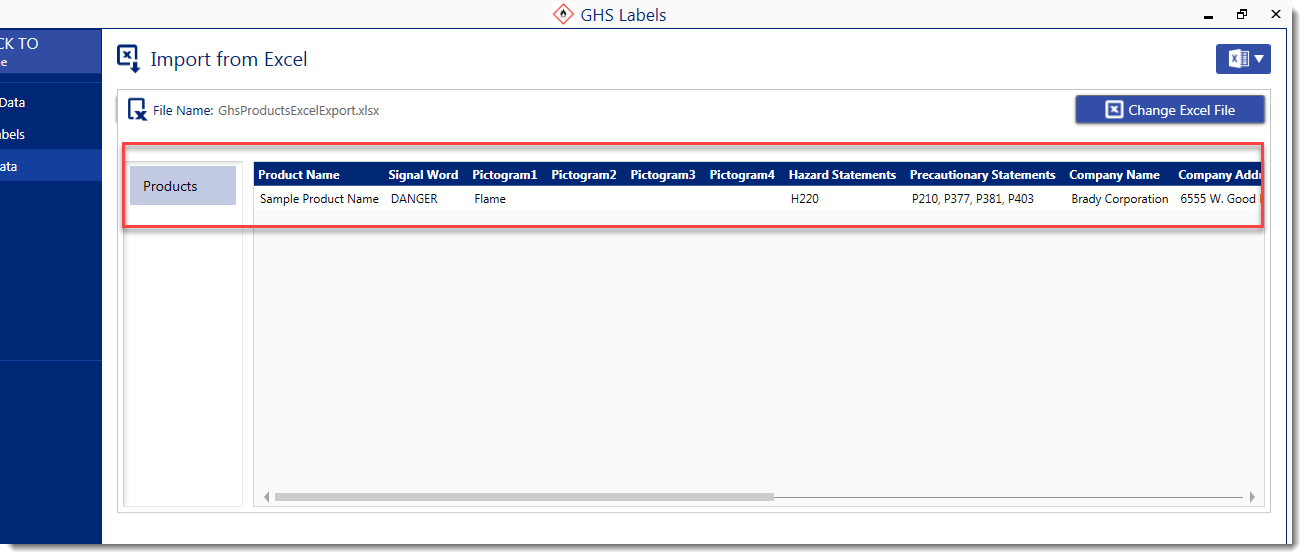
3. Choose how you want the import to integrate the data with existing data.
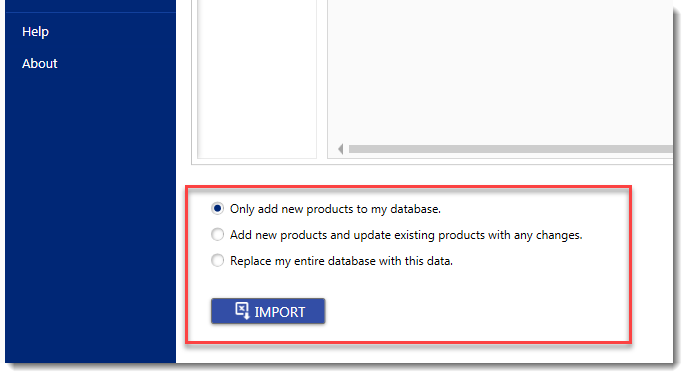
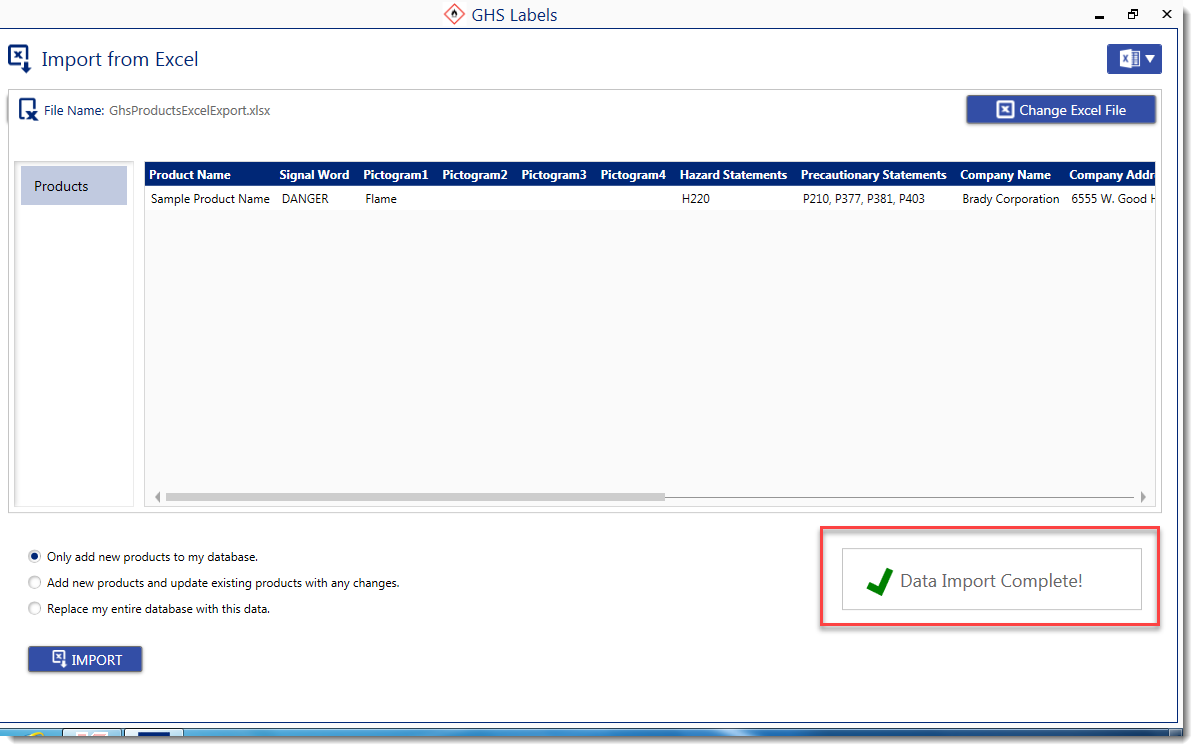
- Only add new products to my database - choose this option if you want the import to ignore any products (chemicals) already in your database and only import new ones.
- Add new products and update existing products with any changes - choose this option if you want the import to include all products, adding new ones and updating existing ones with the data from the spreadsheet.
- Replace my entire database with this data - choose this option if you want the import to replace all existing data. This means any products currently in your database but not in the spreadsheet will be removed from the database.
4. Click IMPORT.
5. When the import is complete, look in the lower right corner for the status. If any errors were found, click the View Errors link to open a text file listing the errors. The most common errors are with hazard and precautionary statements. If any of the data in those cells doesn't match the GHS standard, that cell is imported as custom text, rather than being associated with the statement code.
