Configure a Static IP Address for Printers with an External BNC
These instructions apply to the BBP33, BBP31, BBP37/35, BMP51/53, BMP61 and BBP85 model printers. For more information about static IPs and why you may want to use one, see: Static vs DHCP IP Addresses
Requirements
- A BBP33, BBP31, BBP37/35, BMP51/53, BMP61 and BBP85 model printer
- An available address for your network - Reach out to your network administrator to obtain an available static IP address
- Brady Workstation or the printer driver (only use the printer driver option if you are NOT using Workstation)
Configure a Static IP using the BNC Config Utility
Brady Workstation provides a feature for configuring advanced network settings for the Brady Network Card (BNC). This includes an option to assign a static IP to the printer. This utility is also included in the driver installation for your printer. If you are using Brady Workstation, the config utility is included in the settings menu and no driver installation is required.
1. Connect the printer to the network and also to the PC via USB.
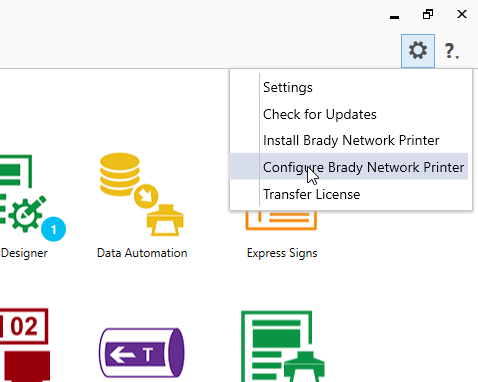
2. From the Brady Workstation home screen, select the gear icon and choose "Configure Brady Network Printer".
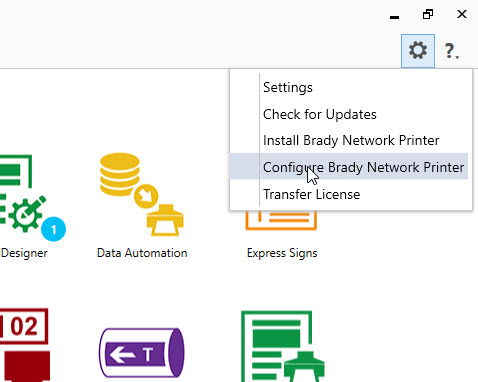
2b. If Brady Workstation is not being used, install the printer driver for your printer, then launch the BNC config utility from the desktop executable.
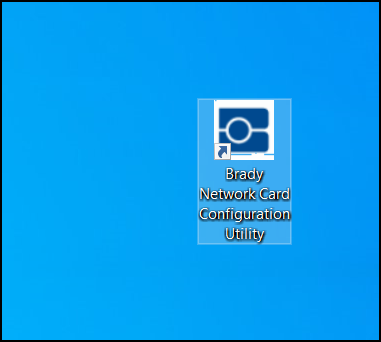
3. Click "OK" for the detected USB connected printer.
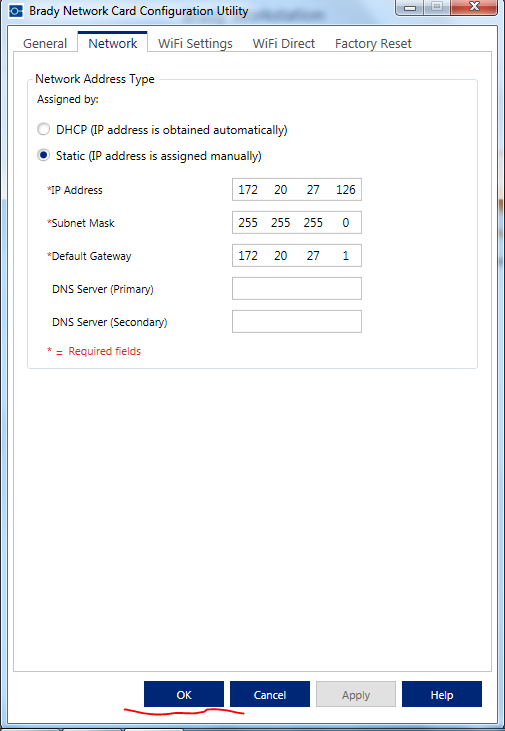
4. Select the "Network" Tab and choose the "Static" option.
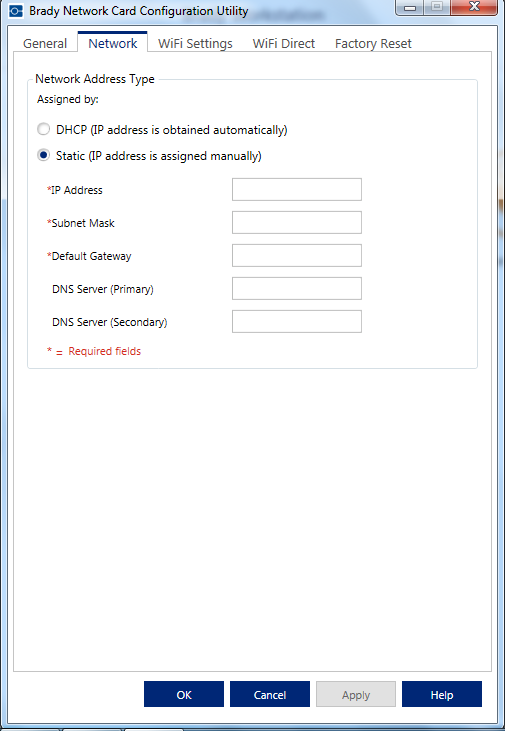
5. Enter the static IP, Subnet Mask, and Default Gateway.
- Note: Not sure what this should be? Reach out to your network administrator to obtain this information.
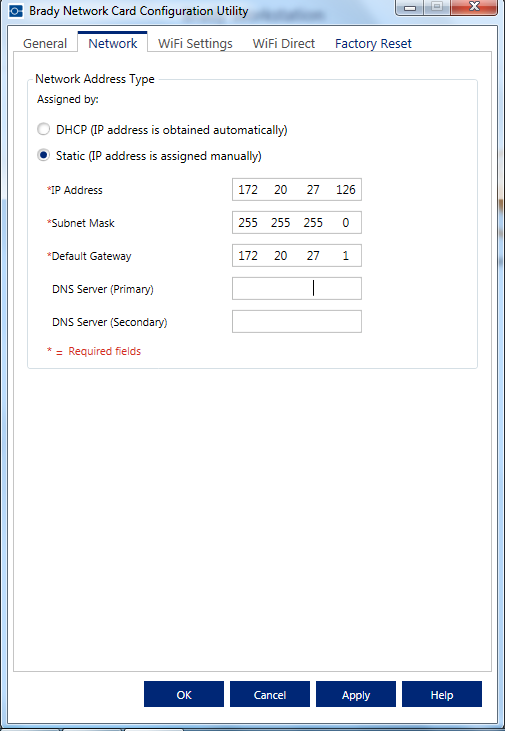
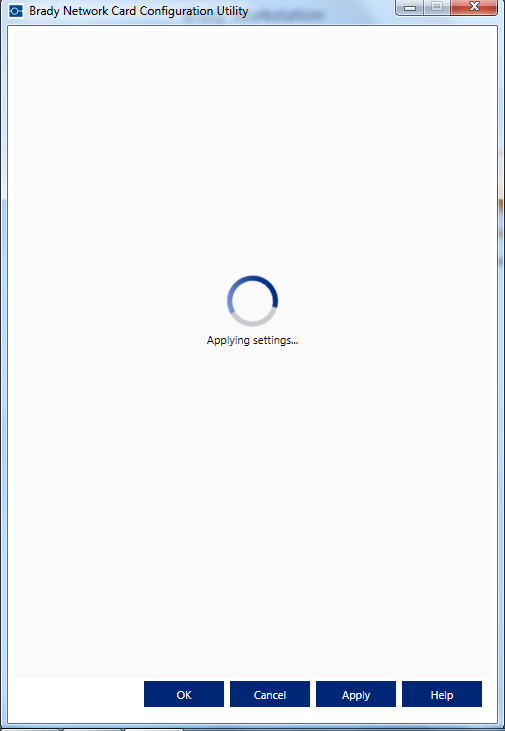
6. Click "Apply", the settings will then be sent to the BNC.
7. Click "OK".
