Removing the BMP71 Cutter Blade for Cleaning
The cutter assembly on the BMP71 Teflon coated and should need minimal cleaning. Should you need to clean the cutter blade there are 3 methods in doing so. It’s recommended to use 90% Isopropyl alcohol since its best at loosening the tape adhesive and residue.
Note: The cutter assembly is a field replaceable part. The cutter handle is part of the cutter assembly. If you need a replacement cutter handle, you will need to replace the full cutter assembly. Contact Global Brady Technical Support to receive a quote.
CAUTION: The cutter blade is sharp. Use care when cleaning.
- Open the top cover of the printer and remove the labels from the printer. Manually activate the cutter lever up and down. Looking into the machine by the two yellow labels where the label feed you will be able to gain access to the top and front of the cutter blade.
- Looking into the side of the machine where the label exits the printer when printing manually activate the cutter lever up and down. You will be able gain access to the front of the cutter assembly for cleaning.
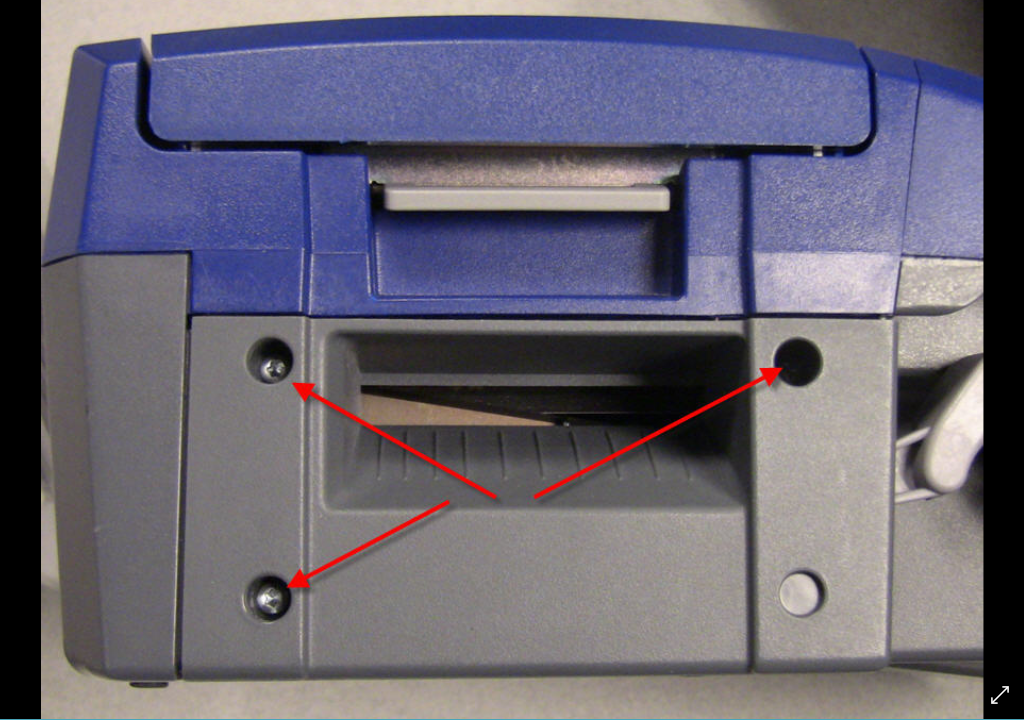
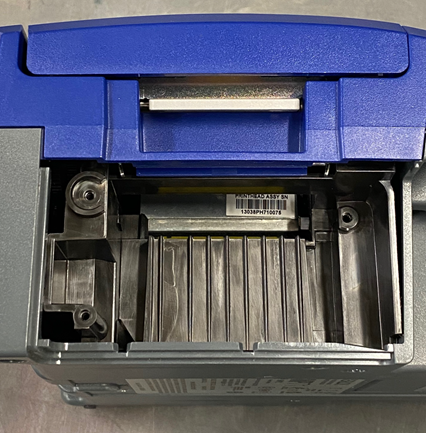
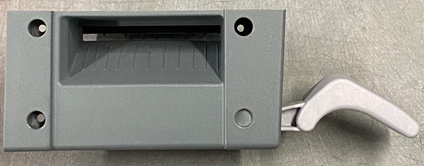
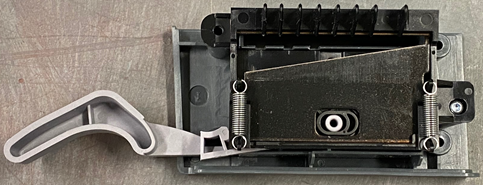
- Using a Torx T-10 driver you can remove the 3 screws that hold the cutter assembly in place. The 3 screws are located on the side of the machine where the tape exits. Once these screws are removed carefully slide the cutter assembly out of the printer.

- Removing the entire assembly will provide access to the back, top and front of the cutter blade.


- Use the cleaning swab from the cleaning kit M71-CLEAN to clean the cutter.
Important: The cutter is sharp. Use care when cleaning.

- Reinstall the cutter assembly and 3 T-screws or replace the cutter assembly and reinstall the screws.
Related information


