How to Stack Labels with the BBP37 and S3700 Printer
To conserve ribbon and label materials, a very popular feature of the BB37 and S3700 model is the ability to stack and die-cut smaller labels using 4 inch label stock.
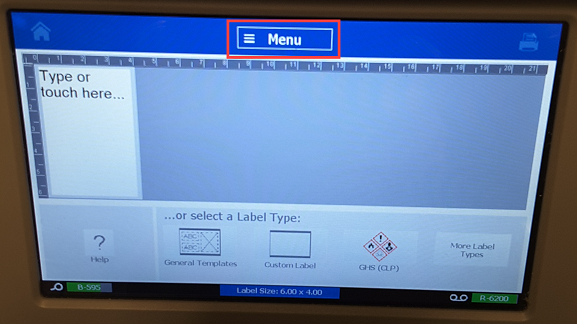
- Select the Menu button
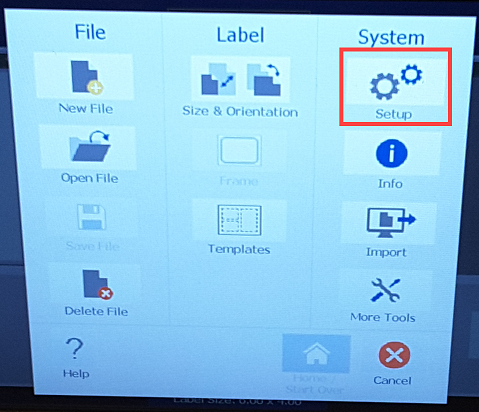
- Select the Setup button
- Next select the Printing button
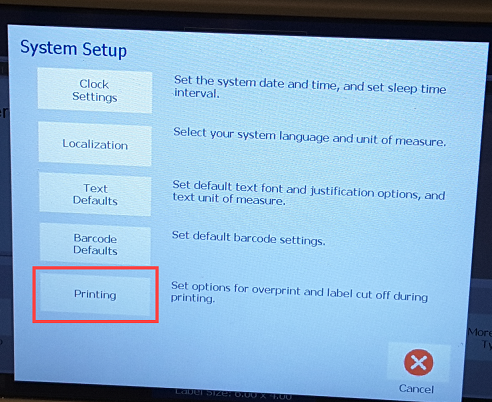
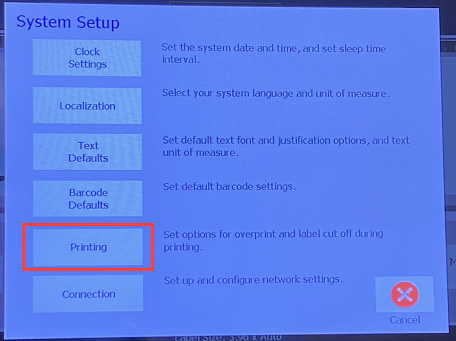
BBP35 / BBP35 S3700
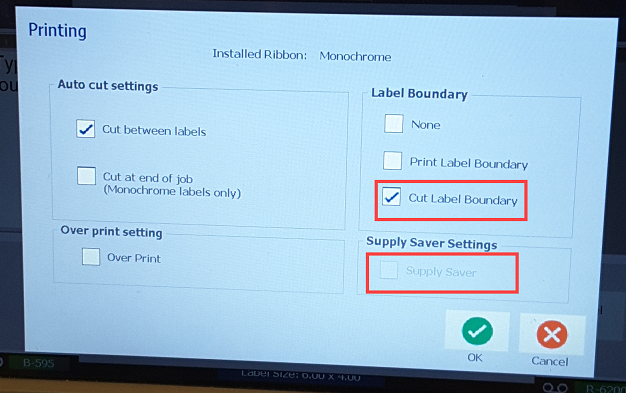
- Ensure Cut Label Boundary and Supply Saver options are checked. If you have a single color or monochrome ribbon installed the Supply Saver feature will be grayed out and does not need to be selected. Select OK on the next couple of windows to get back to the label editor screen.
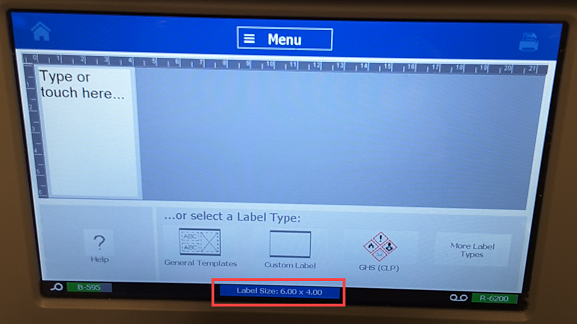
- Once back at this screen, tap the Label Size button on the bottom middle of the screen to adjust the page sizing.
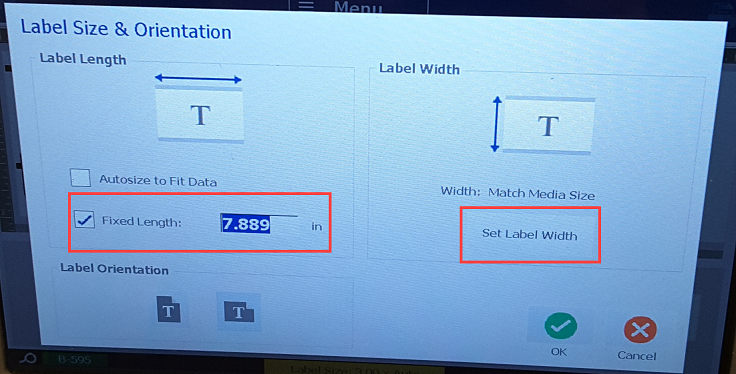
- It is recommended to set a fixed length rather than auto calculate the length. In this example, first set the length. Next, select the Set Label Width button to set stacking preference.
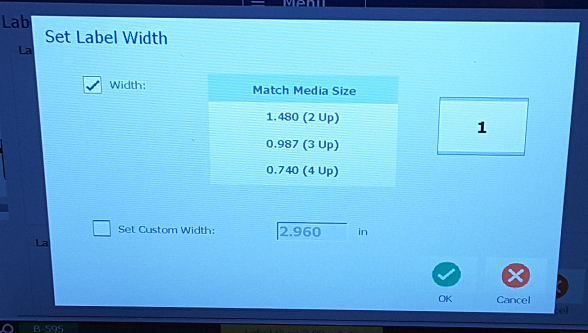
- You have 4 options when it comes to stacking. In this example choose the bottom option to create 4 stacked labels. You will see a preview of how this will print and cut on the right. Select “OK” once you have made your selection a couple of times to get back to the label editor screen.
- For this step, create a label object to be printed.
- Once your text is created, select the “Print” button on the upper right. It is recommended to then choose the “Preview” button to ensure the label info is going to print properly. If you just created a static text object, you will also want to set 8 copies for this example before selecting “Preview”.
- Ensure the label shows 2 columns of 4 labels stacked with dotted cut lines around it. You will likely need to tap the zoom out or minus magnifying glass to see every label. Once ready, tap “Start Print” button to print your labels.
Related information


