Note: Sizing an object too large may cause it to overlap or cover other objects in the Editor.
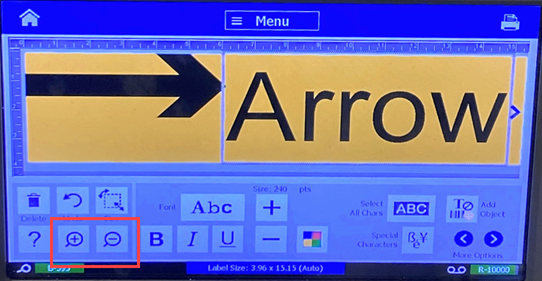
Use Size Buttons
- Create the label.
- Select the objects to resize.
- In the Toolbar, touch the plus sign or minus sign.
This is only proportional resizing.
For barcode objects, resizing occurs only in the direction of the barcode bars. This is usually vertical unless the barcode was rotated.
- Repeat the steps until the object is the correct size.
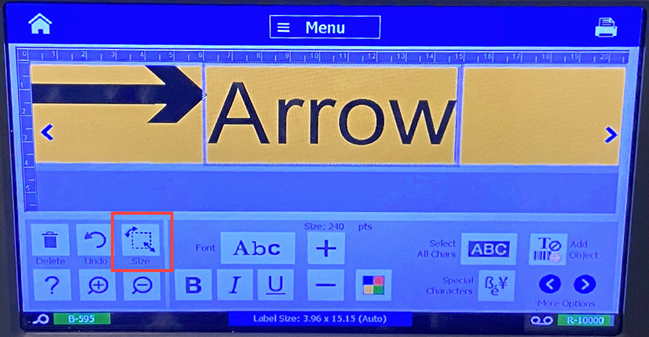
Drag Objects to Size
- Create the label.
- Select the object to resize.
- In the Tools panel, touch Size to display the sizing handles on the object.
If the object is rotated, the non-proportional sizing handles are hidden. To size non-proportionally, return the object to an unrotated state.
- Tap a handle and drag on the touch screen to resize the object:
- Proportionally: Drag the corner handle to resize the object proportionally.
- Non-Proportionally (Width): Drag the right-side handle to stretch or shrink the object width in the direction of the handle only.
- Non-Proportionally (Height): Drag the bottom handle to stretch or shrink the object width in the direction of the handle only.
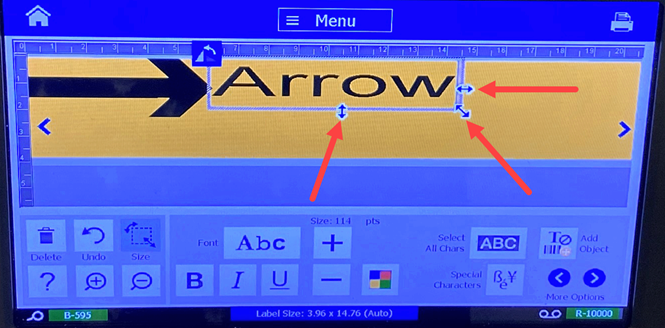
- Touch Size again to hide the sizing handles, if needed.
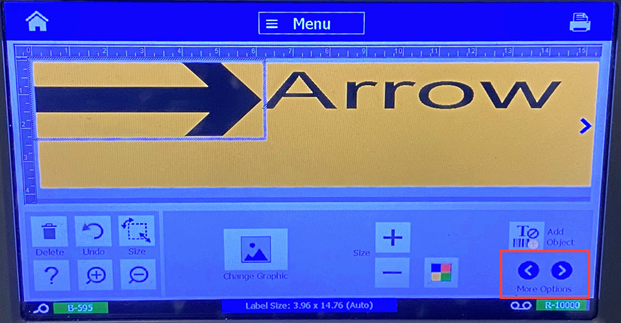
Set Object Size
- Create the label.
- Select the object to resize.
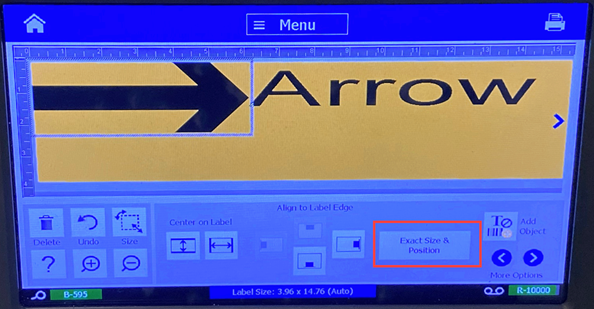
- In the Control Panel, select More Options to navigate to the Exact Size & Position option.
- Select Exact Size & Position.
- Select Keep width-height ratio to maintain the object proportions.
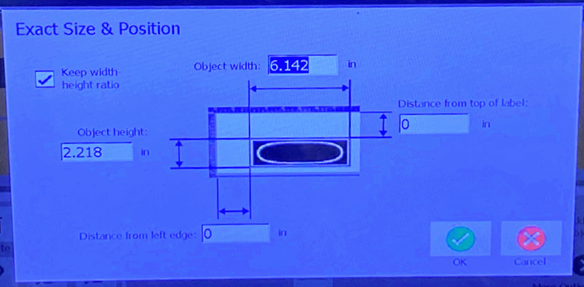
- Type a value for Object width and Object height.
- Select OK when complete. The Object is displayed in the specified size.
Note: If the values entered result in the object being positioned outside the printable area, the system resizes and repositions the object to fit on the label.
Related information

