The print queue is available from the print screen when files are being printed. Use it to add more files to the queue, delete files from the queue, or change the print order.
The print queue can be seen once a print job is printing.
Add Files to the Queue
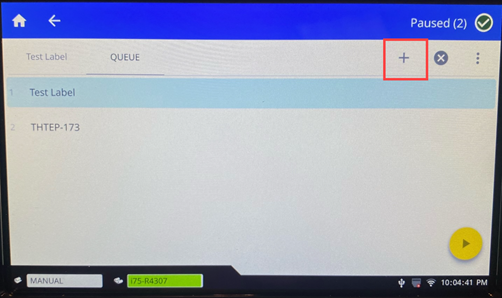
The user can add files to the queue during printing.
- While printing, tap Queue.

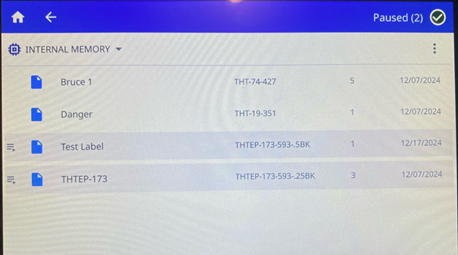
- Tap the plus sign to open the file list.
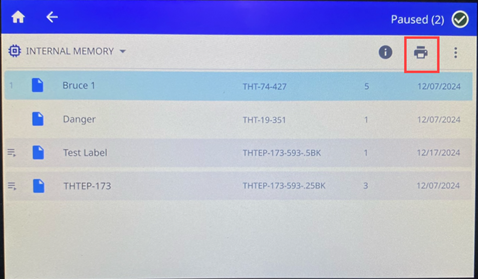
- Tap the file to add it to the print queue.
- Tap the print icon.
Remove Files from the Queue
Remove One Files
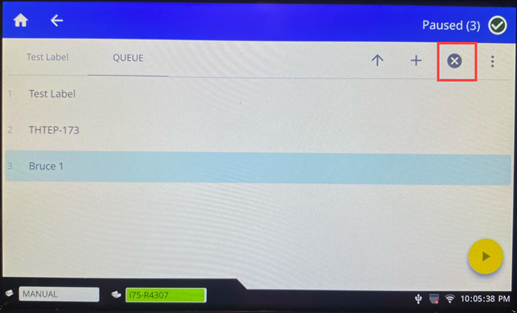
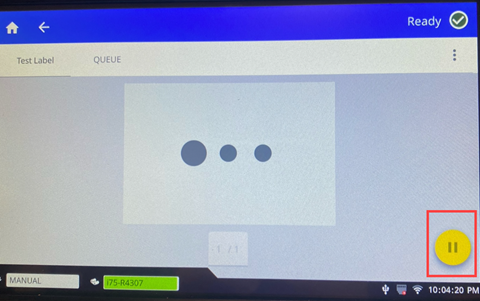
- Tap the pause button to pause printing.

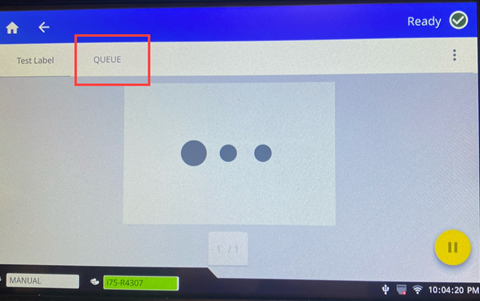
- Tap the Queue on the print screen.
- Tap the file to remove.
- Tap the X to Cancel file.
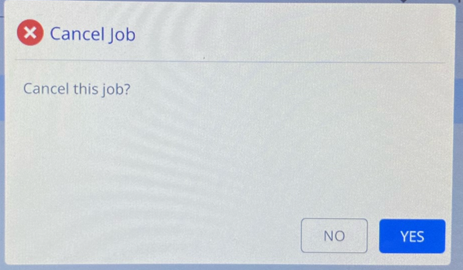
- Tap Yes to cancel that file.
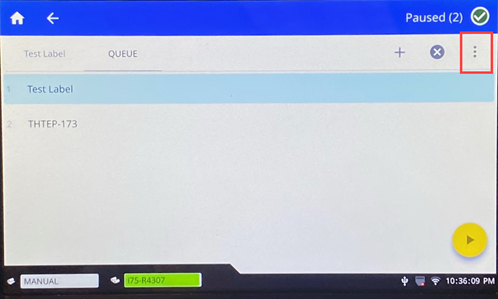
Remove All Files
- Tap the pause button.
- Tap the Queue tab on the print screen.

- Tap the three dots in the top right.
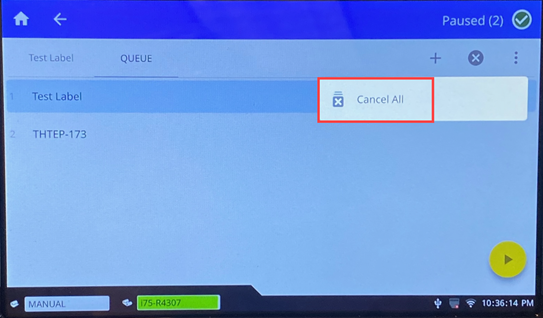
- Tap Cancel All.
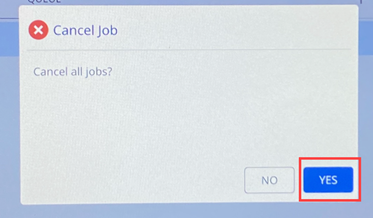
- Tap Yes.
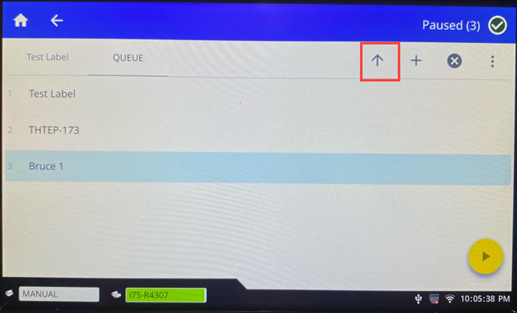
Change the Print Order
- While printing, tap the Queue tab on the print screen.

- Tap the file to move up or down in the queue. The first file in the list cannot be moved.
- Use the arrows to move the file.