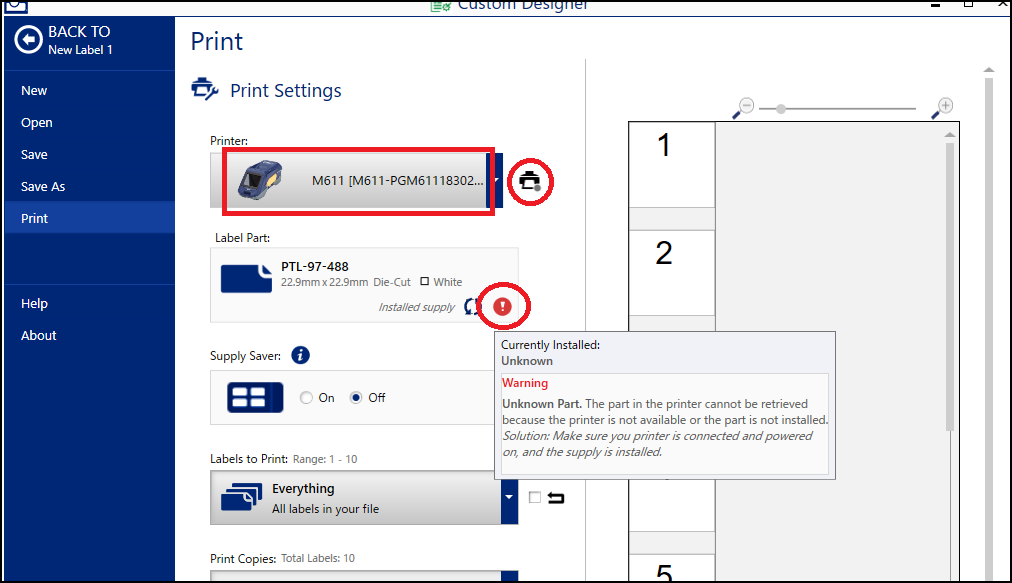
Body | Note: As of BWS Shell 4.10.03 the "Network Printers" app is simply called "Printers"Resolve Bidirectional Communication Issues for Networked Printers in BWSUsers are not able to get bi-directional communication over their network (where the software reads exactly what labels are currently loaded in the printer) and in some cases are not able to print. This occurs even if the printer is listed as "Automatically Found". Affected Products Affected Products
This workaround applies only to Direct Print model printers with networking functionality: Brady Workstation - Network Printers App.
Manually Adding a Printer
- Open Brady Workstation.
- Open the Printers app.
- Click on + Add Printer.
- Enter a name for the printer connected on the network.
- Choose the Brady Printer Model from the drop down.
- Enter the printer’s IP address (found in the printer's menu).
- Press the Test Connection button.
- If set up properly, you will receive a message saying The last connection test succeeded.
- Click OK and the printer will be added to the Network Printers list.
If the Test Connection fails:
- Use either Wi-Fi or Ethernet, not both.
- If you have the printer attached to the PC via USB cable or an Ethernet network cable, Turn Wi-Fi Off:
- On the Printer's LCD display, tap on Settings and Connection.
- If Wi-Fi Network shows On, tap Wi-Fi Network. Tap the green icon on right. It will change to red.
- Tap the Home icon in upper left to exit the menu.
- In Brady Workstation's Printers App, delete the printer model from the top Brady Printers section and the bottom section Brady Managed Network Printers. Refresh both.
- If using Ethernet, in the Brady Network Printers section of Printers app, tap Add Printer on right.
- Name your printer, select your printer mode, then enter the IP Address.
- Tap Test Connection. It should pass, then click OK.
- If you want to continue using Wi-Fi, detach the ethernet cable from the printer and reboot the printer. Go back into the printer's menu, connection or interface, then Wi-Fi and note the current IP address. Then in the Brady Workstation's Printers app, delete the Automatically Found driver (click on the blue circle with white x above Automatically Found). Click the Add Printer button and follow the steps above.
Related information
|
|
|---|


