Ribbon Wrinkle
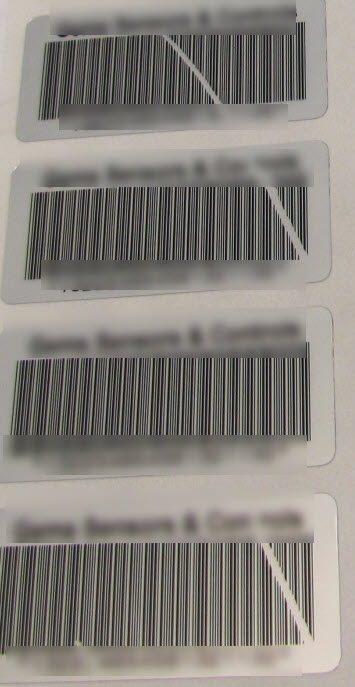
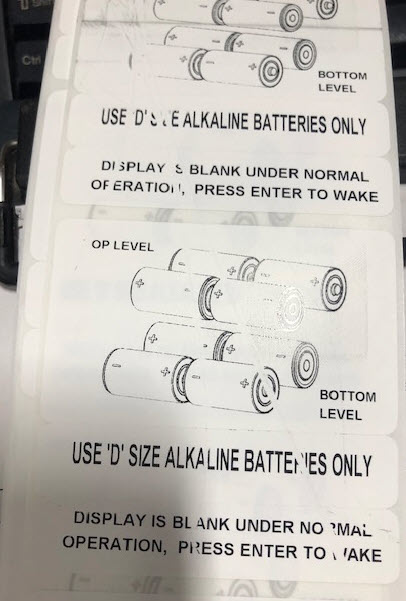
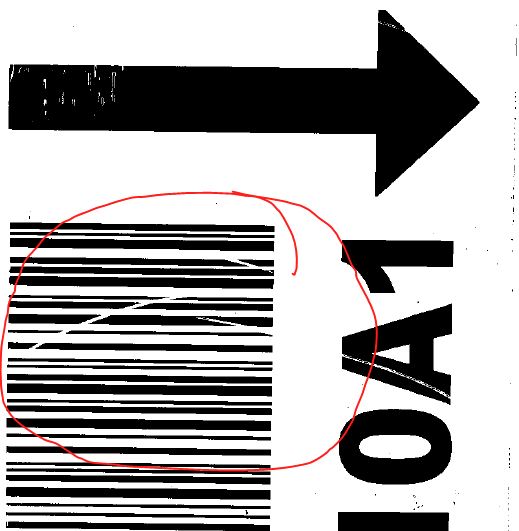
Ribbon wrinkle often appears as a diagonal void that occurs intermittently on printed labels. The following procedures can stop most ribbon wrinkling when using a Brady BBP72 and Brady PR Plus printer.
Note: The i7100 is the replacement model for the PR series, it is center-justified vs. the left justified PR series and therefore has different requirements for troubleshooting ribbon wrinkle. See more information here: Troubleshooing Ribbon Wrinkle on the i7100.
Media
Wrinkle can be caused by an excess of ribbon on the ribbon take-up spool. Remove excess ribbon from the take up spool. Test printing to confirm any change in print quality. Confirm that the ribbon is winding smoothly around the plastic ribbon take-up spindle. If the ribbon is not smoothed out across the surface of the spindle from left to right, this can cause wrinkling at the print head.
Make sure you are using a ribbon as close to the width of the of the labels and liner as possible. A ribbon significantly wider than the label liner will be very difficult to avoid wrinkling due to a necessary change in the pressure position. To find the best ribbon match for your material, please visit BradyID. Type your label part number into the search box (Example: THT-5-423-10). Navigate to the resulting product page and scroll down to the Compatibility section.
Printer Settings
- Reduce print head heat - consult your printer's user manual
- Reduce print speed - consult your printer's user manual
Mechanical Printer Adjustments
Note: Do not attempt to adjust print head pressure or alignment as a first troubleshooting step. Over-tightening can easily damage the print head. Once alignment has been modified it can be very difficult to revert to original settings in the event something goes wrong.
Position the two red/black tension plungers evenly over the printhead - about 1/4" over the label on both the left and right sides so pressure is applied evenly across your labels. If the wrinkle moves from lower right to upper left, there is more tension on the right side than on the left. If the wrinkles move from lower left to upper right, there is more tension pressing down on the left side.
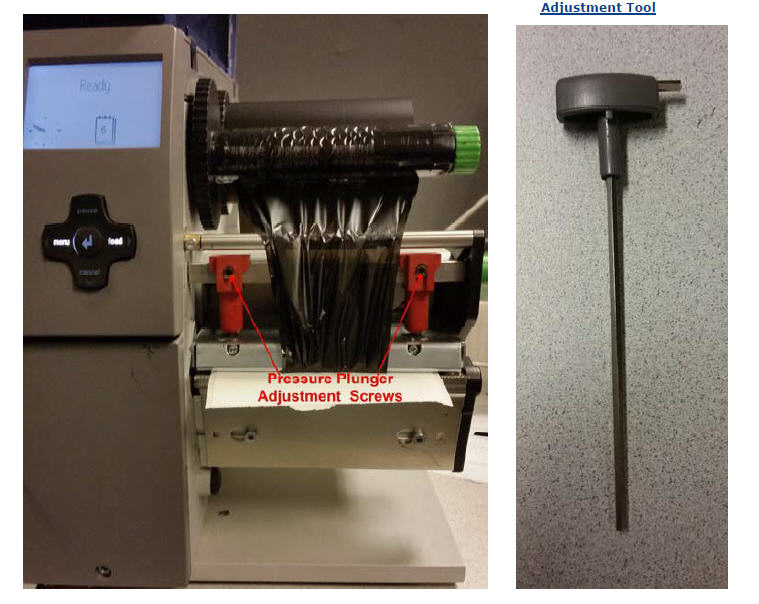
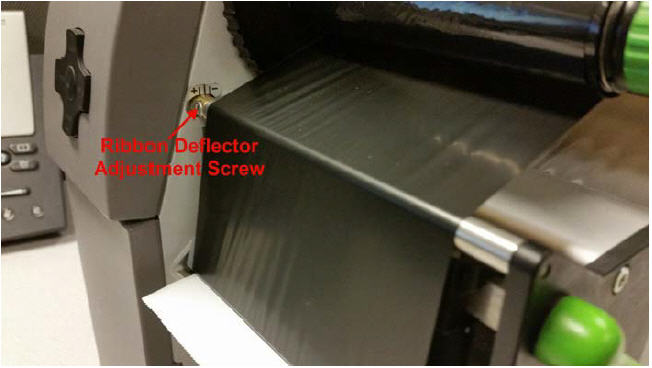
Adjust the transfer ribbon deflection by using the Allen screw on the left-side above the printhead. Turn the screw a half turn in one direction and press the Feed button on the front panel. (Clockwise increases pressure, Counter Clockwise decreases pressure) If the wrinkle is decreasing, move it a bit more in the same direction. If it got worse, turn the screw one full rotation in the opposite direction - (half to go back to where you started and another half to go in the needed direction).
If you need more assistance, contact Global Brady Technical Support Contact Information.


