IMPORTANT! Check the ink pads periodically for excessive ink saturation and replace when necessary.
Note: It is recommended to replace the ink pads after 20,000 prints.
Order Ink Pad Replacement Kit #Y4660270 from BradyID.
- Turn off power and remove power cord.
- Carefully turn printer over and remove the two screws on the metal cover
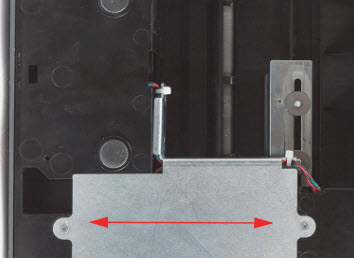
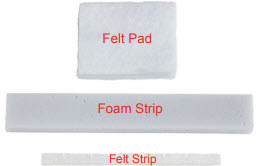
- Remove old felt pad and foam strip.
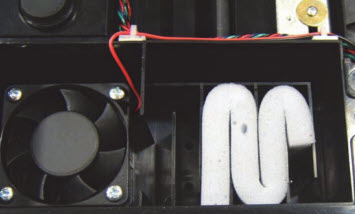
- Fold new foam pad and fit into channel as shown.
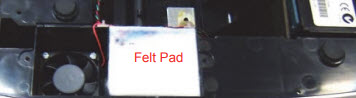
- Place new felt pad square into opening.
- Replace cover and fasten both screws.
- Turn printer right side up and open cover.
- Slide the print head to the left.
- Use needle-nose pliers or similar tool to pull old felt strip out of its trough
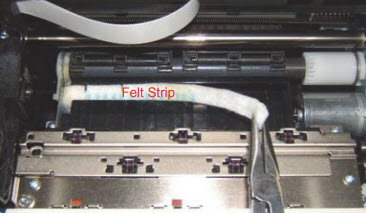
IMPORTANT! Observe the notches on the felt strip.
- Slide the end of the felt strip without notches into the opening, as shown.
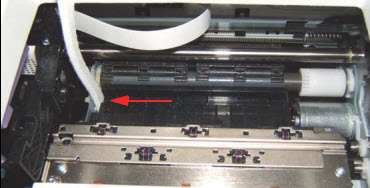
- Fold felt strip down into the trough so small tabs fit into notches on felt.

- Use needle-nose pliers or similar tool to press felt securely into place.
Related information

