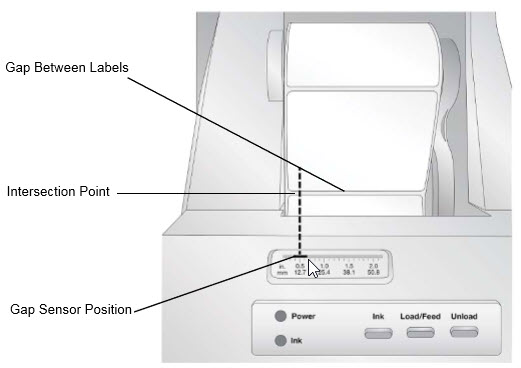
The supply gap sensor "sees" the gap between label supply by shining light from the top of the label and attempting to read that light from a sensor on the bottom. By default, this sensor is set to read the gap 0.5" from the left side of the label supply. If the gap in your label supply intersects with the gap position, as shown on the slide bar, you do not need to adjust this and you can skip this section. This does not need to be adjusted for most label supply.
If you are using label supply other than standard square / rectangular die-cut labels such as through-hole supply, use the instructions below to adjust the supply gap sensor.

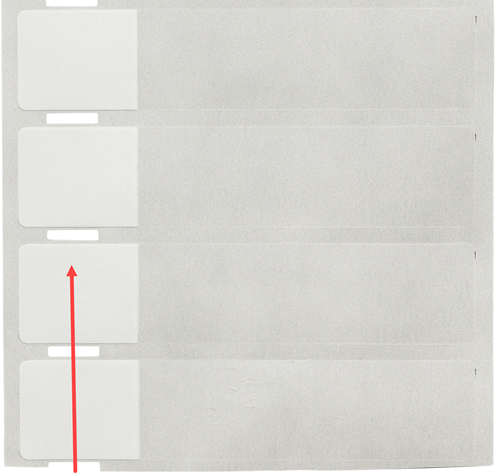
Labels with Holes
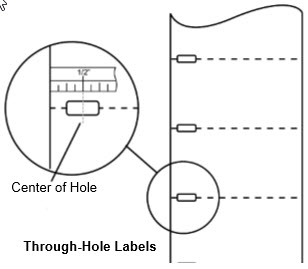
If you are using label supply that has a hole punch or a notch to identify a transition from backing to label, you can adjust the sensor bar to position it over the identifying mark. If the sensor is too far to the right or the left the printer will still sense the label but the image may be offset downward because the printer will start printing at the wrong position.
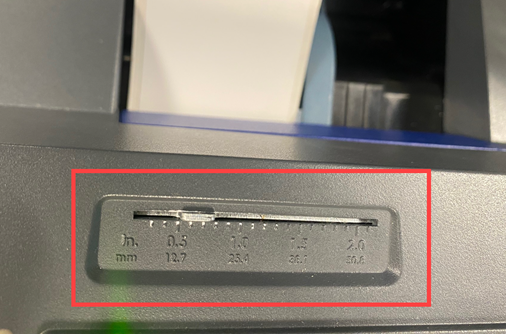
The sensor bar has a guide in inches and millimeters that will help you identify where to set the bar to align the sensor over any identifying mark. To do this, measure the distance from the edge of the label supply to the correct position on the supply. Set the gap sensor bar to this measurement.
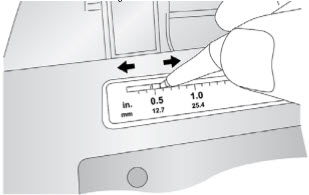
To adjust the gap sensor position use a pen to move the slide bar to the correct position.