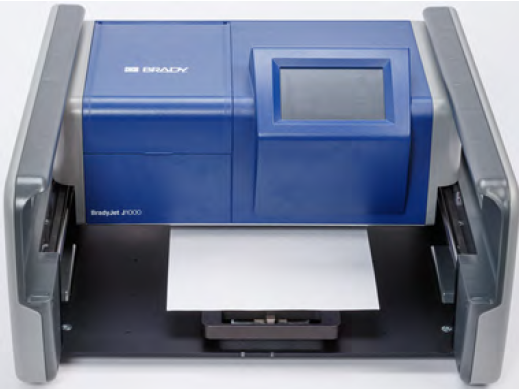
Body | This information can be found on page 16 of the J1000 User Manual: J1000 - User Manual and Quick Start GuideCalibrating the J1000 Printhead1. Pull the tray forward from under the printer and load it with adapter plates and cards.
2. Place a sheet of paper on top of the cards. Make sure the paper is completely flat and does not make contact with any part of the printer. If the paper shifts the alignment test will not be useful.

3. Slide the tray back under the printer until it snaps into place and stops.
IMPORTANT! Printing an alignment pattern without a sheet of paper on the tray will result in ink splattered in the tray and base of the printer. An alignment pattern printed directly on cards is illegible.
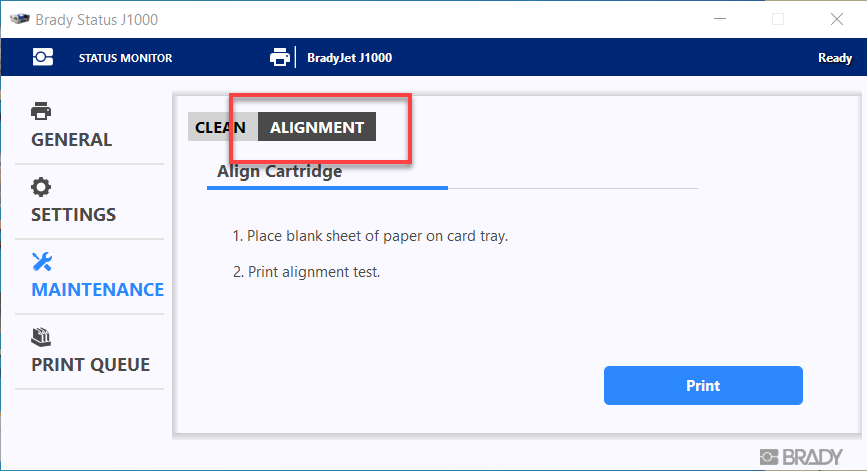
4. In the Status Monitor software, click Maintenance and then Alignment. 5. Click Print to begin the alignment test. 5. Click Print to begin the alignment test.
- Note: If the printer does not move, check the printer display for any messages. If the printer moves but nothing prints, try going to Maintenance > Clean > and perform a regular clean. Also make sure tags are loaded when performing the alignment. If the paper is not properly spaced from the printhead, ink may not appear.
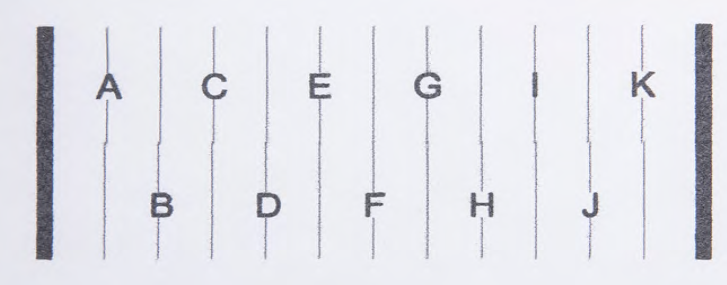
6. When the printer finishes printing, remove the paper from the tray. Examine the series of vertical lines, each labeled with a letter, to determine which line is the straightest.

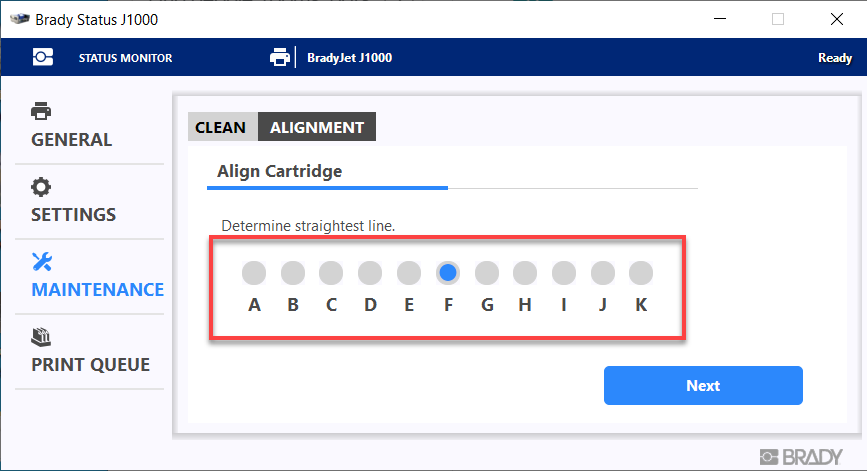
In this example, F is the straightest line.
7. In Status Monitor, click the letter corresponding to the straightest line (F in our example) and then click Next. 8. Load another piece of paper and click Print to print another alignment test. Verify that all the lines are straight. 8. Load another piece of paper and click Print to print another alignment test. Verify that all the lines are straight.
9. If all the lines are straight and unbroken, click Finish. If not, click Retry to start the alignment test again. Repeat the process until the result is acceptable.
|
|
|---|


