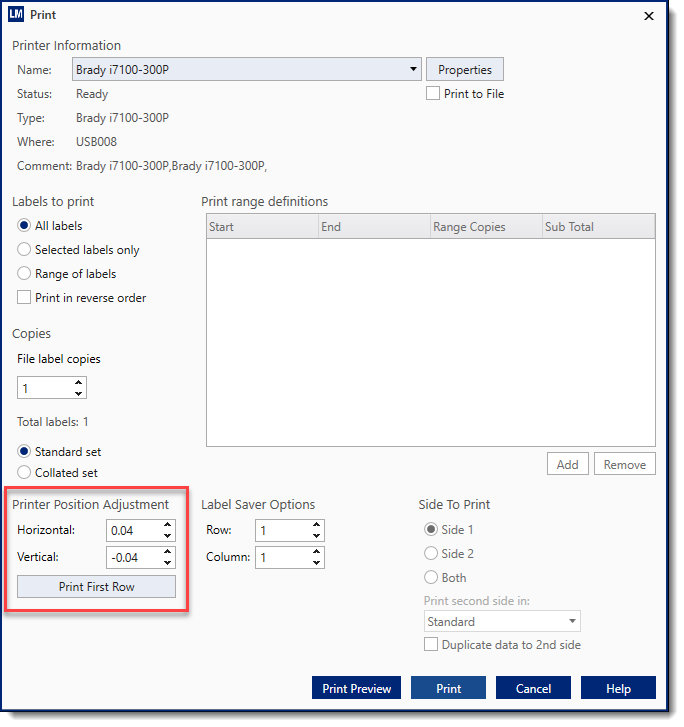
Body | Printer Part Pairing in LabelMark 6Printer/Part pairing allows you to set print position adjustments that only apply when a specific label is used with a specific printer. This setting is saved permanently in the software and applies every time that printer and label part is used. We recommend using Printer Position Adjustments from the Print menu to test and confirm appropriate horizontal and vertical values.
Create a Printer-Part Pairing
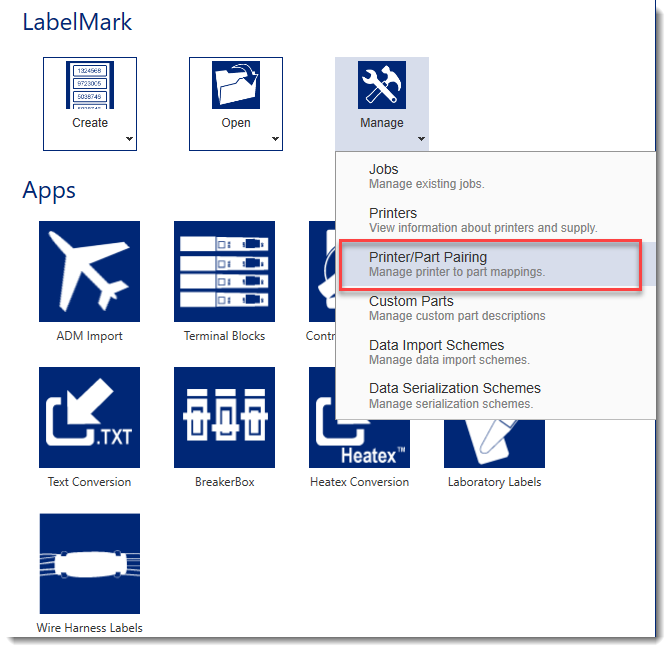
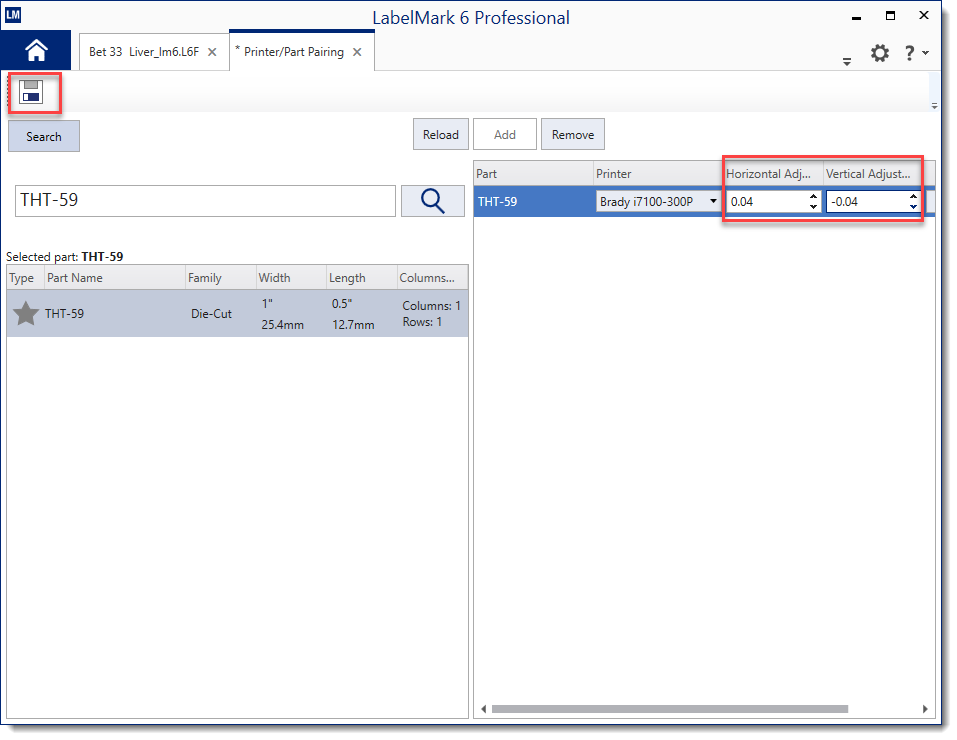
1. Click Manage, choose Printer/Part Pairing
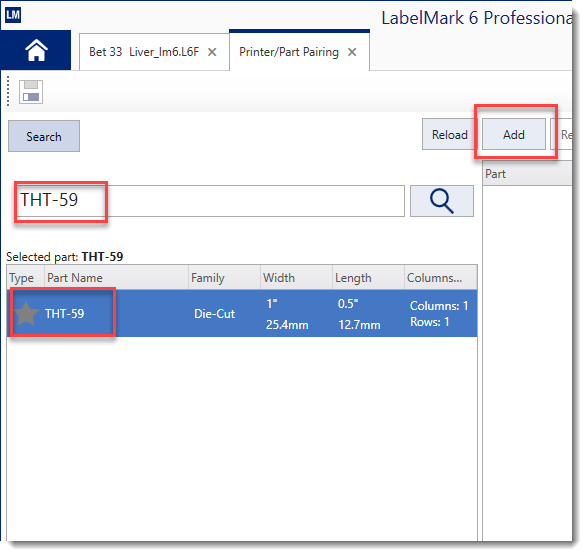
2. Type in the Part Number name, select the appropriate part from the list and click Add
3. Select the printer to pair with your part offsets
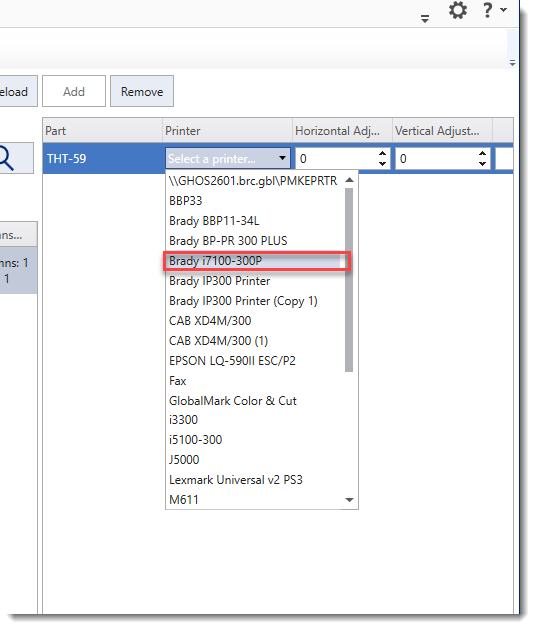
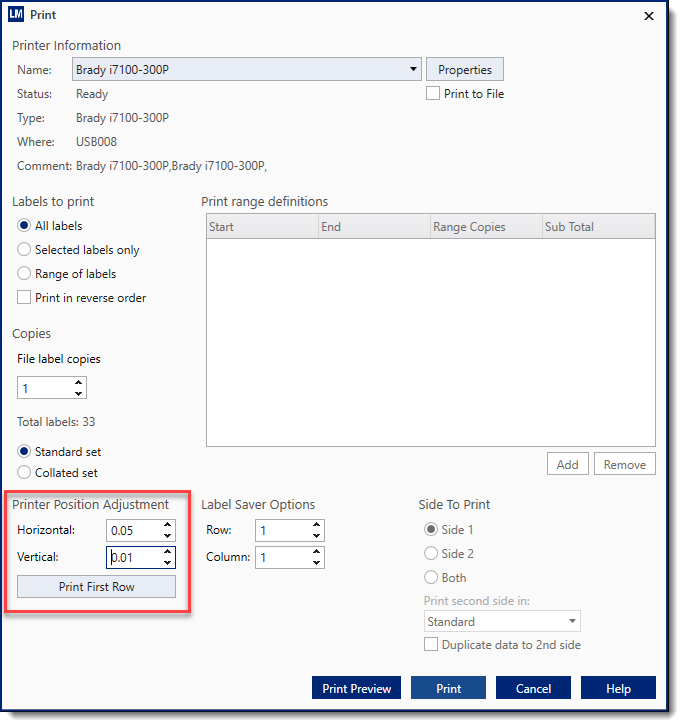
4. Apply adjustments, then click the save diskette icon
5. Create a new label file using this printer and part, you will see the adjustments automatically applied in the Print Position Adjustments section
 |
|
|---|
