Body | A.) Use the i7100 v5.2 print driver to install the BBP72 printer driver when using Brady Workstation, Data Automation or any 3rd party softwre. 5.2 Driver Download
1. Download and unzip / Extract All files. But do not run the install.
2. Install the print driver using the Windows 'Add Printer' Function.
See full instructions here: How to access the inf file to manually install Brady printer drivers3. When prompted to select printer model, choose BBP72 from the printer model list.
4. Finish the installation.
B.) Installing the BBP72 Driver for use with with LabelMark software (discontinued and no longer supported). 4.5.16 Driver Download The BBP72 uses the CAB 4.5.16 XD4M print driver.
1. Download the Driver from BradyID.
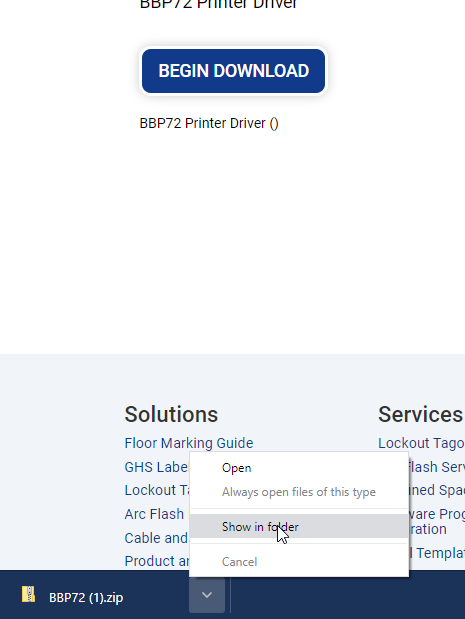
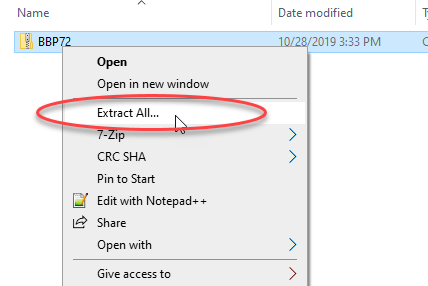
2. Right click and choose "Extract All"
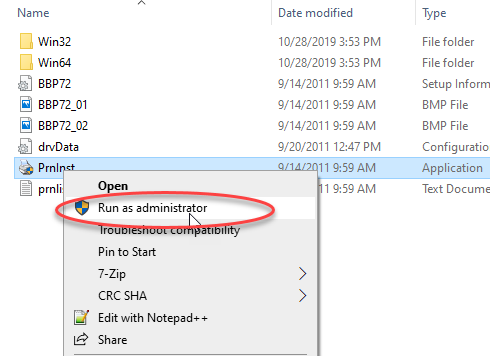
3. Locate the "PrnInst" .exe, right click and choose "Run as Administrator"
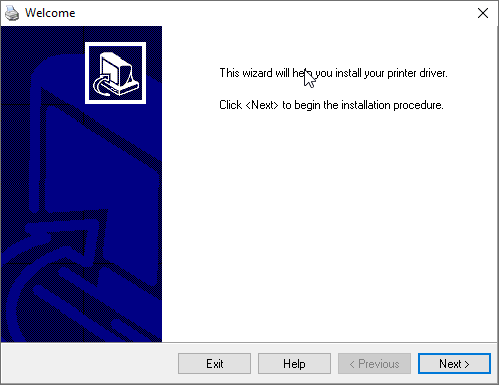
4. Click Next
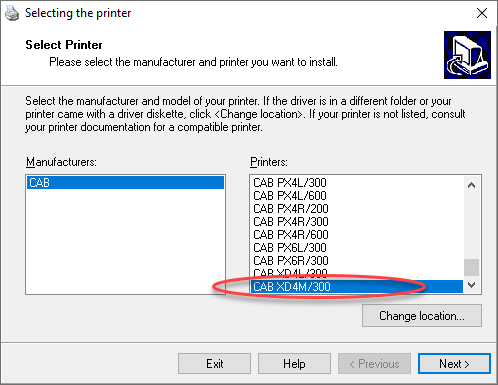
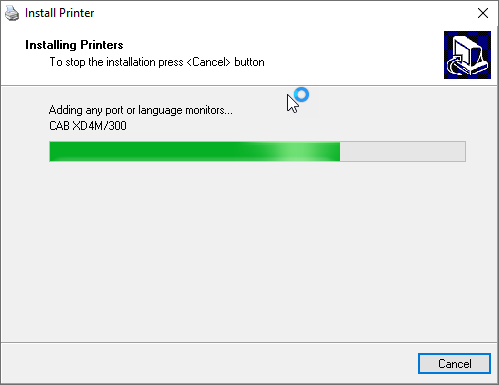
5. Scroll down and choose the "CAB XD4M/300" driver option at the bottom
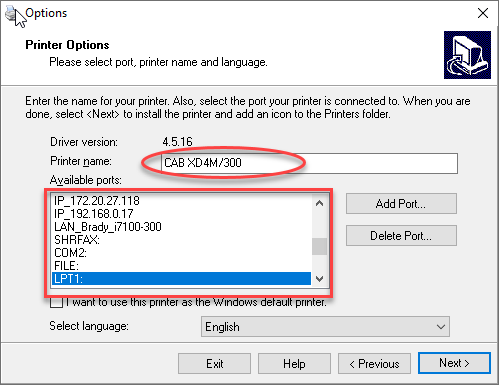
Note: If using the 5.2 install, select the BBP72 driver option.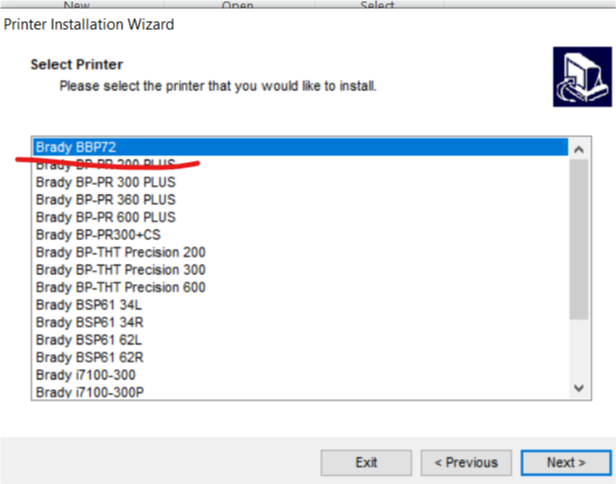 6. Enter a printer name and choose a port (this can be changed in the driver settings later). 6. Enter a printer name and choose a port (this can be changed in the driver settings later).
7. Install the status monitor if desired
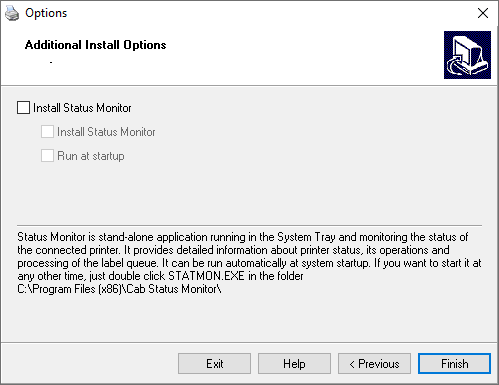
8. Wait for installation to complete, then click Finish
 |
|
|---|
