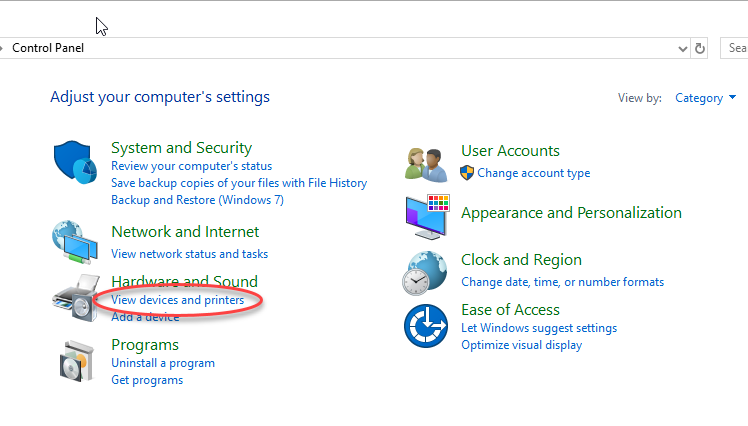
Body | Cut Settings for the i5100 Autocut Model Settings for the auto cutter are configured from the printer driver. Driver Cut Settings1. Go to start menu type "Control Panel" and hit enter
2. Choose "View Devices and Printers" from the control panel
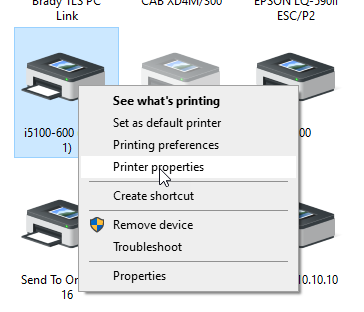
3. Locate the i5100 driver, right click and select "Printer Properties"
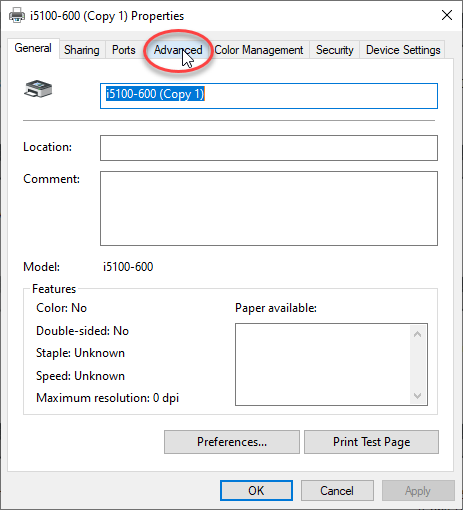
4. Choose "Advanced"
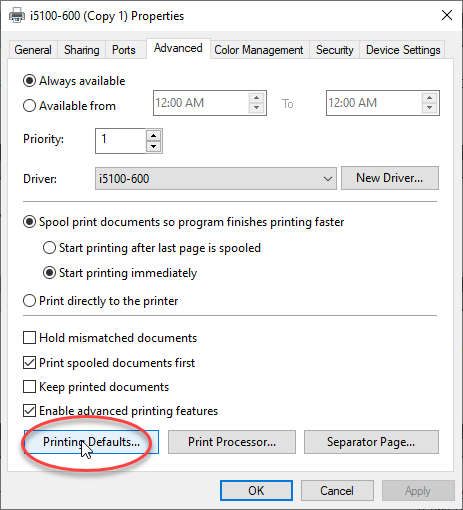
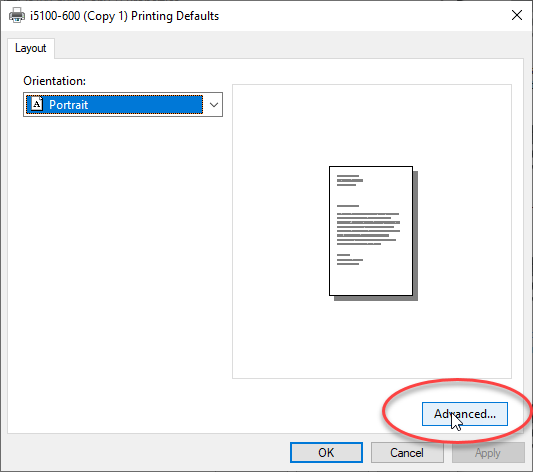
5. Select "Printing Defaults"
6. Select "Advanced"
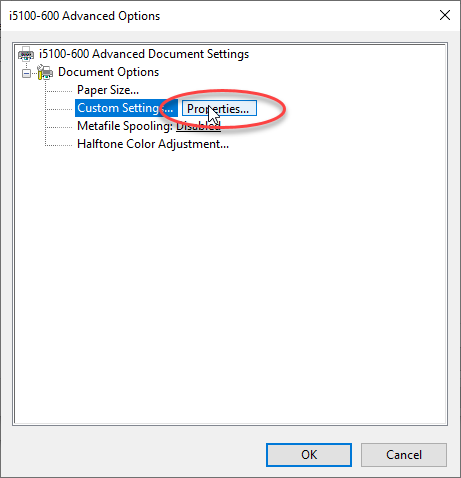
7. Choose "Advanced" next to Custom Settings
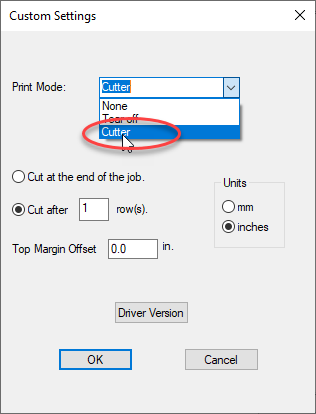
8. Under "Print Mode" choose the "Cutter" dropdown option
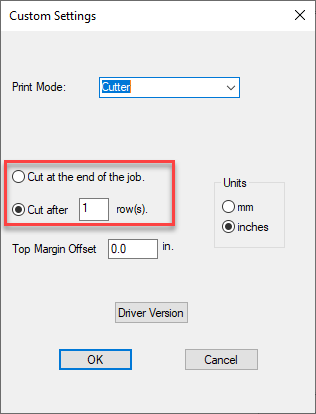
9. Select the radio button for your desired cut mode, Click OK
 |
|
|---|
