Body | How to Increase Print Head Pressure in the PR+ Series
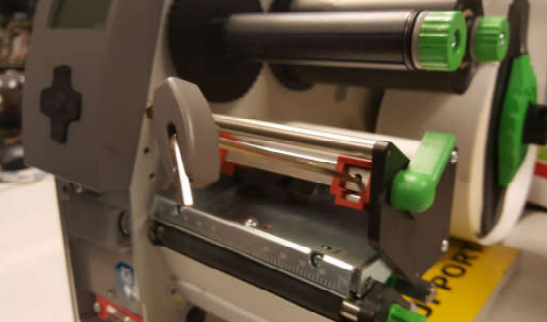
Note: Do not attempt to adjust print head pressure or alignment as a first troubleshooting step. Over-tightening can easily damage the print head. Once alignment has been modified it can be very difficult to revert to original settings in the event something goes wrong. Step 1 – Remove the ribbon from the print head mechanism.
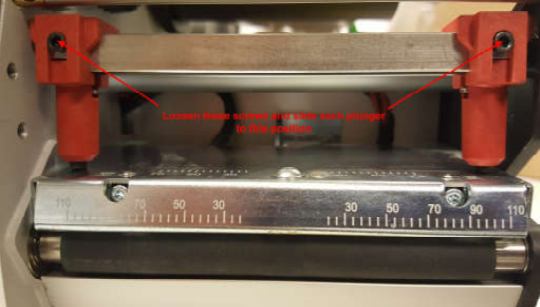
Step 2 – Remove the tool from the side of the printer and loosen the front screw on each of the pressure
plungers. Slide the left plunger all the way to the left wall and the right plunger all the way to the right
side of the print head. Step 3 – Once the plungers are all the way to the sides you will be able to insert the tool on the top of Step 3 – Once the plungers are all the way to the sides you will be able to insert the tool on the top of
the plunger to increase the amount that the metal tip protrudes from the bottom of the plunger. The
print head must be disengaged in order to do this. To increase make quarter turns to the right and to
decrease make quarter turns to the left. It is extremely important to make the exact same adjustments
to each the left and right plunger so that the pressure is even on the print head. No more than a full
turn should be necessary. Step 4 – Position the plunger back to their original position so that they are on the edge of the left and Step 4 – Position the plunger back to their original position so that they are on the edge of the left and
right sides of the sleeve and tighten the front screws. Test print and repeat if necessary. |
|
|---|


