Issue
The printer driver has already been installed for a USB connection, or the current IP address port needs to be updated for a networked printer.
Workaround
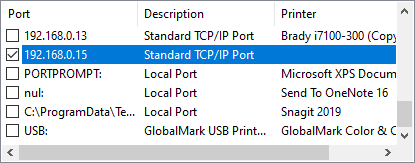
End users can add an IP port in the driver ports tab.
Requirements
- A networkable printer configured with an IP address.
Adding a Network Port in the Driver
- Determine the IP address needed. Most Brady printers allow you to view this from the printer display menu. Consult your printer user manual for instructions specific to your printer model.
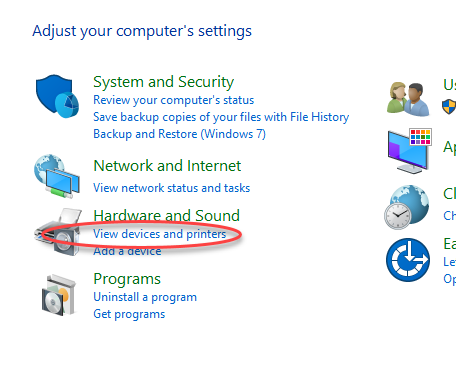
- Open the Control Panel.
- Click View Devices and Printers on Windows 10 and prior versions.
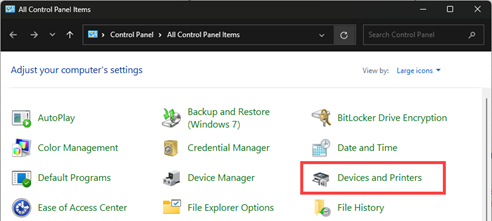
Click Devices and Printers on Windows 11.
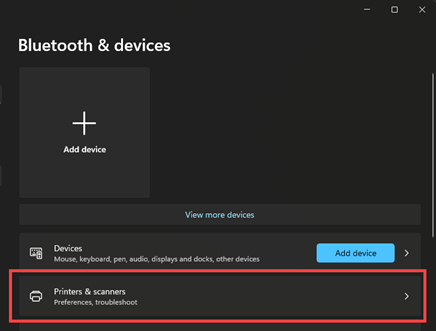
- Locate the current printer.
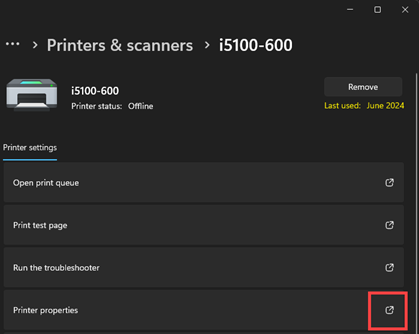
On Windows 11, select Printers & Scanners.
- Right-click and choose Printer Properties on Windows 10 and prior versions.
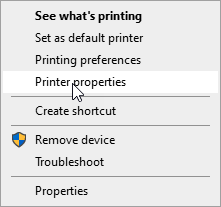
On Windows 11, select the Printer and select Printer Properties.
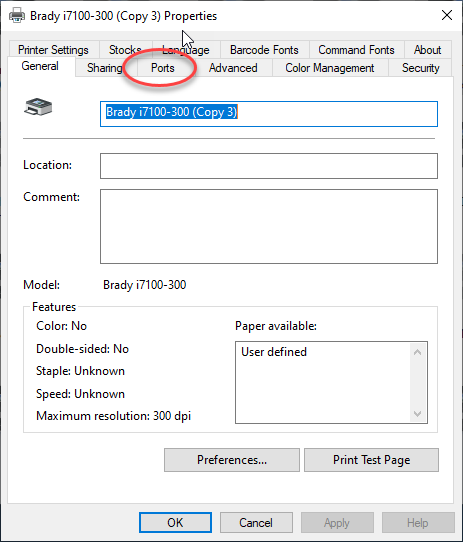
- Select the "Ports" tab.
- Choose "Add port..."
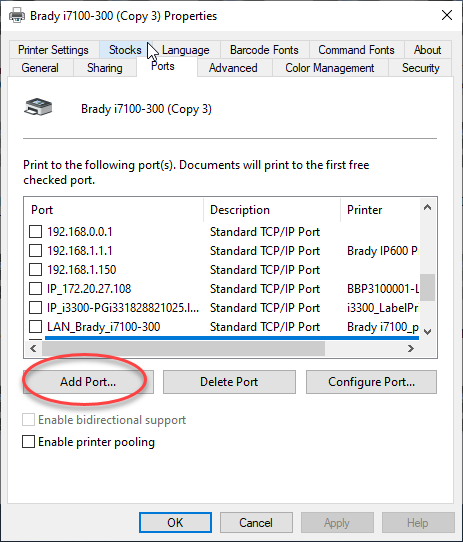
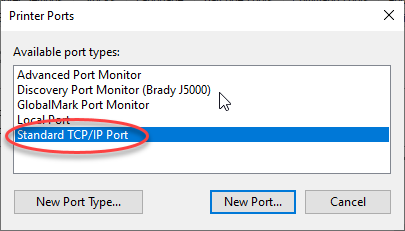
- Choose "Standard TCP/IP Port" and click "New port..."
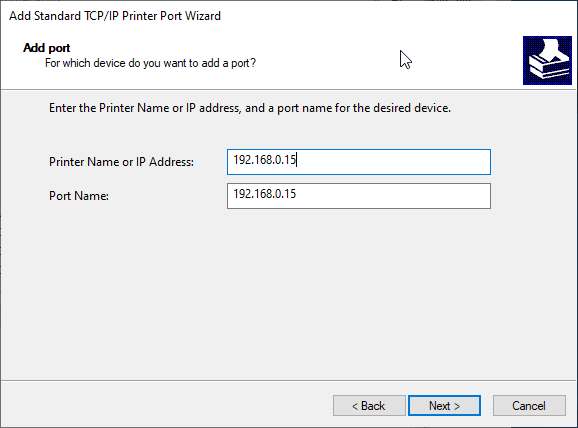
- Click Next on the wizard, add the new IP address and click Next.
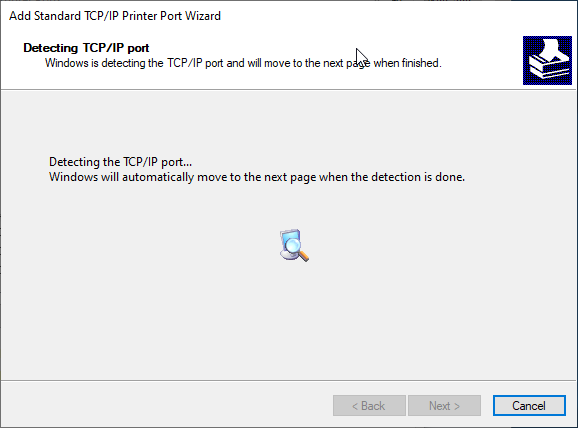
- Windows should detect your printer if it is connected to the network. Click next and finish to complete the process.
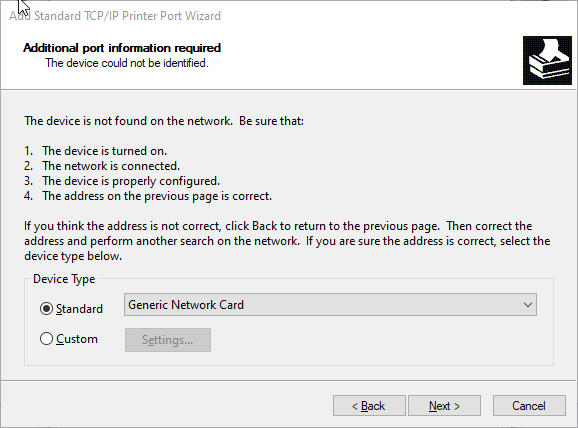
- The part can still be added if it is not detected, choose "Generic Network Card", click Next then Finish.
- Your new port is now selected.
