| Body | Create Pipe Marking (ISO 20560) Label using Layouts in Custom Designer
- Open the Custom Designer app in Brady Workstation.
- Select your Printer and Label Part.
- Select the Pipe Marking (ISO 20560) layout in the dropdown.
- Select the Pipe Marking (ISO 20560) Layout.
- Select Create.
- Adjust text and label properties as needed: Text Labels / Custom Designer - Applying Text Properties to Existing Labels.
Note: If you import data from an excel file or add a sequence, you will have to import it in place of an object/text on the label or add it below the label and drag it onto the label. If the outline is red, you cannot import data in that spot. If the outline of the area is green, you are able to import data.
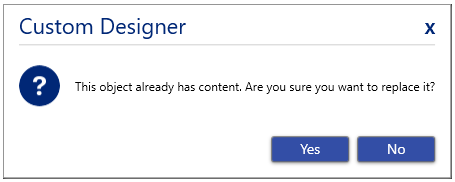
If you import data onto the label to replace an object/text, select Yes to replace the content already on the label.
- Print the Label.
|
|
|---|


