| Body | Create Lockout Tags using Layouts in Custom Designer
- Open the Custom Designer app in Brady Workstation.
- Select your Printer and Label Part.
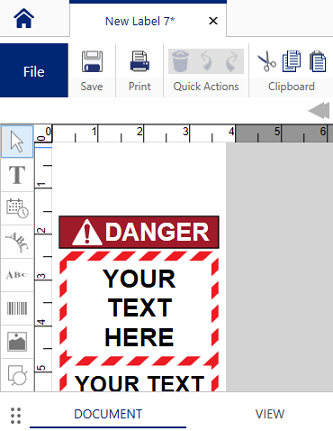
- Select the Lockout Tags layout in the dropdown.
- Select the layout for Lockout Tags.
- Select Create.
- Edit label and properties if applicable: Text Labels / Custom Designer - Applying Text Properties to Existing Labels.
 Note: If you import data from an excel file or add a sequence, you will have to import it in place of an object/text on the label or add it below the label and drag it onto the label. If the outline is red, you cannot import data in that spot. If the outline of the area is green, you are able to import data. Note: If you import data from an excel file or add a sequence, you will have to import it in place of an object/text on the label or add it below the label and drag it onto the label. If the outline is red, you cannot import data in that spot. If the outline of the area is green, you are able to import data.
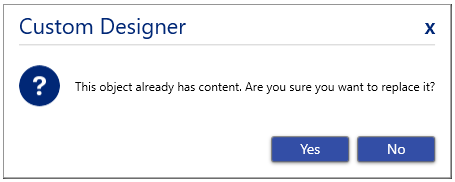
If you import data onto the label to replace an object/text, select Yes to replace the content already on the label. - Print the label once all the information has been entered.
Related information
|
|
|---|


