| Body | Create IIAR Ammonia Pipe Markers in Custom Designer using Layouts
- Open the Custom Designer app in Brady Workstation.
- Select your Printer and Label Part.
- Select IIAR Ammonia Pipe Markers in the dropdown.
- Select the IIAR Ammonia Pipe Markers layout.
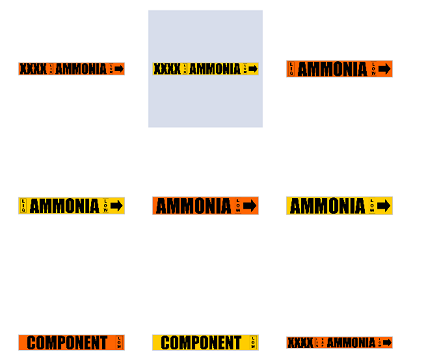
To view more IIAR Ammonia Pipe Markers layout options, scroll to the bottom and select Show More.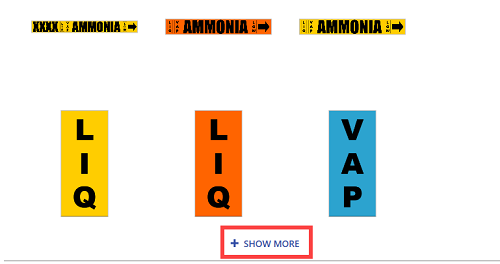
- Select Create.
- Double-click text to update or change label properties as needed: Text Labels / Custom Designer - Applying Text Properties to Existing Labels.
Important: Do not add color to the physical state and pressure-denoting label parts. You will need to purchase pre-cut labels or create these label parts using the corresponding layout and label color.
- Print the label.
- Create physical state and pressure-denoting label part labels using the same instructions.
|
|
|---|

