Body | Windows 7
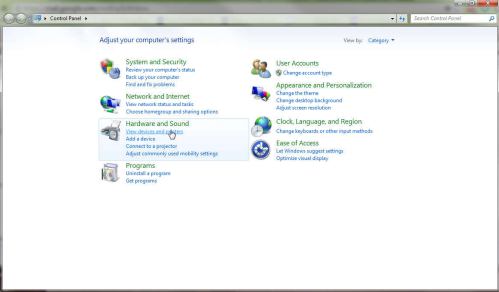
Click “Start” and then choose “Control Panel” and then “View devices and printers” underneath “Hardware and Sound”
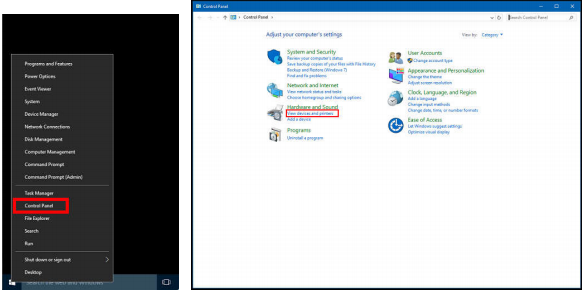
Windows 8/8.1/10
Right-click on the Start button, choose “Control Panel” if it does not show under this menu, select search and type Control Panel. Then select “View devices and printers” under “Hardware and Sound” Devices and Printers
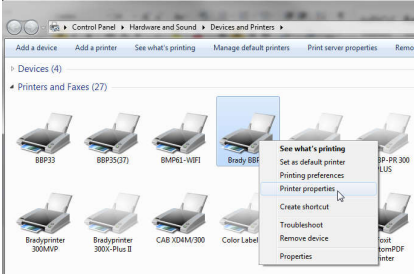
Right-click on the “Brady BBP12” printer driver and choose “Printing Preferences”
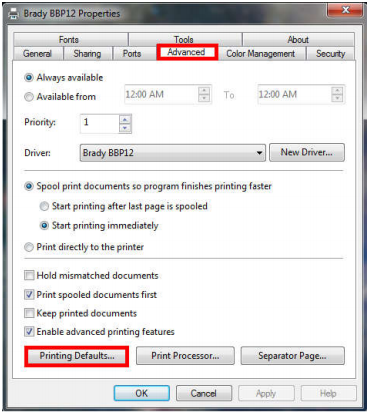
Select the “Advanced” tab and then “Printing Defaults”
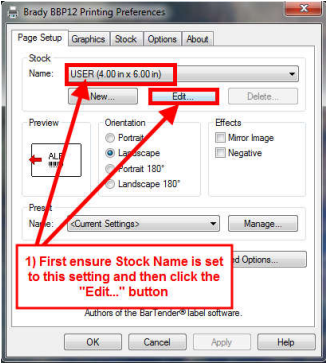
Select the “Page Setup” tab and ensure the settings are settings as noted in the picture below
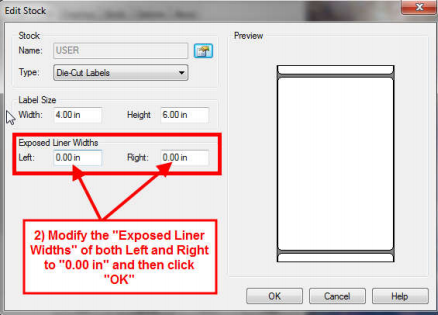
After selecting to “Edit Stock”, ensure the Left/Right values are modified as noted below
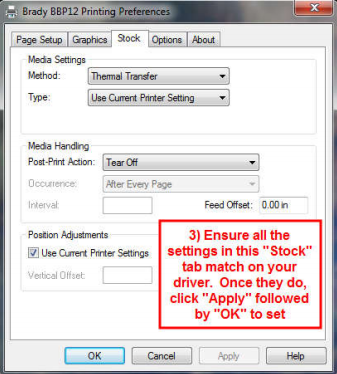
Select the “Stock” tab and ensure your driver settings match the image below. Once they do, select “Apply” followed by “OK” to apply the settings.
 |
|
|---|
