Adding a Background Image for Custom Pre-printed Labels Using EMF Files
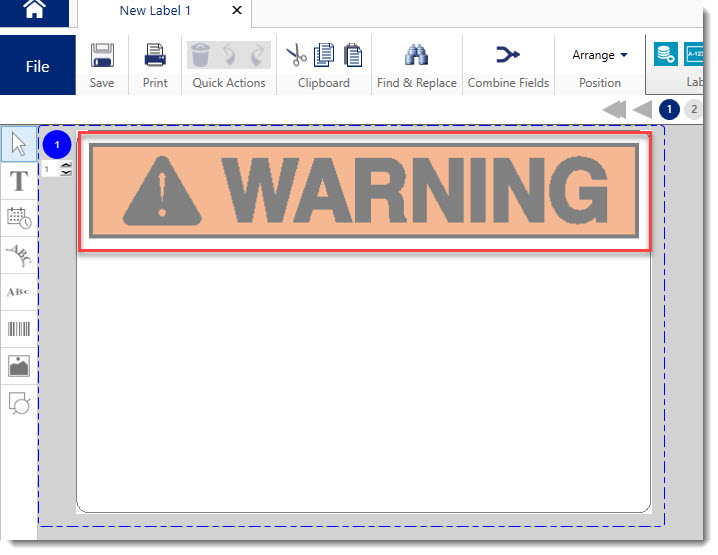
Brady software and Codesoft can use Microsoft’s Enhanced Metafile graphic files (*.emf). An EMF file is the image of the label IF it contains preprinted data (like logo or warning strip, etc) OR if separate labels are grouped as a set of labels treated as one (custom label sets separated by notch, lab labels with rectangle on left and circle on right). EMF Files only work with custom labels that are made for smart-cell driven printers such as the i5300, i3300, BBP33, BBP35, BBP37, S3100 or IP printer series.
If the printer model used is not smart-dell driven (i7100, PR Plus or non-Brady printers) or is for an IP or i5100 printer that uses an RFID Tags instead of smart cells but the custom label uses metalized material so no RFID tag used because the metal interferes with the RFID tag, contact tech support to request custom part file for Brady Workstation, refer to internal knowledge document 11643.

Requirements
In LabelMark and Brady Workstation *.emf background images are only available for Smart Cell or RFID enabled parts loaded into a Brady Smart Printer that can read those parts. Brady software must detect the installed part before adding the *.emf to the label part. At this time Brady software does not offer functionality to manually add *.emf background images for media that does not contain a smart cell or RFID tag. CodeSoft does not require media detection to add a background image. Brady offers *.emf files for IP Series and i5100 compatible label parts in CodeSoft.
For more information about Brady Smart Printers: Brady Printers That Support Smart Printer Technology
How Do EMF Files Work in Brady Software?
Smart cell and RFID-enabled media contain programming to notify the software an *.emf file is required. Brady software then obtains the corresponding *.emf file from an FTP site. Contact Brady Technical support if your PC does not have an internet connection or the FTP site is blocked by firewall.
How to Manually Obtain an EMF File for Offline PCs
Contact Brady Technical Support and provide your custom part number. Once you receive the *.emf file, reference the following instructions to copy it into the appropriate directory.
Brady Workstation
1. Copy the *.emf to: C:\ProgramData\Brady Corp\Brady Workstation\Components\PartsDataBase\PrePrinted.
2. Restart the software.
3. Connect your Smart Printer with the media loaded.
LabelMark 6
1. Copy the *.emf to: C:\Users\*username*\AppData\Roaming\Brady\LabelMark6*
- Note: In Labelmark 6, you may need to manually create the PrePrintedGraphics folder in the C:\Users\*username*\AppData\Roaming\Brady\LabelMark6\folder
2. Restart the software
3. Connect your Smart Printer with the media loaded
Older versions of LabelMark use the following directories. These software products have been discontinued from sales and support, this information is offered for reference purposes only.
- LM 3.2x: C:\Program Files\LabelMark 3\bin\pp\
- LM 4: C:\Program Files\Brady\Labelmark 4\bin
- LM 5 (XP): C:\Documents and Settings\All Users\Application Data\Brady\LabelMark\PrePrinted Graphics
- LM 5 (Vista, 7, 8) C:\ProgramData\Brady\Labelmark\PrePrintedGraphics
CodeSoft
1. Copy the *.emf to:
- XP: C:\Program Files\TKI\8\Common\LFM
- Win 7 and above: C:\ProgramData\Teklynx\CODESOFT X (X=version)\LFM
2. Launch CodeSoft
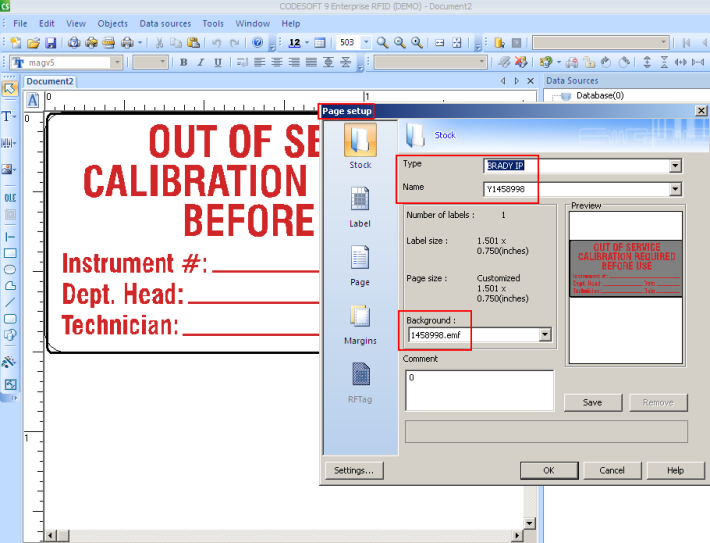
3. Click File > Label/Page Setup
4. On the Stock tab, click the Background drop down and select the *.emf matching the Y# of your custom part


